

前言
Android内存泄漏的分析与解决是每个Android程序员进阶路上的必备技能。今天就和大家分享一下我的一点点学习心得。
开始使用
首先在module的build.gradle添加依赖,不同的版本需要添加不同的依赖
dependencies {
    compile fileTree(dir: 'libs', include: ['*.jar'])
    compile 'com.android.support:appcompat-v7:23.3.0'
    compile 'com.android.support:design:23.3.0'
    debugCompile 'com.squareup.leakcanary:leakcanary-android:1.4-beta2'
    releaseCompile 'com.squareup.leakcanary:leakcanary-android-no-op:1.4-beta2'
    testCompile 'com.squareup.leakcanary:leakcanary-android-no-op:1.4-beta2'
}
这个时候我们Sync Project可能会遇到
Error:(26, 20) Failed to resolve: com.squareup.leakcanary:leakcanary-android-no-op:1.4-beta2

提示我们依赖不存在,这个时候我们需要在project的build.gradle添加如下代码
allprojects {
    repositories {
        jcenter()
    }
}
这是我们Sync就一切OK啦~~~
如果还是不行,推荐另外一种答案github.com/square/leak…
如何使用
首先我们要定义自己的Application,并在Application的onCreate方法中,对LeakCanary进行初始化。
BaseApplication.Java
public class BaseApplication extends Application {

    public static RefWatcher getRefWatcher(Context context){
        BaseApplication baseApplication = (BaseApplication) context.getApplicationContext();
        return baseApplication.mRefWatcher;
    }

    private RefWatcher mRefWatcher;

    @Override
    public void onCreate() {
        super.onCreate();
        mRefWatcher = LeakCanary.install(this);
    }
}
我们需要在AndroidManifest文件中对Application进行配置
AndroidManifest.xml
我们在Activity的onDestroy方法中调用
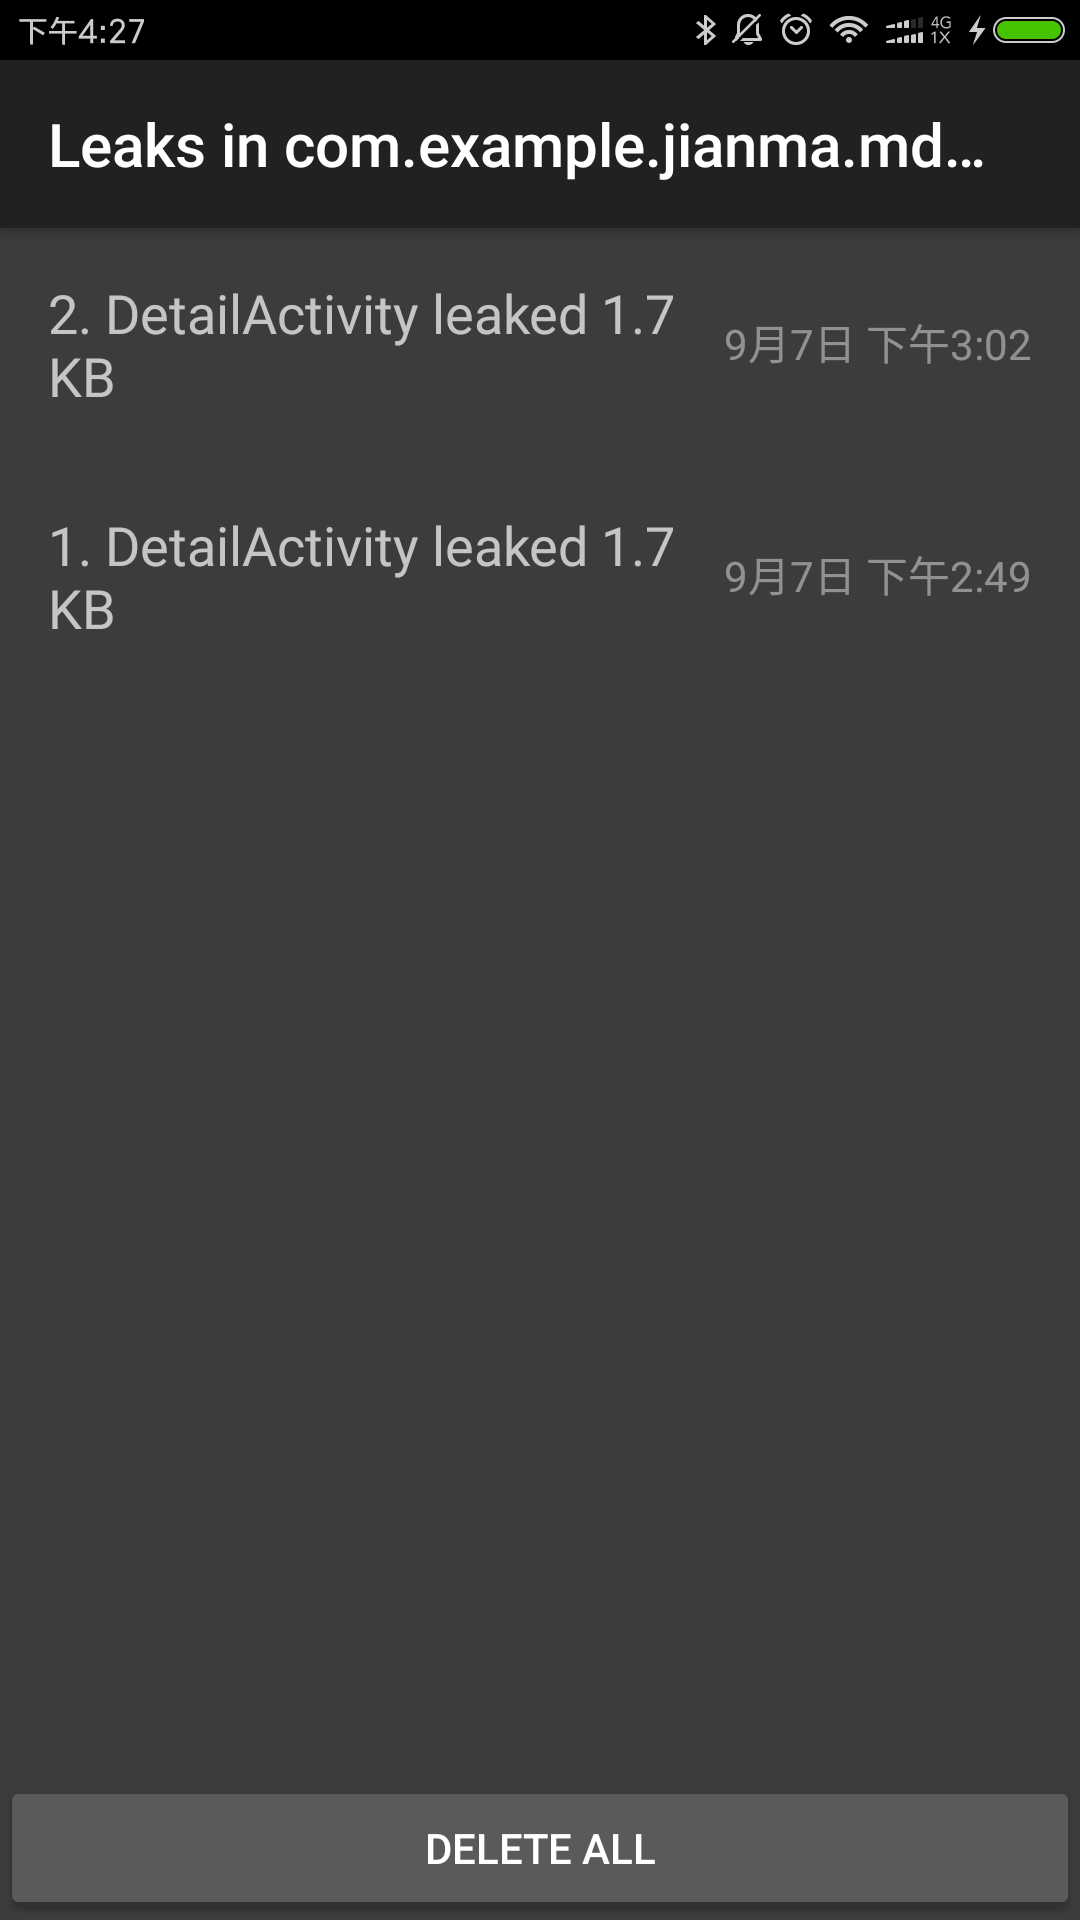
BaseApplication.getRefWatcher(this).watch(this);这个时候LeakCanary就会帮助我们进行内存泄漏的检查,并在通知栏给予我们提示。
我们利用了Handler的内存泄漏进行演示。
首先我们在Activity中定义了Handler对象
final Handler handler = new Handler(){
    @Override
    public void handleMessage(Message msg) {
        super.handleMessage(msg);
        Log.e("eee", "message");
    }
};
然后我们在点击按钮的时候延迟30秒发送消息
handler.sendEmptyMessageDelayed(0, 30000);这时候我们点击返回按钮,activity并没有被内存回收,因为handler对象还持有对activity的引用。LeakCanary就会给我们提示。
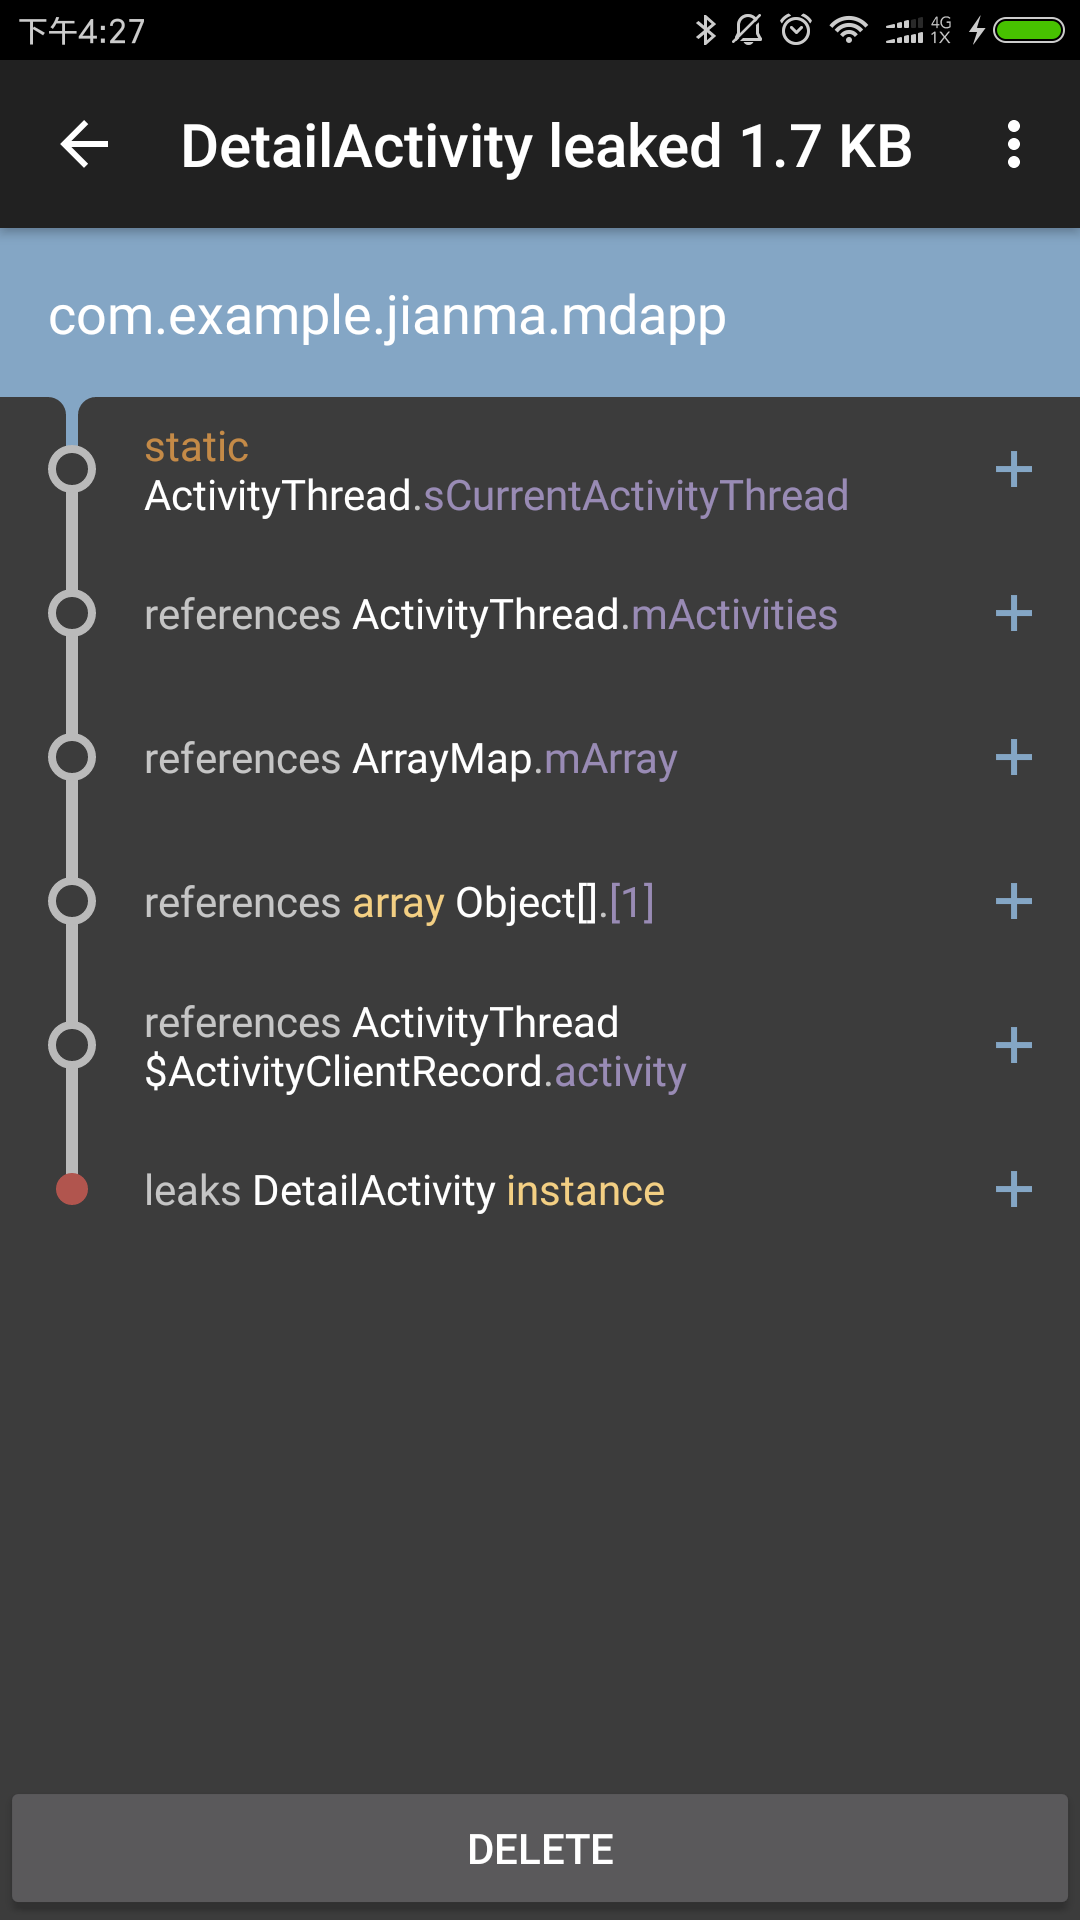
我们就可以进行分析啦,很大程度上帮我们发现并解决内存泄漏的问题~~
