前言
我已经把全部代码放在github上-weChatApp-Run,可以下载来看看或者先star收藏,我以后还会进行一些优化更新。现在只是一个学习Demo,大家沟通学习,实际应用还需更多优化。
正文
一、准备工作
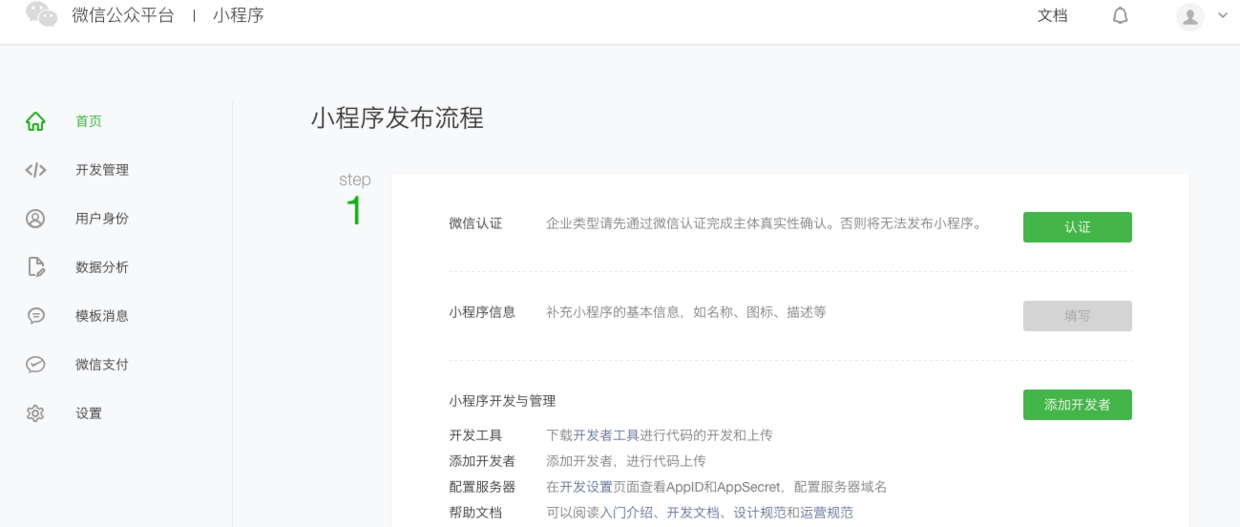
- 注册一个小程序账号,得用一个没注册过公众号的邮箱注册。
- 注册过程中需要很多认证,有很多认证,比较繁琐,如果暂时只是开发测试,不进行提审、发布的话,只要完成营业执照号填写就可以了,不需要完成微信认证。
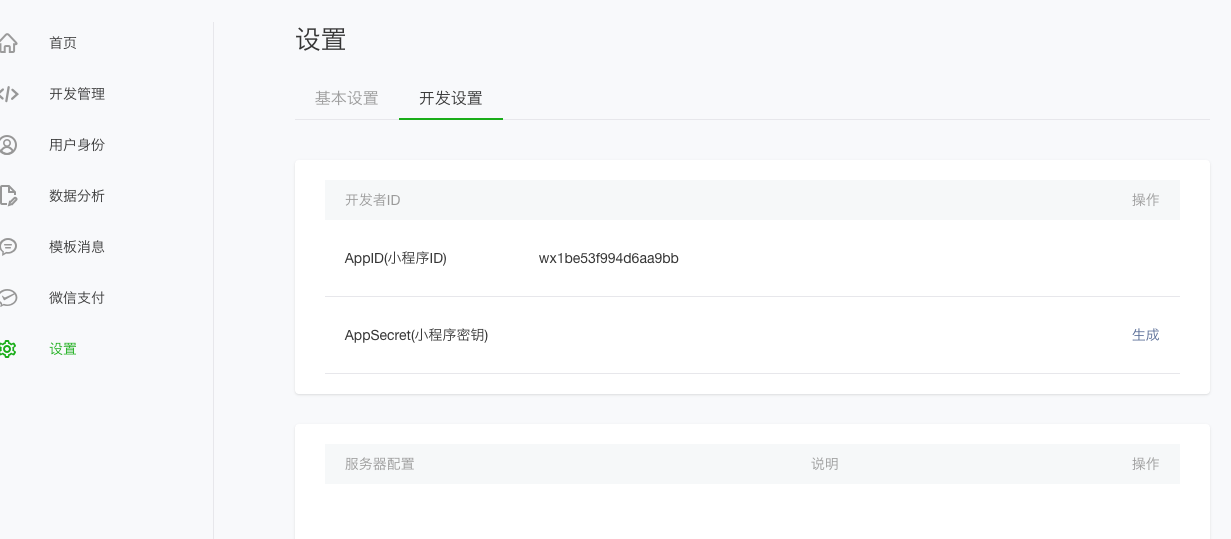
- 注册完账号,登录,在主页面左边列表中点击设置,然后再设置页面中选开发设置就可以看到
AppID,用于登录开发工具。
二、开发工具
可以到官网下载开发工具下载
三、开始项目
打开开发者工具,选择小程序选项,到达添加项目页面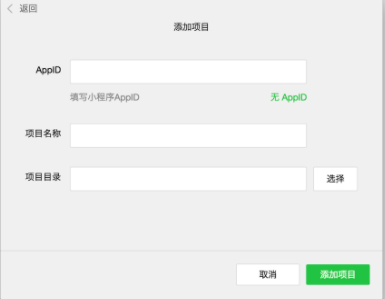 这个时候在前面设置页面的
AppId就用到了。
如果项目目录中的文件是个空文件夹,会提示是否创建quick start 项目。选择“是”,开发者工具会帮助我们在开发目录里生成一个简单的 demo。这个Demo拥有一个完整的小程序的大概框架。
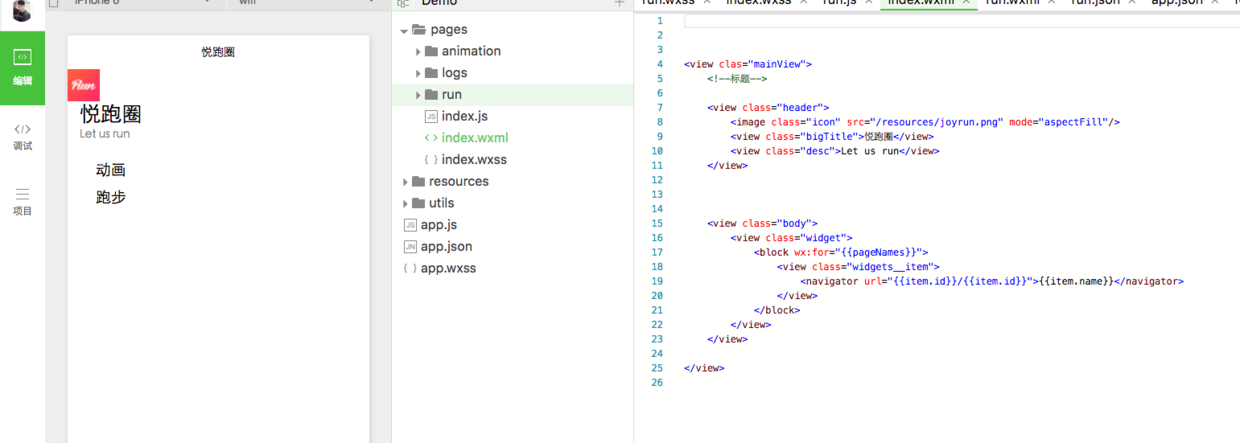
1、框架
先看下一目录: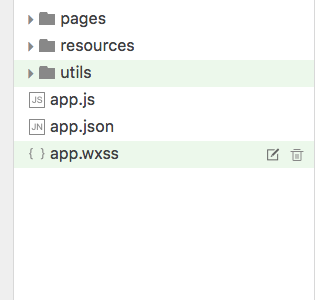
app.js: 小程序逻辑,生命周期,,全局变量app.json: 小程序公共设置,导航栏颜色等,不可以注释app.wxss :小程序公共样式,类CSS 。
小程序页面构成:
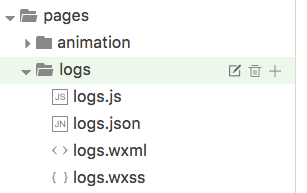
每一个小程序页面是由同路径下同名的四个不同后缀文件的组成,如:index.js、index.wxml、index.wxss、index.json。
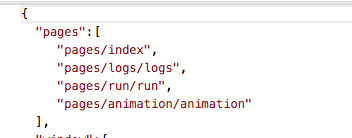
微信小程序中的每一个页面的【路径+页面名】都需要写在 app.json 的 pages 中,且 pages 中的第一个页面是小程序的首页。
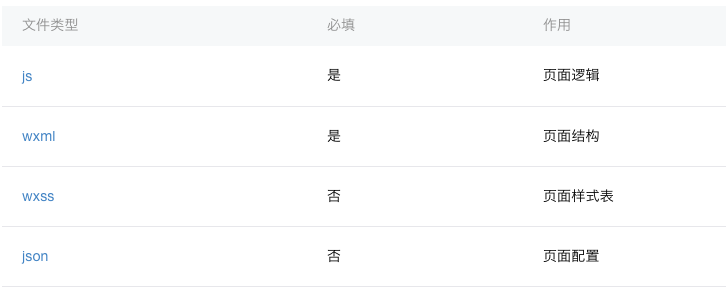
这四个文件按照功能可以分成三个部分:
配置:json 文件逻辑层:js文件视图层:wxss.wxml文件
在 iOS 上,小程序的 javascript 代码是运行在 JavaScriptCore 中在 Android 上,小程序的 javascript 代码是通过 X5 内核来解析在 开发工具上, 小程序的 javascript 代码是运行在 NW.js(chrome内核) 中。所以开发工具上的效果跟实际效果有所出入。
2、组件
微信提供了许多组件,主要分为八种:
视图容器、基础内容、表单组件、操作反馈、导航、媒体组件、地图、画布
包含view、scroll-view、button、form等普通常用的组件,也提供了地图map、画布canvas。
组件主要属于视图层,通过wxml来进行结构布局,类似于html。通过wxss修改样式,类似于css。组件使用语法实例:
<!--普通视图--><view>这是一个普通视图</view><!--wxss样式修改--><view clas="mainView">样式修改过的视图</view>更多的组件以及相关使用方法可以到官方文档-组件查看
3、API
网络媒体数据位置设备界面开发接口
其中网络请求的使用必须先到公众平台登录小程序账号,在设置页面那里,设置允许访问的域名,网络请求包含了普通的http请求、支持上传、下载、socket。基本上满足了我们开发中所需要的网络需求。
这些API属于逻辑层,写在js文件中,使用实例:
wx.getLocation({ type: 'wgs84', success: function(res) { var latitude = res.latitude var longitude = res.longitude var speed = res.speed var accuracy = res.accuracy }})可以到官方文档-API查看其它API的使用方法。
4、编译运行
1、模拟器可以在模拟器上看效果,上面讲到了运行底层不同,效果跟在手机上运行有些差异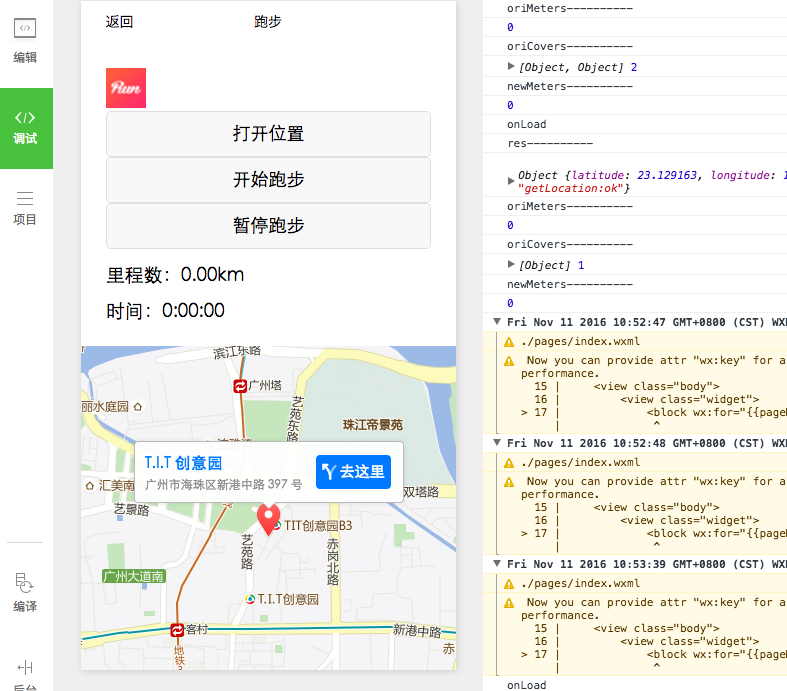
2、真机在左边的选项栏中,选择项目,然后点预览会生产一个二维码,用管理员微信号扫一扫就可以在真机上看实际效果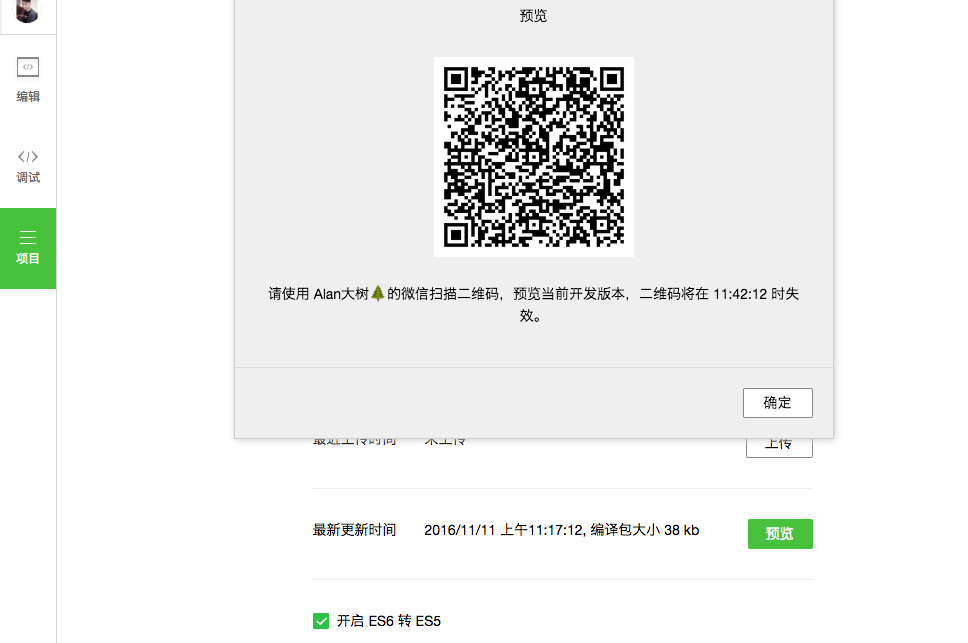
实践–跑步小程序。
真机运行截图(运行于iPhone7,微信版本:6.3.30):

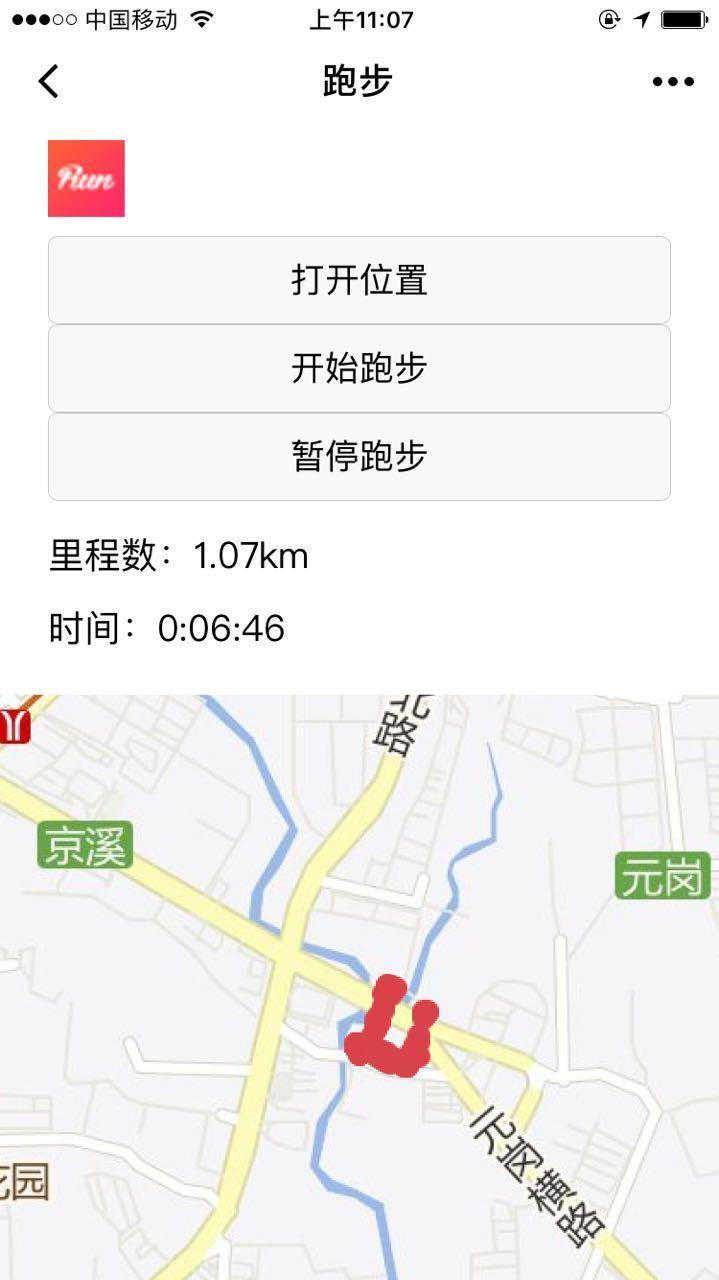
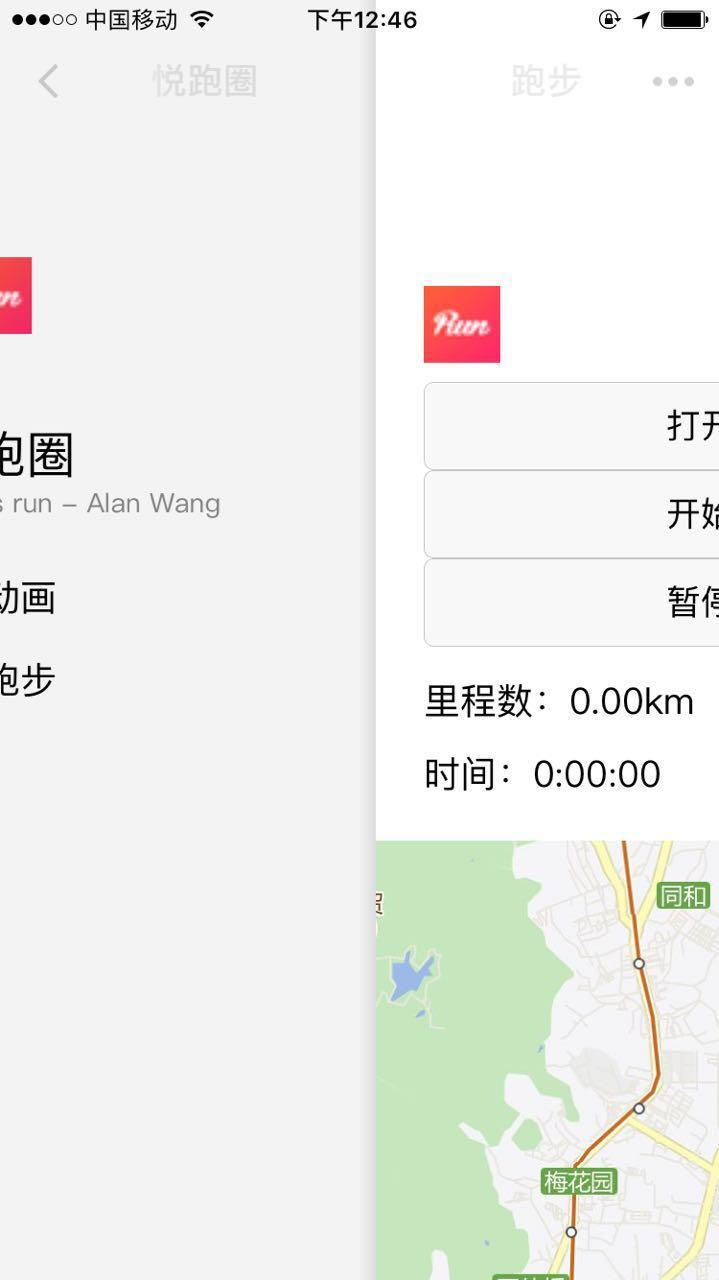

功能:
能够计算里程、时间、实时获取跑步路径(有些粗糙)
思路:
主要使用了微信小程序的获取位置APIwx.getLocation()和地图组件map。首先实现一个计时器进行 计时,通过wx.getLocation()获取坐标,把获取到的坐标存在一个数组中,通过坐标每隔一段时间获取里程,进行累加得到总里程,同时也通过坐标点进行连线存在的问题:1、因为目前找不到在地图上画连线的方法,所以采用了在地图上贴小红点图的方法显示大概跑步路径,路径比较粗糙。2、虽然采用了API里面的火星坐标gcj02类型,但是获取的坐标跟国际坐标差不多,依然存在着偏差。
核心代码:
我把全部代码放在github上-weChatApp-Run,可以下载来看看或者先star收藏,我以后还会进行一些优化更新。现在只是一个学习Demo,大家沟通学习,实际应用还需更多优化。
wxml文件布局代码:
<view class="head" style="flex-direction:row;"> <image class="icon" src="/resources/joyrun.png" mode="aspectFill"/> <button bindtap="openLocation">打开位置</button> <button bindtap="starRun">开始跑步</button> <button bindtap="stopRun">暂停跑步</button> <text>\\n里程数:{{meters}}km</text> <text>\\n\\n时间:{{time}}</text></view><view class="mainView"> <map class="mapView" style="width: 100%; height: 375px;" latitude="{{latitude}}" longitude="{{longitude}}" markers="{{markers}}" covers="{{covers}}" > </map></view>js文件逻辑代码:
var countTooGetLocation = 0;var total_micro_second = 0;var starRun = 0;var totalSecond = 0;var oriMeters = 0.0;/* 毫秒级倒计时 */function count_down(that) { if (starRun == 0) { return; } if (countTooGetLocation >= 100) { var time = date_format(total_micro_second); that.updateTime(time); } if (countTooGetLocation >= 5000) { //1000为1s that.getLocation(); countTooGetLocation = 0; } setTimeout setTimeout(function(){ countTooGetLocation += 10; total_micro_second += 10; count_down(that); } ,10 )}// 时间格式化输出,如03:25:19 86。每10ms都会调用一次function date_format(micro_second) { // 秒数 var second = Math.floor(micro_second / 1000); // 小时位 var hr = Math.floor(second / 3600); // 分钟位 var min = fill_zero_prefix(Math.floor((second - hr * 3600) / 60)); // 秒位 var sec = fill_zero_prefix((second - hr * 3600 - min * 60));// equal to => var sec = second % 60; return hr + ":" + min + ":" + sec + " ";}function getDistance(lat1, lng1, lat2, lng2) { var dis = 0; var radLat1 = toRadians(lat1); var radLat2 = toRadians(lat2); var deltaLat = radLat1 - radLat2; var deltaLng = toRadians(lng1) - toRadians(lng2); var dis = 2 * Math.asin(Math.sqrt(Math.pow(Math.sin(deltaLat / 2), 2) + Math.cos(radLat1) * Math.cos(radLat2) * Math.pow(Math.sin(deltaLng / 2), 2))); return dis * 6378137; function toRadians(d) { return d * Math.PI / 180;}} function fill_zero_prefix(num) { return num < 10 ? "0" + num : num}//****************************************************************************************//****************************************************************************************Page({ data: { clock: '', isLocation:false, latitude: 0, longitude: 0, markers: [], covers: [], meters: 0.00, time: "0:00:00" },//**************************** onLoad:function(options){ // 页面初始化 options为页面跳转所带来的参数 this.getLocation() console.log("onLoad") count_down(this); }, //**************************** openLocation:function (){ wx.getLocation({ type: 'gcj02', // 默认为 wgs84 返回 gps 坐标,gcj02 返回可用于 wx.openLocation 的坐标 success: function(res){ wx.openLocation({ latitude: res.latitude, // 纬度,范围为-90~90,负数表示南纬 longitude: res.longitude, // 经度,范围为-180~180,负数表示西经 scale: 28, // 缩放比例 }) }, }) },//**************************** starRun :function () { if (starRun == 1) { return; } starRun = 1; count_down(this); this.getLocation(); }, //**************************** stopRun:function () { starRun = 0; count_down(this); },//**************************** updateTime:function (time) { var data = this.data; data.time = time; this.data = data; this.setData ({ time : time, }) },//**************************** getLocation:function () { var that = this wx.getLocation({ type: 'gcj02', // 默认为 wgs84 返回 gps 坐标,gcj02 返回可用于 wx.openLocation 的坐标 success: function(res){ console.log("res----------") console.log(res) //make datas var newCover = { latitude: res.latitude, longitude: res.longitude, iconPath: '/resources/redPoint.png', }; var oriCovers = that.data.covers; console.log("oriMeters----------") console.log(oriMeters); var len = oriCovers.length; var lastCover; if (len == 0) { oriCovers.push(newCover); } len = oriCovers.length; var lastCover = oriCovers[len-1]; console.log("oriCovers----------") console.log(oriCovers,len); var newMeters = getDistance(lastCover.latitude,lastCover.longitude,res.latitude,res.longitude)/1000; if (newMeters < 0.0015){ newMeters = 0.0; } oriMeters = oriMeters + newMeters; console.log("newMeters----------") console.log(newMeters); var meters = new Number(oriMeters); var showMeters = meters.toFixed(2); oriCovers.push(newCover); that.setData({ latitude: res.latitude, longitude: res.longitude, markers: [], covers: oriCovers, meters:showMeters, }); }, }) } })五、后语
本文是一个快速上手开发的介绍,细节介绍可以查看官方文档我的相关全部代码放在github上-weChatApp-Run