

事件分发的案例
案例说明:
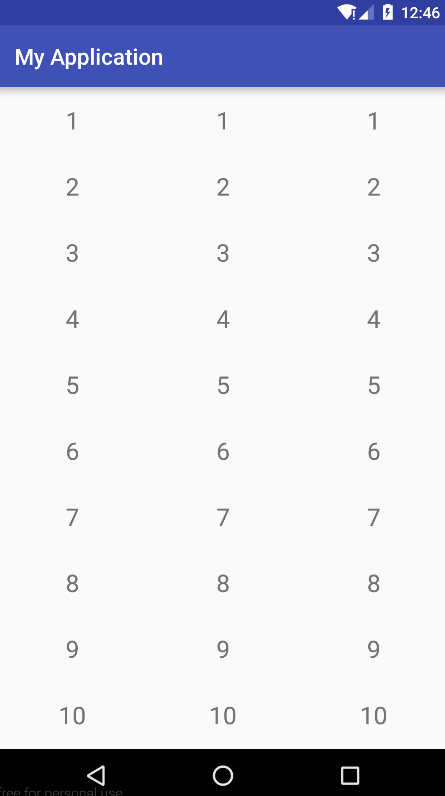
- LinearLayout 下面有3个recyclerView
- 当手指在屏幕的中间上半屏滑动的时候,3个recyclerView会一起滑动
- 当手指在屏幕的下半屏滑动的饿时候,各自区域的recyclerView单独滑动
先看下 效果图:
代码说明:
需要重写LinearLayout:
public class MyLinearlayout extends LinearLayout {

    public MyLinearlayout(Context context, AttributeSet attrs) {
        super(context, attrs);
    }

    @Override
    public boolean dispatchTouchEvent(MotionEvent ev) {
        return super.dispatchTouchEvent(ev);
    }

    @Override
    public boolean onInterceptTouchEvent(MotionEvent ev) {

        return true;
    }
    @Override
    public boolean onTouchEvent(MotionEvent event) {

        //屏幕的三分之一宽度
        int width=getWidth()/3;
        int height=getHeight();
        int count=getChildCount();


        if(event.getX()<width){
            this.getChildAt(0).dispatchTouchEvent(event);
            return  true;
        }else if(event.getX()<2*width){
            //判断手指滑动的高度
            if(event.getY()<height/2){
                //将事件分发给3个子view
                for(int i=0;i<count;i++){
                    this.getChildAt(i).dispatchTouchEvent(event);
                }
                return  true;
            }else {
                this.getChildAt(1).dispatchTouchEvent(event);
                return  true;
            }
        }else {
            this.getChildAt(2).dispatchTouchEvent(event);
            return true;
        }
    }
}
至于为什么要重写LinearLayout ,需要理解事件分发的原理:
分发的原理是从上到下,响应的顺序是从下向上的,也就是说,当我们手指滑动屏幕的时候,Linearlayout 会比他根节点下的Recyclerview先获得到这个事件,so,我们需要在父类控件(LinearLayout)中去拦截这个事件,然后在onTouchEvent方法中去决定让哪个控件去消费这个事件
如果对事件分发原理还不是很了解的,这里推荐一篇博客跟你,说的很详细事件分发原理详解
注意事项:
- 事件分发有3个重要的方法,分别是 dispatchTouchEvent()、 onInterceptTouchEvent()、onTouchEvent(MotionEvent event)
- 只有有子类的控件的ViewGroup才去重写onInterceptTouchEvent(),这里的LinearLayout就可以重写,一旦重写onInterceptTouchEvent(),将返回值设置为true,那么接下来就会执行onTouchEvent().
- 在onTouchEvent() 方法中 就可以根据手指的在屏幕的位置,来将事件分发给哪一个子view,具体写法参考上面的onTouchEvent(),需要注意的是,dispatchTouchEvent()一般是直接拿来使用的,而不去重写。比如说,想将事件分发给第一个子view,就可以这么写this.getChildAt(0).dispatchTouchEvent(event);
之后在布局xml中引用就可以了:
<?xml version="1.0" encoding="utf-8"?>
<com.gcg.dispatchexm.ui.view.MyLinearlayout
    xmlns:android="http://schemas.android.com/apk/res/android"
    xmlns:tools="http://schemas.android.com/tools"
    android:layout_width="match_parent"
    android:layout_height="match_parent"
    android:orientation="horizontal"
    tools:context=".MainActivity">

    <android.support.v7.widget.RecyclerView
        android:id="@+id/rl"
        android:layout_width="0dp"
        android:layout_height="match_parent"
        android:layout_weight="1">
    </android.support.v7.widget.RecyclerView>

    <android.support.v7.widget.RecyclerView
        android:id="@+id/rl2"
        android:layout_width="0dp"
        android:layout_height="match_parent"
        android:layout_weight="1">
    </android.support.v7.widget.RecyclerView>

    <android.support.v7.widget.RecyclerView
        android:id="@+id/rl3"
        android:layout_width="0dp"
        android:layout_height="match_parent"
        android:layout_weight="1">
    </android.support.v7.widget.RecyclerView>
</com.gcg.dispatchexm.ui.view.MyLinearlayout>如果还不是很了解,请参考demo
