Major Features
-
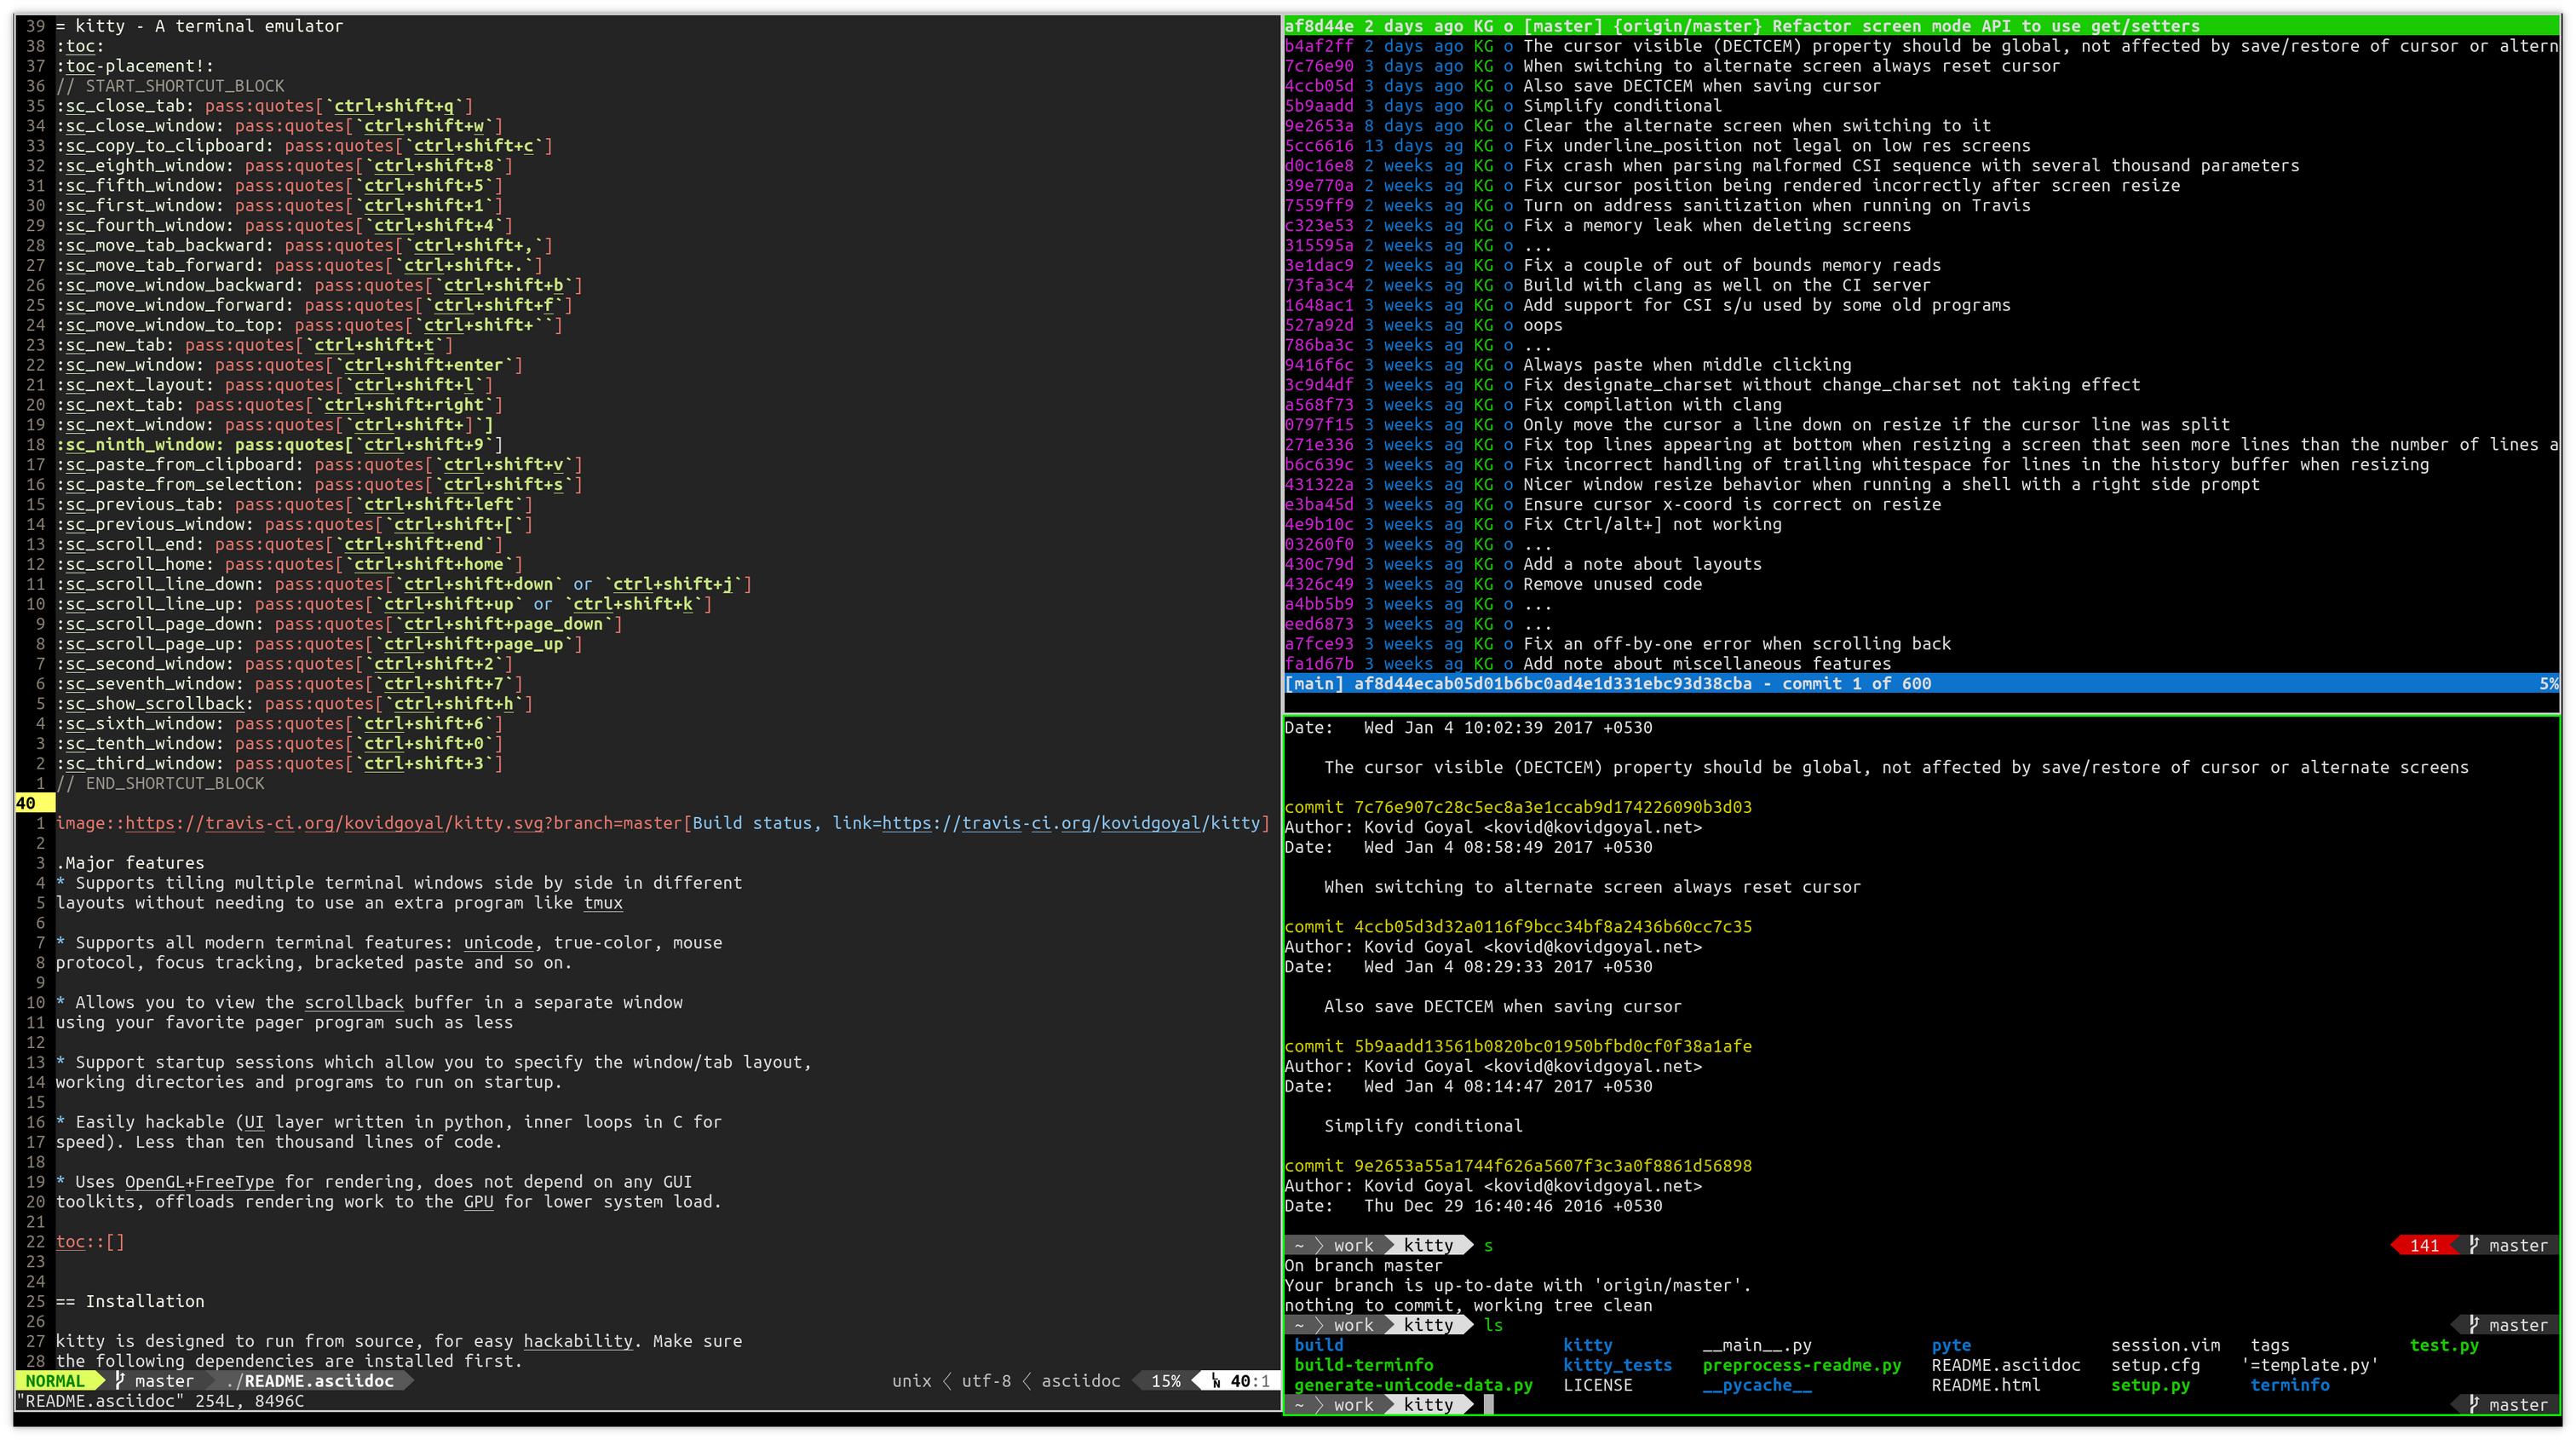
Supports tiling multiple terminal windows side by side in different layouts without needing to use an extra program like tmux
-
Supports all modern terminal features: graphics (images), unicode, true-color, OpenType ligatures, mouse protocol, focus tracking, bracketed paste and so on.
-
Supports startup sessions which allow you to specify the window/tab layout, working directories and programs to run on startup.
-
Uses OpenGL for rendering, offloads rendering to the GPU for lower system load and buttery smooth scrolling. Uses threaded rendering to minimize input latency.
-
Cross-platform support: kitty currently works on Linux and macOS, but because it uses only OpenGL for rendering, it should be trivial to port to other platforms.
-
Allows you to open the scrollback buffer and window contents in a separate window using arbitrary programs of your choice. This is useful for browsing the history comfortably in a pager or editor and also for doing things like opening URLs using only the keyboard.
-
Easily hackable (UI layer written in python, inner loops in C for speed). Less than fifteen thousand lines of code.
- Major Features
- Installation
- Design philosophy
- Tabs and Windows
- The scrollback buffer
- Miscellaneous features
- Layouts
- Configuration
- Startup Sessions
- Protocol Extensions
- Font control
- Performance
- Note for Linux/macOS packagers
- A tribute
- Resources on terminal behavior
Installation
kitty is designed to run from source, for easy hackability. Make sure the following dependencies are installed first.
Dependencies
-
python >= 3.5
-
glfw >= 3.2
-
libunistring
-
zlib
-
libpng
-
freetype
-
fontconfig (not needed on macOS)
-
harfbuzz >= 1.5.0
-
xsel (only on X11 systems with glfw < 3.3)
-
ImageMagick (optional, needed to use the
kitty icattool to display images in the terminal) -
gcc or clang (required only for building)
-
pkg-config (required only for building)
Install and run from source
git clone https://github.com/kovidgoyal/kitty && cd kittyNow build the C parts of kitty with the following command:
python3 setup.py buildYou can run kitty, as:
python3 /path/to/kitty/folderLinux packages
-
Arch linux: AUR git package aur.archlinux.org/packages/ki…
-
NixOS / nixpkgs: github.com/NixOS/nixpk…
macOS packages
kitty is available as a macOS dmg file for easy installation from the releases page. You can also run kitty directly from source using the above install from source instructions,
after installing its two dependencies (python >= 3.5 and glfw >= 3.2 using brew or a similar package manager)
Design philosophy
kitty is designed for power keyboard users. To that end all its controls work with the keyboard (although it fully supports mouse interactions as well). Its configuration is a simple, human editable, single file for easy reproducibility (I like to store config files in source control).
The code in kitty is designed to be simple, modular and hackable. It is written in a mix of C (for performance sensitive parts) and Python (for easy hackability of the UI). It does not depend on any large and complex UI toolkit, using only OpenGL for rendering everything.
Finally, kitty is designed from the ground up to support all modern terminal features, such as unicode, true color, bold/italic fonts, text formatting, etc. It even extends existing text formatting escape codes, to add support for features not available elsewhere, such as colored and styled (curly) underlines. One of the design goals of kitty is to be easily extensible so that new features can be added in the future with relatively less effort.
Tabs and Windows
kitty is capable of running multiple programs organized into tabs and windows. The top level of organization is the Tab. Each tab consists of one or more windows. The windows can be arranged in multiple different layouts, like windows are organized in a tiling window manager. The keyboard controls (which are all customizable) for tabs and windows are:
Scrolling
| Action | Shortcut |
|---|---|
|
Scroll line up |
|
|
Scroll line down |
|
|
Scroll page up |
|
|
Scroll page down |
|
|
Scroll to top |
|
|
Scroll to bottom |
|
Tabs
| Action | Shortcut |
|---|---|
|
New tab |
|
|
Close tab |
|
|
Next tab |
|
|
Previous tab |
|
|
Next layout |
|
|
Move tab forward |
|
|
Move tab backward |
|
Windows
| Action | Shortcut |
|---|---|
|
New window |
|
|
Close window |
|
|
Next window |
|
|
Previous window |
|
|
Move window forward |
|
|
Move window backward |
|
|
Move window to top |
|
|
Focus specific window (windows are counted clockwise from the top left corner) |
|
Miscellaneous
| Action | Shortcut |
|---|---|
|
Increase font size |
|
|
Decrease font size |
|
|
Restore font size |
|
|
Toggle fullscreen |
|
|
Pass current selection to program |
|
The scrollback buffer
kitty supports scrolling back to view history, just like most terminals. You can use either the keyboard shortcuts or the mouse scroll wheel to do so. However, kitty has an extra, neat feature. Sometimes you
need to explore the scrollback buffer in more detail, maybe search for some text or refer to it side-by-side while typing in a follow-up command. kitty allows you to do this by pressing the ctrl+shift+h key-combination, which
will open the scrollback buffer in a new window, using your favorite pager program (which is less by default). You can then explore the scrollback buffer using whatever program you normally use. Colors and text formatting are
preserved.
Miscellaneous features
You can double click to select a word and triple click to select a line. You can also hold down ctrl+shift and click on a URL to open it in a browser.
Layouts
Currently, there are two layouts available,
-
Stack — Only a single maximized window is shown at a time
-
Tall — One window is shown full height on the left, the rest of the windows are shown one below the other on the right.
You can switch between layouts using the ctrl+shift+l key combination.
Writing a new layout only requires about thirty lines of code, so if there is some layout you want, take a look at layout.py and submit a pull request!
Configuration
kitty is highly customizable, everything from keyboard shortcuts, to painting frames-per-second. See the heavily commented default config file. By default kitty looks
for a config file in the OS config directory (usually ~/.config/kitty/kitty.conf on Linux and ~/Library/Preferences/kitty/kitty.conf on macOS) but you can pass a specific path via the --config option.
Startup Sessions
You can control the tabs, window layout, working directory, startup programs, etc. by creating a "session" file and using the --session command line flag. For example:
# Set the window layout for the current tab
layout tall
# Set the working directory for the current tab
cd ~
# Create a window and run the specified command in it
launch zsh
launch vim
launch irssi --profile x

# Create a new tab (the part after new_tab is the optional tab name which will
# be displayed in the tab bar, if omitted, the title of the active window will
# be used instead)
new_tab my tab
cd ~/somewhere
# Set the layouts allowed in this tab
enabled_layouts tall, stack
# Set the current layout
layout stack
launch zsh
# Make the current window the active (focused) window
focus
launch emacs
Protocol Extensions
kitty has a few extensions to the xterm protocol, to enable advanced features, see Protocol Extensions.
Font control
kitty has extremely flexible and powerful font selection features. You can specify individual families for the regular, bold, italic and bold+italic fonts. You can even specify specific font families for specific ranges of unicode characters. This allows precise control over text rendering. It can come in handy for applications like powerline, without the need to use patched fonts. See the various font related configuration directives in the config file.
Performance
The main goals for kitty performance are user perceived latency while typing and "smoothness" while scrolling as well as CPU usage. kitty tries hard to find an optimum balance for these. To that end it keeps a cache of each rendered glyph in video RAM so that font rendering is not a bottleneck. Interaction with child programs takes place in a separate thread from rendering, to improve smoothness.
There are two parameters you can tune to adjust the performance. repaint_delay and input_delay. These control the artificial delays introduced into the render loop to reduce CPU usage. See the config file for details.
You can generate detailed per-function performance data using gperftools. Build kitty with the --profile flag which will create an executable called kitty-profile.
Run that and perform the task you want to analyse, for example, scrolling a large file with less. After you quit, function call statistics will be printed to stdout and you can use tools like kcachegrind for more detailed analysis.
Here are some CPU usage numbers for the task of scrolling a file continuously in less. The CPU usage is for the terminal process and X together and is measured using htop. The measurements are taken at the same font and window size for all terminals
on a Intel® Core™ i7-4820K CPU @ 3.70GHz CPU with a Advanced Micro Devices, Inc. [AMD/ATI] Cape Verde XT [Radeon HD 7770/8760 / R7 250X] GPU.
| Terminal | CPU usage (X + terminal) |
|---|---|
|
kitty |
6 - 8% |
|
xterm |
5 - 7% (but scrolling was extremely janky) |
|
termite |
10 - 13% |
|
urxvt |
12 - 14% |
|
gnome-terminal |
15 - 17% |
|
konsole |
29 - 31% |
As you can see, kitty uses much less CPU than all terminals, except xterm, but its scrolling "smoothness" is much better than that of xterm (at least to my, admittedly biased, eyes).
Note for Linux/macOS packagers
While kitty does use python, it is not a traditional python package, so please do not install it in site-packages. Instead run,
python3 setup.py linux-packageThis will install kitty into the directory linux-package. You can run kitty with linux-package/bin/kitty. All the files needed to run kitty will be in linux-package/lib/kitty. The terminfo file will be installed
into linux-package/share/terminfo. Simply copy these files into /usr to install kitty. In other words, linux-package is the staging area into which kitty is installed. You can choose a different staging
area, by passing the --prefix argument to setup.py.
You should probably split kitty into two packages, kitty-terminfo that installs the terminfo file and kitty that installs the main program. This allows users to install the terminfo file on servers into which they ssh,
without needing to install all of kitty.
This applies to creating packages for kitty for macOS package managers such as brew or MacPorts as well.
A tribute
While over the decades I am sure many people have contributed to the development of the terminal emulator space, there is one individual in particular I would like to thank. Thomas E. Dickey, the creator of xterm. xterm is the most comprehensive and feature-rich terminal emulator I have had the pleasure of using. As I worked on kitty, I ran headlong into more and more gnarly corners of terminal behavior. On all those occasions, either the excellent documentation at xterm-ctlseqs or investigating the behavior and code of xterm or vttest were invaluable tools to aid my understanding.
My achievements, if any, in developing kitty would not have been possible without his prior work and the generous sharing of knowledge accumulated over decades.
Thank you.


