前言:
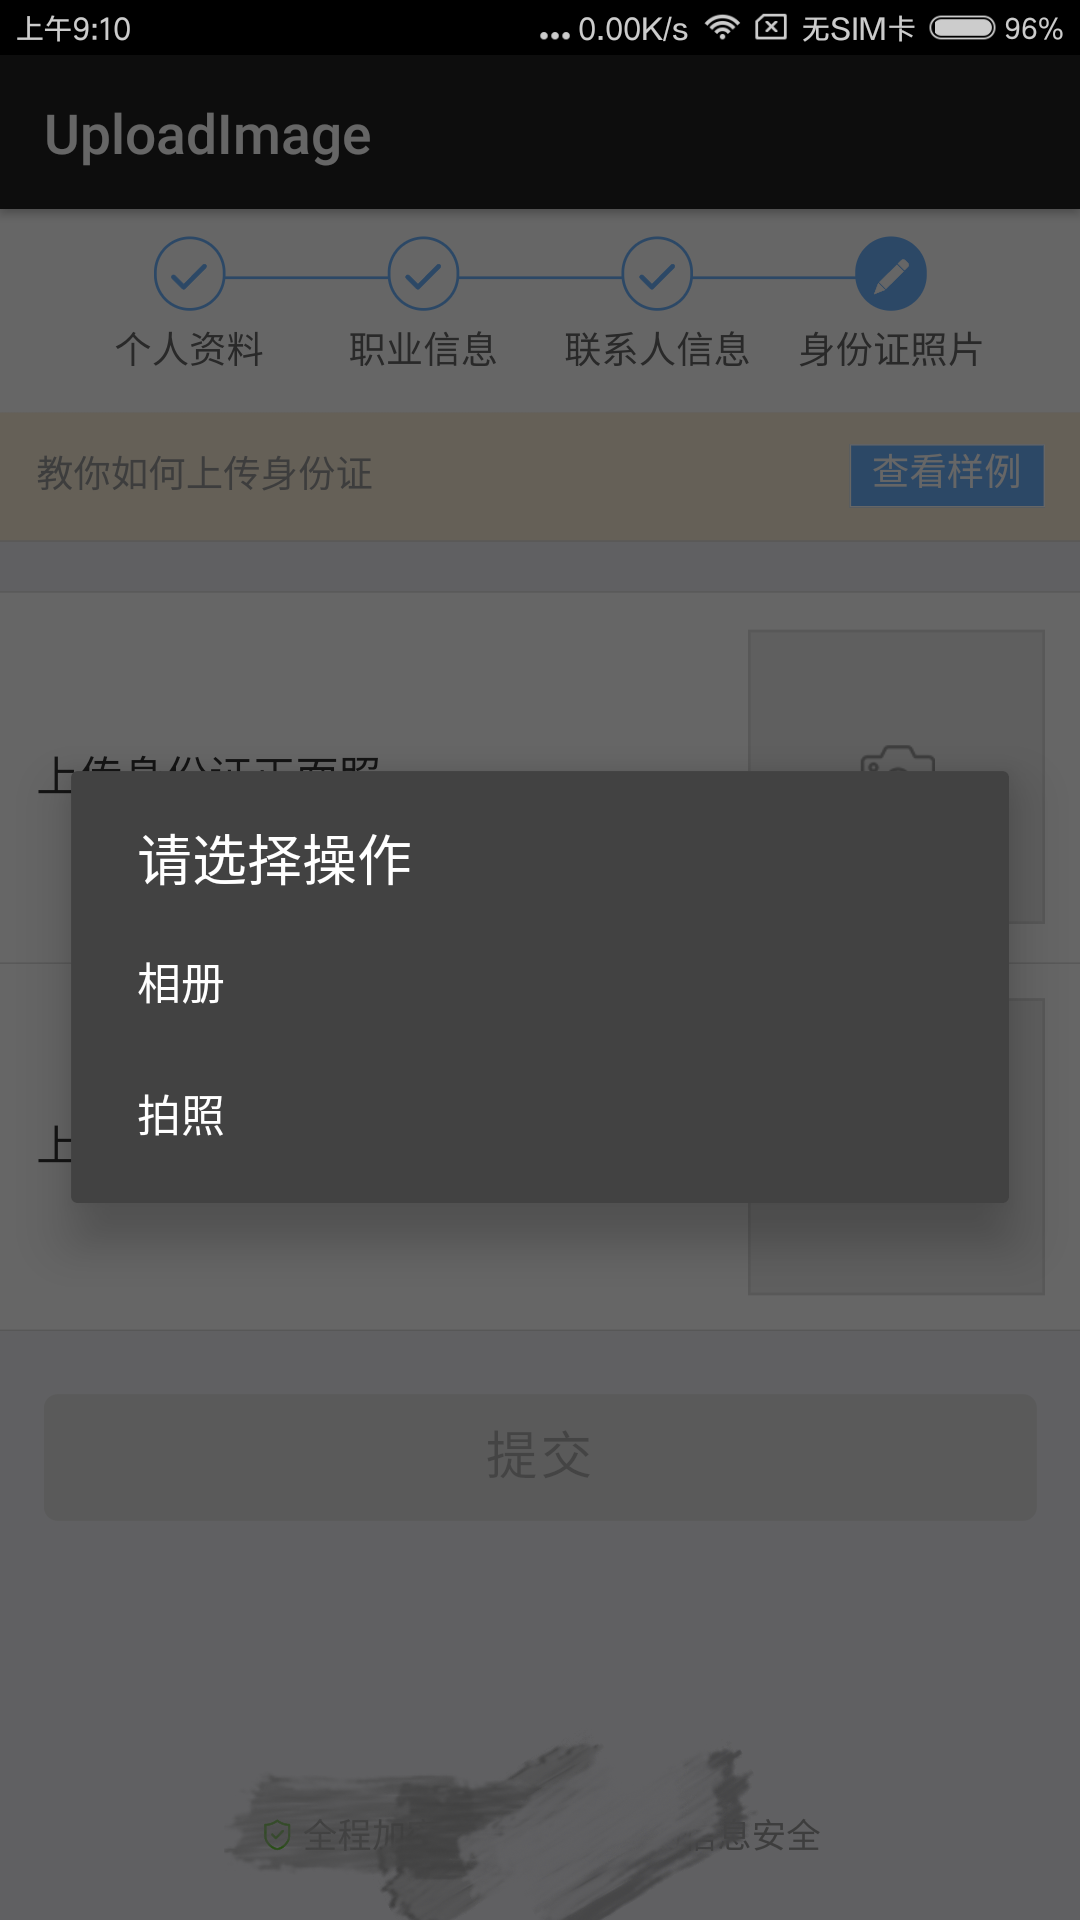
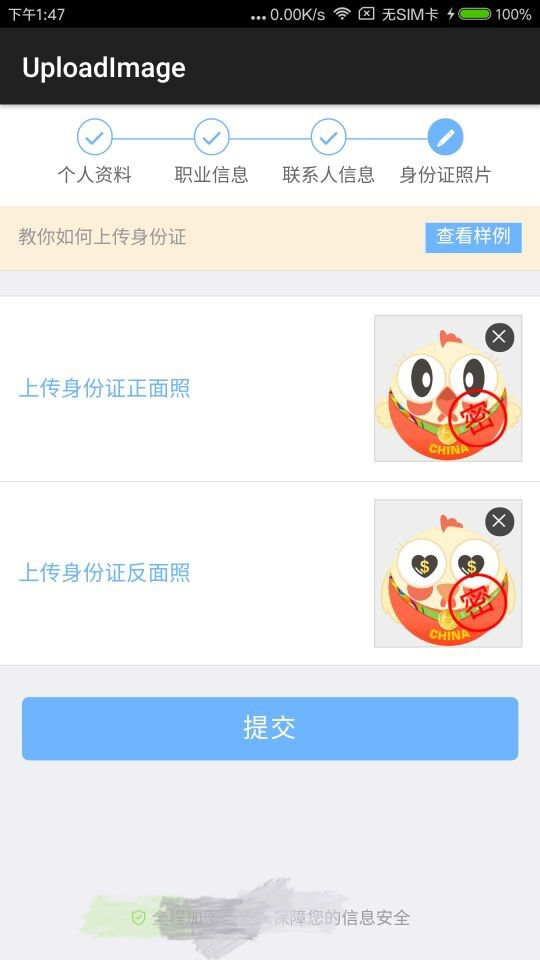
各公司为了处理更多的业务流程, 一般都会加入H5与原生交互处理,方便快速开发,迭代项目。但,在Android中,H5与原生的交互处理的就没有iOS那么好。其中适配也是一个问题,Android系统版本众多,国内手机开发商都各自定制自家的系统,所以适配起来的话,也是一个不小的工作量。本文就总结一下我本人在公司项目使用到Webview中上传图片的处理。
WebView 上传图片, 想必很多人都碰到过这样的场景. 而且 WebView 在4.4前后的区别非常大, 比如对URL跳转的格式, 对JS的注入声明等等, 4.4以后的WebView 已经是chromium内核, 有多强大就无需我赘述. 说这些, 其实也是为了说明也因为WebView的前后变化太大了, 所以在低版本和版本上, WebView上传文件的方式都略有不同, 而且在安卓4.4.4的一些设备上难以保证所有机型都成功。
 111_看图王.png
  222222_看图王.jpg
实现过程: 在Android4.4之前,Webview的webkit中支持openFileChooser.当Webview加载一个HTML页面,点击按钮需要模拟form提交的方式去上传文件时,就会回调:
openFileChooser(...)
然后在这个方法里接受并处理参数ValueCallback uploadMsg. 里面的 uri 就是所从本地选择的文件路径.
然后通过Intent的startActivityForResult(…) 方法跳转到系统选择文件的界面进行文件选择, 最后在:
onActivityResult(int requestCode, int resultCode, Intent data)
方法中获取data中的字符串路径, 并转换成Uri 格式,并传给uploadMsg 即可, 类似:
String sourcePath = ImageUtil.retrievePath(this, mSourceIntent, data);
if (TextUtils.isEmpty(sourcePath) || !new File(sourcePath).exists()) {
    Log.e(TAG, "sourcePath empty or not exists.");
    break;
}
Uri uri = Uri.fromFile(new File(sourcePath));
mUploadMsg.onReceiveValue(uri);
这样, 接下来的上传工作, WebView会自动完成. 当然, 这是顺利的流程, 如果 onActivityResult(…) 中返回的 resultcode 不等于 Activity.RESULT_OK , 也要做一点处理, 不然再去点击第二次上传文件时是没有反应的. 类似这样:
if (resultCode != Activity.RESULT_OK) {
    if (mUploadMsg != null) {
        mUploadMsg.onReceiveValue(null);
 }
    return;
}
传个null 即可 。
OK, 上面就是4.4 以前的实现过程, 上面提及的代码在下载的demo里会有, 为保证篇幅不会放在文章里. 那么5.0及以上的sdk变动时, webkit不再支持 :
openFileChooser(...)
而是提供了一个代替的方法:
public boolean onShowFileChooser(WebView webView, ValueCallback<Uri[]> filePathCallback, FileChooserParams fileChooserParams) {
 return false;
}
这个方法的参数跟 openFileChooser(…) 方法很像, 其实作用都是类似的, 只是 从
ValueCallback <Uri>uploadMsg 变成了 ValueCallback<Uri[]> filePathCallback,
还多了FileChooserParams类型参数. fileChooserParams 其实是一个属性封装的参数, 里面包含了acceptType, title等这样的文件属性, 名称等信息.
所以, onShowFileChooser(…) 的使用方法跟 openFileChooser(…) 是很类似的, 这里通过 onActivityResult(…) 看两者的使用区别:
@Override
public void onActivityResult(int requestCode, int resultCode, Intent data) {
    if (resultCode != Activity.RESULT_OK) {
        if (mUploadMsg != null) {
            mUploadMsg.onReceiveValue(null);
        }

        if (mUploadMsgForAndroid5 != null) {         // for android 5.0+
            mUploadMsgForAndroid5.onReceiveValue(null);
        }
        return;
    }
    switch (requestCode) {
        case REQUEST_CODE_IMAGE_CAPTURE:
        case REQUEST_CODE_PICK_IMAGE: {
            try {
                if (Build.VERSION.SDK_INT < Build.VERSION_CODES.LOLLIPOP) {
                    if (mUploadMsg == null) {
                        return;
                    }

                    String sourcePath = ImageUtil.retrievePath(this, mSourceIntent, data);

                    if (TextUtils.isEmpty(sourcePath) || !new File(sourcePath).exists()) {
                        Log.e(TAG, "sourcePath empty or not exists.");
                        break;
                    }
                    Uri uri = Uri.fromFile(new File(sourcePath));
                    mUploadMsg.onReceiveValue(uri);

                } else if (Build.VERSION.SDK_INT >= Build.VERSION_CODES.LOLLIPOP) {
                    if (mUploadMsgForAndroid5 == null) {        // for android 5.0+
                        return;
                    }

                    String sourcePath = ImageUtil.retrievePath(this, mSourceIntent, data);

                    if (TextUtils.isEmpty(sourcePath) || !new File(sourcePath).exists()) {
                        Log.e(TAG, "sourcePath empty or not exists.");
                        break;
                    }
                    Uri uri = Uri.fromFile(new File(sourcePath));
                    mUploadMsgForAndroid5.onReceiveValue(new Uri[]{uri});
                }
            } catch (Exception e) {
                e.printStackTrace();
            }
            break;
        }
    }
}
主要是针对 5.0前后的系统做了一些区别处理, 其他无大异.
提高兼容性的解决方案:
- 使用加强版的WebView, cordova , 可以考虑编译这个项目获得jar包, 然后导入项目中使用它的WebView组件.
- 也可以通过JS调用本地的方法自行实现上传.
以上两个方法的兼容性都相当不错, 可自行尝试.
可能导致失败的原因: 如果选择文件到上传文件的过程中失败, 有可能是以下原因导致的: 1. 文件的路径包含中文. (9部设备中, vivo X6D不支持中文路径包含中文) 2. 手机系统是Android 6.0以上 (API >= 23), 且没有获得文件和摄像头权限.
如果你的项目中还兼容到4.0以下的版本, build.gradle 配置文件中的compileSdkVersion 和 targetSdkVersion 是16甚至更低, 那么恭喜你, 直接使用 openFileChooser(…) 这种处理方法即可.
主要类:MyWebChomeClient
/**
 * MyWebChomeClient
 */
public class MyWebChomeClient extends WebChromeClient {

    private OpenFileChooserCallBack mOpenFileChooserCallBack;

    public MyWebChomeClient(OpenFileChooserCallBack openFileChooserCallBack) {
        mOpenFileChooserCallBack = openFileChooserCallBack;
    }

    public void openFileChooser(ValueCallback<Uri> uploadMsg, String acceptType) {
        mOpenFileChooserCallBack.openFileChooserCallBack(uploadMsg, acceptType);
    }

    public void openFileChooser(ValueCallback<Uri> uploadMsg) {
        openFileChooser(uploadMsg, "");
    }

    public void openFileChooser(ValueCallback<Uri> uploadMsg, String acceptType, String capture) {
        openFileChooser(uploadMsg, acceptType);
    }

    public boolean onShowFileChooser(WebView webView, ValueCallback<Uri[]> filePathCallback,
                                     FileChooserParams fileChooserParams) {
        return mOpenFileChooserCallBack.openFileChooserCallBackAndroid5(webView, filePathCallback, fileChooserParams);
    }

    public interface OpenFileChooserCallBack {
        // for API - Version below 5.0.
        void openFileChooserCallBack(ValueCallback<Uri> uploadMsg, String acceptType);

        // for API - Version above 5.0 (contais 5.0).
        boolean openFileChooserCallBackAndroid5(WebView webView, ValueCallback<Uri[]> filePathCallback,
                                                FileChooserParams fileChooserParams);
    }
参考文章:
WebView File Upload Over Kitkat
HTML file input in android webview (android 4.4, kitkat)
CORDOVA Android WebViews
使用Cordova来解决HTML5制作的WebView手机不兼容的问题
Android使用WebView从相册/拍照中添加图片
---------------- 2017-07-25 Update ---------------- 适配 Android7.0相机拍照功能FileUriExposedException导致的问题
拍照
- 在AndroidManifest.xml 添加provider
<provider
android:name="android.support.v4.content.FileProvider"
android:authorities="包名.fileprovider"
android:exported="false"
android:grantUriPermissions="true">
<meta-data
android:name="android.support.FILE_PROVIDER_PATHS"
android:resource="@xml/file_paths" />
</provider>
2.在资源文件目录下增加res/xml/file_paths.xml
<?xml version="1.0" encoding="utf-8"?>
<paths>
<external-path name="external_files" path="."/>
</paths>
3.使用FileProvider适配android7.0拍照[以下针对的是Android N的适配]
File photoFile=new File(Environment.getExternalStorageDirectory(), "/temp/"+System.currentTimeMillis() + ".jpg");
if (!file.getParentFile().exists())file.getParentFile().mkdirs();
Uri imageUri = FileProvider.getUriForFile(context, "包名.fileproviderr", photoFile);//通过FileProvider创建一个content类型的Uri
Intent intent = new Intent();
intent.addFlags(Intent.FLAG_GRANT_READ_URI_PERMISSION); //添加这一句表示对目标应用临时授权该Uri所代表的文件
intent.setAction(MediaStore.ACTION_IMAGE_CAPTURE);//设置Action为拍照
intent.putExtra(MediaStore.EXTRA_OUTPUT, imageUri);//将拍取的照片保存到指定URI
startActivityForResult(intent,1006);
4 .在 onActivityResult 里面拿到 第3步里面的photoFile。
  if (photoFile != null && Build.VERSION.SDK_INT >= 24) { //适配Android7.0拍照返回图片处理
                            Uri uri = Uri.fromFile(photoFile);
                            mUploadMsgForAndroid5.onReceiveValue(new Uri[]{uri});
                        }
这样android7.0的机型都可以上传成功了
上述代码中主要有两处改变:
1.将之前Uri的scheme类型为file的Uri改成了有FileProvider创建一个content类型的Uri。
2.添加了intent.addFlags(Intent.FLAG_GRANT_READ_URI_PERMISSION);来对目标应用临时授权该Uri所代表的文件。
适配裁剪图片
在Android7.0之前,你可以通过如下方法来裁切照片:
File file=new File(Environment.getExternalStorageDirectory(), "/temp/"+System.currentTimeMillis() + ".jpg");
if (!file.getParentFile().exists())file.getParentFile().mkdirs();
Uri outputUri = Uri.fromFile(file);
Uri imageUri=Uri.fromFile(new File("/storage/emulated/0/temp/1474960080319.jpg"));
Intent intent = new Intent("com.android.camera.action.CROP");
intent.setDataAndType(imageUri, "image/*");
intent.putExtra("crop", "true");
intent.putExtra("aspectX", 1);
intent.putExtra("aspectY", 1);
intent.putExtra("scale", true);
intent.putExtra(MediaStore.EXTRA_OUTPUT, outputUri);
intent.putExtra("outputFormat", Bitmap.CompressFormat.JPEG.toString());
intent.putExtra("noFaceDetection", true); // no face detection
startActivityForResult(intent,1008);
和拍照一样,上述代码在Android7.0上同样会引起android.os.FileUriExposedException
异常,解决办法就是上文说说的(使用FileProvider)。
然后,将上述代码改为如下即可:
File file=new File(Environment.getExternalStorageDirectory(), "/temp/"+System.currentTimeMillis() + ".jpg");
if (!file.getParentFile().exists())file.getParentFile().mkdirs();
 if (Build.VERSION.SDK_INT >= 24) {
Uri outputUri = FileProvider.getUriForFile(context, "com.jph.takephoto.fileprovider",file);
Uri imageUri=FileProvider.getUriForFile(context, "com.jph.takephoto.fileprovider", new File("/storage/emulated/0/temp/1474960080319.jpg");//通过FileProvider创建一个content类型的Uri
}else{
Uri outputUri = Uri.fromFile(file);
Uri imageUri=Uri.fromFile(new File("/storage/emulated/0/temp/1474960080319.jpg"));
}
Intent intent = new Intent("com.android.camera.action.CROP");
intent.addFlags(Intent.FLAG_GRANT_READ_URI_PERMISSION);
intent.setDataAndType(imageUri, "image/*");
intent.putExtra("crop", "true");
intent.putExtra("aspectX", 1);
intent.putExtra("aspectY", 1);
intent.putExtra("scale", true);
intent.putExtra(MediaStore.EXTRA_OUTPUT, outputUri);
intent.putExtra("outputFormat", Bitmap.CompressFormat.JPEG.toString());
intent.putExtra("noFaceDetection", true); // no face detection
startActivityForResult(intent,1008);
整合上述,应该清楚知道在Android7.0系统上,Android 框架强制执行了 StrictMode API 政策禁止向你的应用外公开 file:// URI。 如果一项包含文件 file:// URI类型 的 Intent 离开你的应用,应用失败,并出现 FileUriExposedException 异常 。