

前言
鉴于http的不安全以及容易被运营商劫持,我打算将自己的博客网站:豆米的博客和结婚纪念网站:结婚纪念迁移到https,立马撸起袖子加油干,将迁移过程记录下来供大家参考。
1、使用Let`s Encrypt生成证书
首先我们到官网的文档Getting Started找生成证书的办法。在官网中提供了两种方式:一种是使用shell,一种是不使用shell。因为我的服务器是部署在阿里云上,用的ubuntu,所以我使用第一种方法。
在shell中提供了Certbot ACME客户端。它可以在不停机的情况下自动发布和安装证书。对于不想要自动配置的人,它也有专家模式。该客户端提倡易用、通用、文档化。
考虑到我们得需求比较简单,所以就不需要考虑官网提供的其他种ACME客户端了
1.1、使用Certbot
进入Certbot官网,出来了这么一个选择界面:
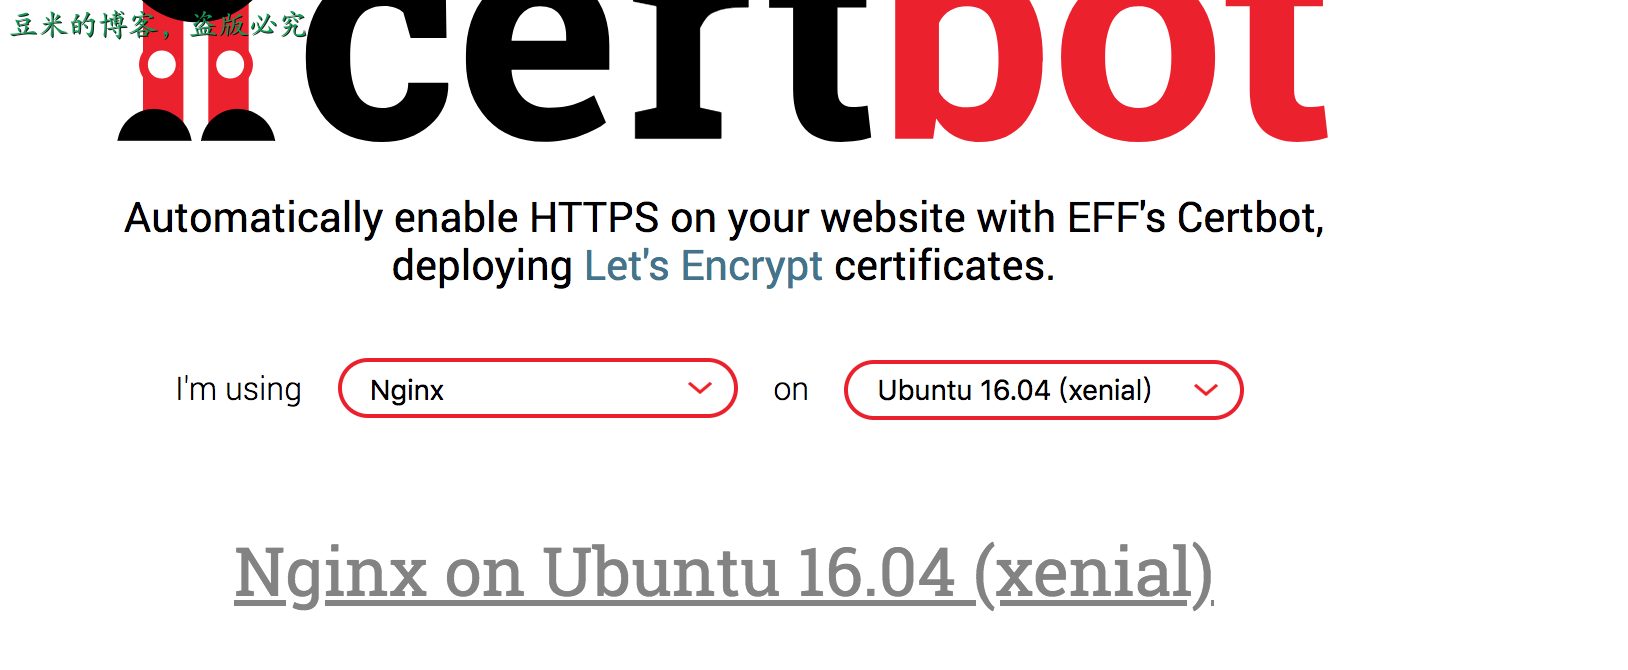
因为我们的环境是ubuntu16.04和nginx,所以选择了I am using Nginx on Ubuntu 16.04(xenial)
按照官网提供的指导,我们在shell环境下安装:
$ sudo apt-get update
$ sudo apt-get install software-properties-common
$ sudo add-apt-repository ppa:certbot/certbot
$ sudo apt-get update
$ sudo apt-get install python-certbot-nginx
这几个步骤理论上没什么问题,接着我们执行启动命令:
certbot --nginx
该命令将会为你获取证书并且自动为你编辑nginx的配置。如果你想手动自己更改nginx的配置,可以运行这个命令:certbot --nginx certonly。
运行这个命令之后,会有一些问题,需要你手动选择,展示如下:
Saving debug log to /var/log/letsencrypt/letsencrypt.log
Plugins selected: Authenticator nginx, Installer nginx
Enter email address (used for urgent renewal and security notices) (Enter 'c' to
cancel): linguang661990@126.com
Starting new HTTPS connection (1): acme-v01.api.letsencrypt.org

-------------------------------------------------------------------------------
Please read the Terms of Service at
https://letsencrypt.org/documents/LE-SA-v1.2-November-15-2017.pdf. You must
agree in order to register with the ACME server at
https://acme-v01.api.letsencrypt.org/directory
-------------------------------------------------------------------------------
(A)gree/(C)ancel: A            --------->第一个问题是询问是否同意协议

# the IP(s) on which your node server is running. I chose port 3000.
-------------------------------------------------------------------------------
Would you be willing to share your email address with the Electronic Frontier
Foundation, a founding partner of the Let's Encrypt project and the non-profit
organization that develops Certbot? We'd like to send you email about EFF and
our work to encrypt the web, protect its users and defend digital rights.
-------------------------------------------------------------------------------
(Y)es/(N)o: Y                  --------->第二个问题询问是否共享你的邮箱
Starting new HTTPS connection (1): supporters.eff.org

Which names would you like to activate HTTPS for?
-------------------------------------------------------------------------------
1: 5udou.cn
2: blog.5udou.cn
3: www.blog.5udou.cn
4: www.5udou.cn
-------------------------------------------------------------------------------
Select the appropriate numbers separated by commas and/or spaces, or leave input
----------->第三个问题是询问你打算为哪几个域名开启https,它是自动去nginx读取的,留空白的话是选择所有的选项
blank to select all options shown (Enter 'c' to cancel):
Obtaining a new certificate
Performing the following challenges:
http-01 challenge for 5udou.cn
http-01 challenge for blog.5udou.cn
http-01 challenge for www.blog.5udou.cn
http-01 challenge for www.5udou.cn
Waiting for verification...
Cleaning up challenges
Failed authorization procedure. www.blog.5udou.cn (http-01): urn:acme:error:dns :: DNS problem: NXDOMAIN looking up A for www.blog.5udou.cn

IMPORTANT NOTES:
 - The following errors were reported by the server:

   Domain: www.blog.5udou.cn
   Type:   None
   Detail: DNS problem: NXDOMAIN looking up A for www.blog.5udou.cn
 - Your account credentials have been saved in your Certbot
   configuration directory at /etc/letsencrypt. You should make a
   secure backup of this folder now. This configuration directory will
   also contain certificates and private keys obtained by Certbot so
   making regular backups of this folder is ideal.
接着大家看到了一个报错:Failed authorization procedure. www.blog.5udou.cn (http-01): urn:acme:error:dns :: DNS problem: NXDOMAIN looking up A for www.blog.5udou.cn
一下子发现自己的nginx有个配置错误,www.blog.5udou.cn是一个错误的域名,我的主域名是5udou.cn,所以二级域名blog.5udou.cn,并不存在www.blog.5udou.cn,可见Certbot是会去校验所有域名的合法性的。
于是我改一下我的nginx,再执行命令,这次打印如下:
Saving debug log to /var/log/letsencrypt/letsencrypt.log
Plugins selected: Authenticator nginx, Installer nginx
Starting new HTTPS connection (1): acme-v01.api.letsencrypt.org

Which names would you like to activate HTTPS for?
-------------------------------------------------------------------------------
1: 5udou.cn
2: blog.5udou.cn
3: www.5udou.cn
-------------------------------------------------------------------------------
Select the appropriate numbers separated by commas and/or spaces, or leave input
blank to select all options shown (Enter 'c' to cancel):
Obtaining a new certificate
Performing the following challenges:
http-01 challenge for 5udou.cn
http-01 challenge for blog.5udou.cn
http-01 challenge for www.5udou.cn
nginx: [warn] conflicting server name "blog.5udou.cn" on 0.0.0.0:80, ignored
Waiting for verification...
Cleaning up challenges
nginx: [warn] conflicting server name "blog.5udou.cn" on 0.0.0.0:80, ignored
Deploying Certificate to VirtualHost /etc/nginx/sites-enabled/5udou.cn
Deploying Certificate to VirtualHost /etc/nginx/sites-enabled/blog.5udou.cn
Deploying Certificate to VirtualHost /etc/nginx/sites-enabled/5udou.cn
nginx: [warn] conflicting server name "blog.5udou.cn" on 0.0.0.0:80, ignored
nginx: [warn] conflicting server name "blog.5udou.cn" on 0.0.0.0:443, ignored

Please choose whether or not to redirect HTTP traffic to HTTPS, removing HTTP access.
-------------------------------------------------------------------------------
1: No redirect - Make no further changes to the webserver configuration.
2: Redirect - Make all requests redirect to secure HTTPS access. Choose this for
new sites, or if you're confident your site works on HTTPS. You can undo this
change by editing your web server's configuration.
-------------------------------------------------------------------------------
------>第四个问题是询问是否将http的流量重定向到https
Select the appropriate number [1-2] then [enter] (press 'c' to cancel): 2
Redirecting all traffic on port 80 to ssl in /etc/nginx/sites-enabled/5udou.cn
Redirecting all traffic on port 80 to ssl in /etc/nginx/sites-enabled/blog.5udou.cn
Redirecting all traffic on port 80 to ssl in /etc/nginx/sites-enabled/5udou.cn
nginx: [warn] conflicting server name "blog.5udou.cn" on 0.0.0.0:443, ignored
nginx: [warn] conflicting server name "blog.5udou.cn" on 0.0.0.0:80, ignored

-------------------------------------------------------------------------------
Congratulations! You have successfully enabled https://5udou.cn,
https://blog.5udou.cn, and https://www.5udou.cn

You should test your configuration at:
https://www.ssllabs.com/ssltest/analyze.html?d=5udou.cn
https://www.ssllabs.com/ssltest/analyze.html?d=blog.5udou.cn
https://www.ssllabs.com/ssltest/analyze.html?d=www.5udou.cn
-------------------------------------------------------------------------------

IMPORTANT NOTES:
 - Congratulations! Your certificate and chain have been saved at:
   /etc/letsencrypt/live/5udou.cn/fullchain.pem
   Your key file has been saved at:
   /etc/letsencrypt/live/5udou.cn/privkey.pem
   Your cert will expire on 2018-08-10. To obtain a new or tweaked
   version of this certificate in the future, simply run certbot again
   with the "certonly" option. To non-interactively renew *all* of
   your certificates, run "certbot renew"
 - If you like Certbot, please consider supporting our work by:

   Donating to ISRG / Let's Encrypt:   https://letsencrypt.org/donate
   Donating to EFF:                    https://eff.org/donate-le
最后出现这个提示:Congratulations! You have successfully enabled https://5udou.cn,
https://blog.5udou.cn, and https://www.5udou.cn表明配置证书成功。
证书成功之后,需要记住证书配置的几个关键路径,在阿里云上有用:
- 证书存放的位置:/etc/letsencrypt/live/5udou.cn/fullchain.pem
- key文件存放的位置: /etc/letsencrypt/live/5udou.cn/privkey.pem
另外还提示了证书有效期3个月,到时候需要更新证书,使用命令certbot renew即可。按照官网解释,说是Certbot Package会启动一个定时任务去自动更新证书,我们去/etc/crontab并没有看到定时任务,所以我们自己手动添加:
# m h dom mon dow user  command
0  0    9 5,8,11,2 * root    certbot renew
因为我这边是8-10号过期,每隔3个月,于是算了一下,一年中就只需要5、8、11、2月份做一次更新即可,所以就有了上面的配置。
在这个网站可以看到自己服务器的证书情况: SSL分析
1.2、验证测试
打开//blog.5udou.cn, 发现可以重定向到blog.5udou.cn。 同样,5udou.cn也是一样的行为。
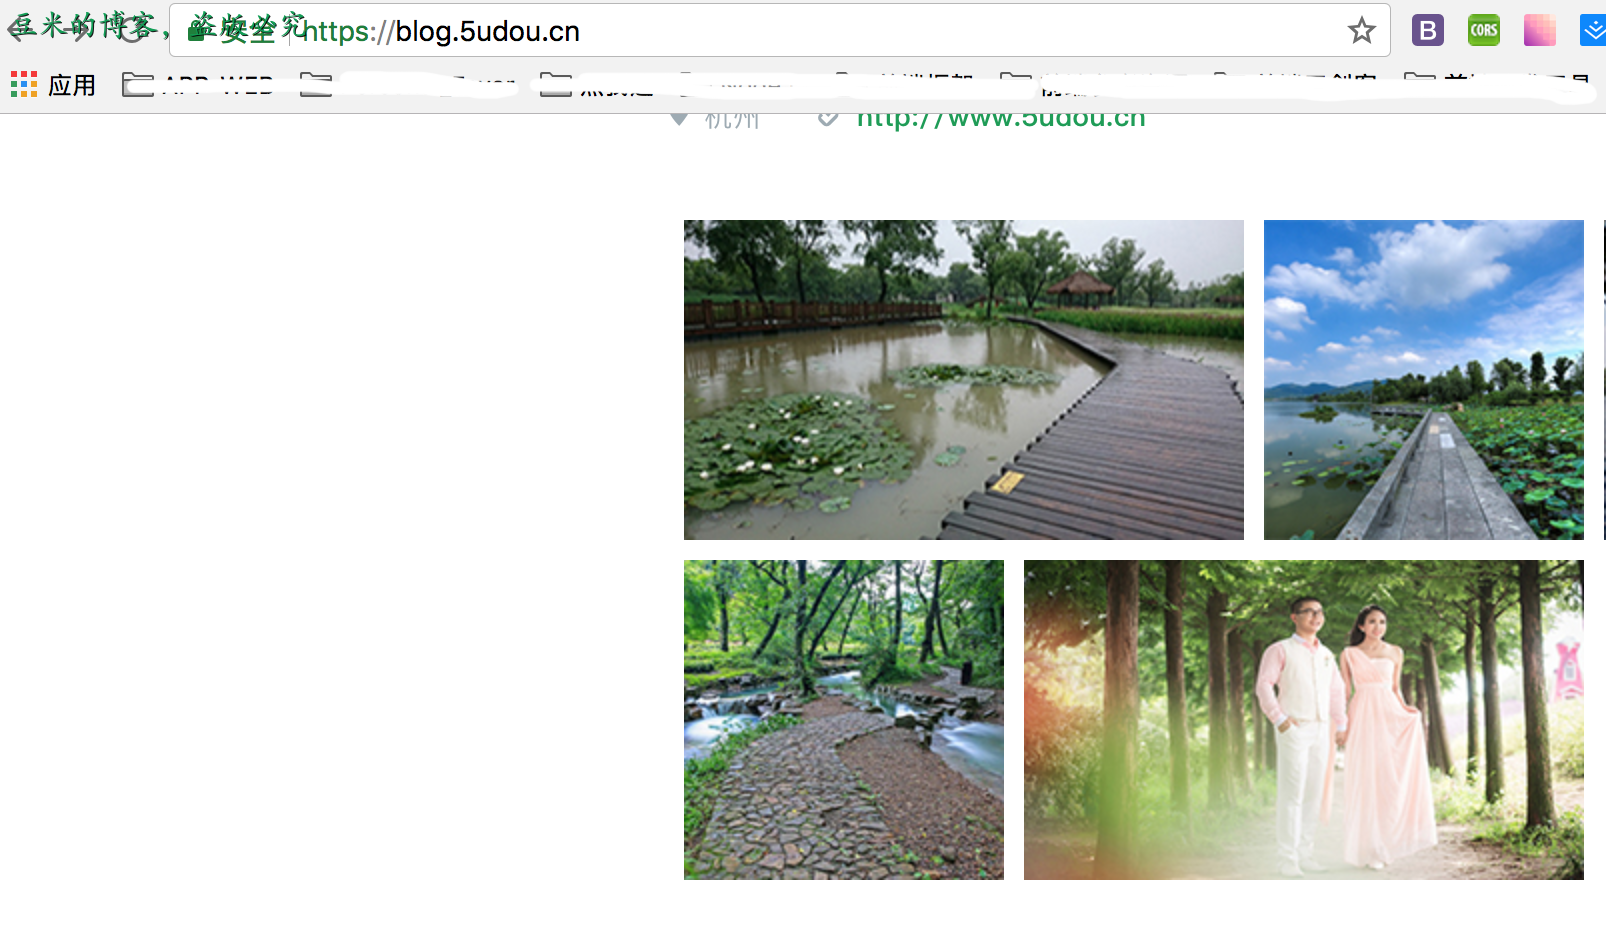 接着我们打开里面的网页,发现有几个问题:
1、 Chrome提示如下:
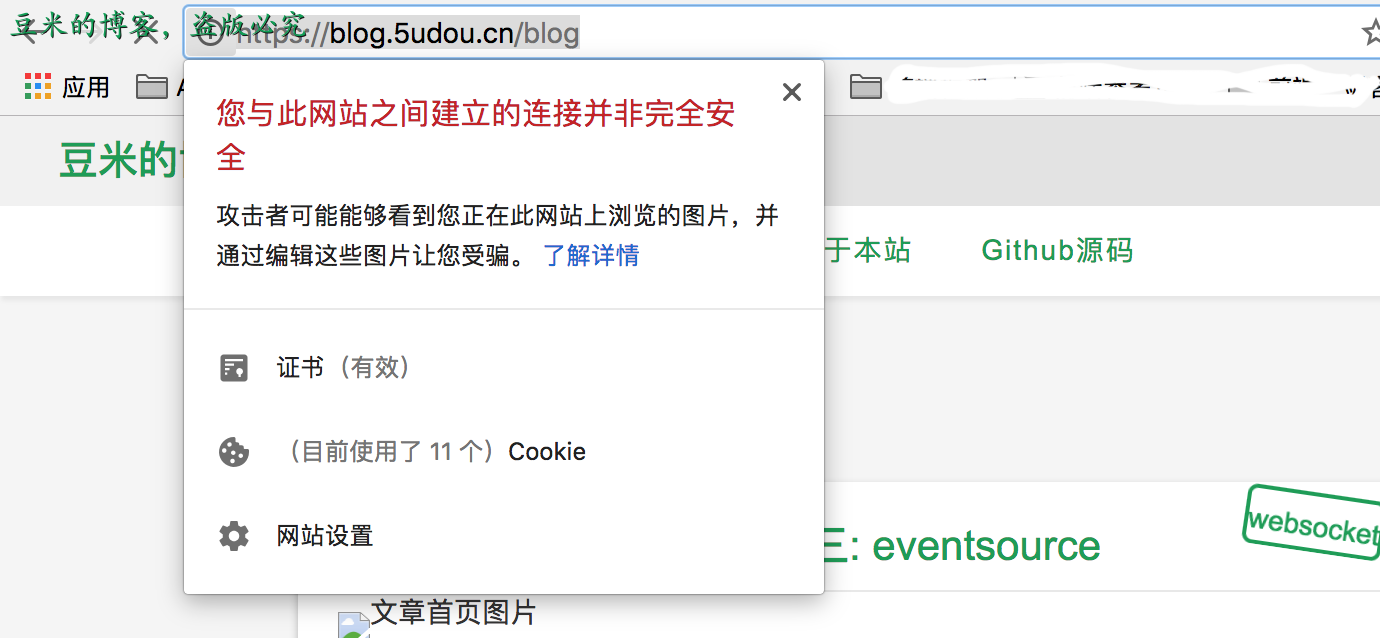
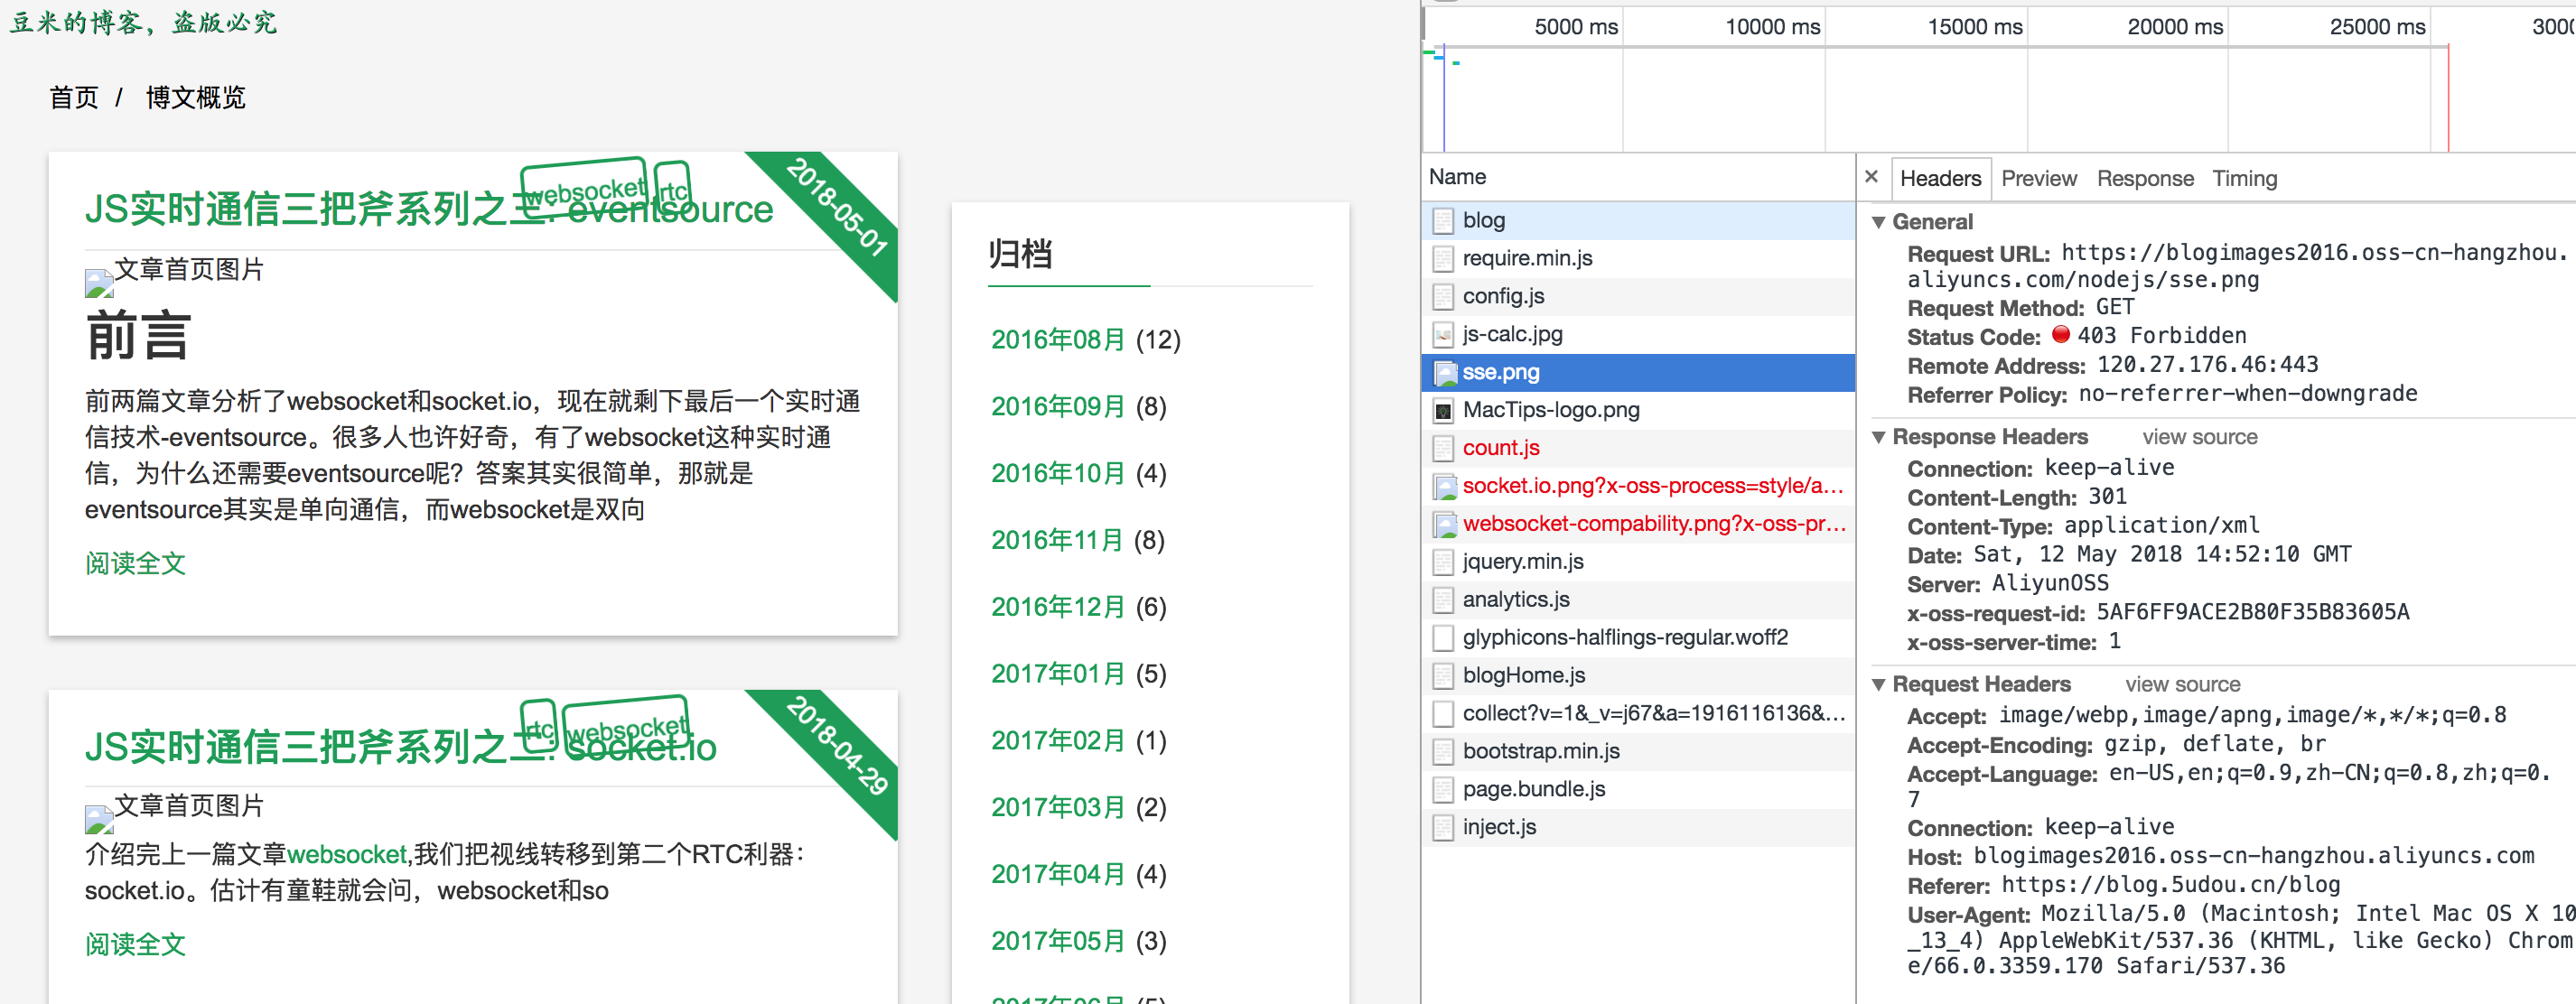
2、部分图片没有显示
这些问题都在下一节中解决。
2、https之后的事情
迁移到了https之后,并不一定全都ok了,比如上面出现的两个问题,我们一次来解决:
第一个问题是因为,有部分图片引用了http,所以我们只需要把博客文章所有用到的图片全改为https即可。然后发现百度分享竟然不支持https,果断干掉百度分享的SDK代码,鄙视百度一下下~~~
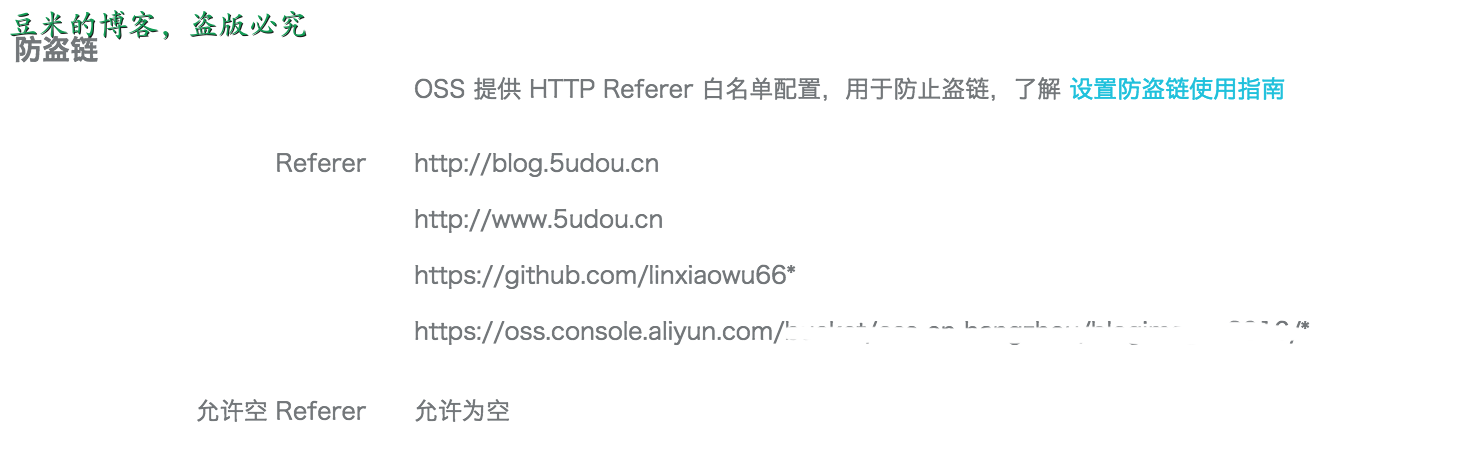
第二个问题是因为我在阿里云那边配置了防盗链,只需要上去更新域名即可。
阿里云上有些操作是需要证书,这个时候就用到之前在第一节提到的那些文件,上传证书到阿里云即可,比如下图这个配置:
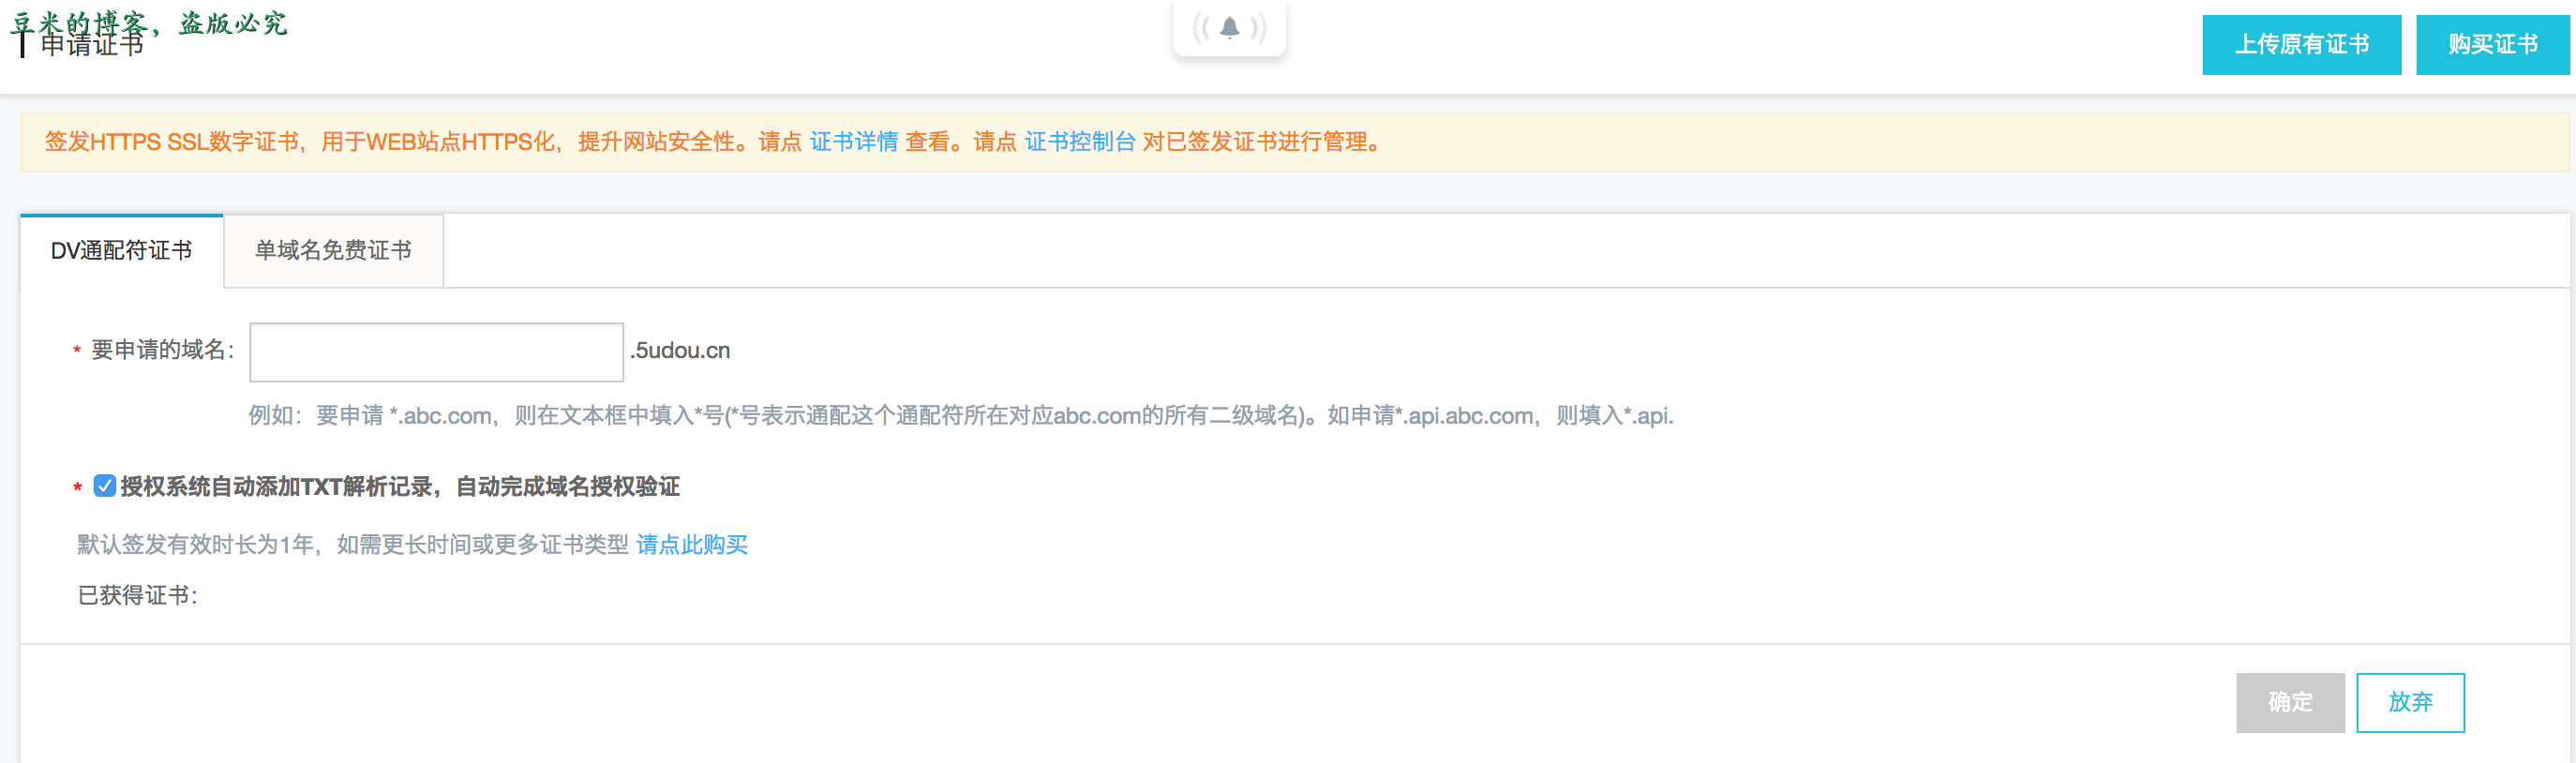
3、阿里云提供的证书服务
阿里云本身也提供了证书服务的,如图:

更多细节请参考证书服务
