

Raspberry Pi Coding in Go: Traffic Lights

I’ve been learning the Go programming language recently. As an exercise, I decided to revisit a past article that looked at working with traffic lights on the Raspberry Pi in Python in order to rewrite it in Go. To make this a standalone guide, there will be some re-use of content from the prior article here.
Shopping List
To try this out, you will need the following (links here mostly go to Adafruit, UK customers may want to consider Pimoroni as a UK based alternative, Amazon has most if not all of this stuff too):
- A Raspberry Pi (I’ll use the Pi 3 Model B here, but any model with GPIO pins will work — if you want to use the Pi Zero you’ll need to solder some headers onto it). I’m going to assume you have a Pi 2 or 3 with 40 pins
- A power supply for your Pi
- Some sort of case is probably a good idea to protect the Pi (but you’ll need to leave the lid off to expose the GPIO pins to connect your lights to)
- A Micro SD card to install your operating system on (or get one with the OS pre-installed). If you want to install the operating system yourself, you’ll need a Mac, PC, Linux machine with an SD card reader
- A set of traffic lights from Low Voltage Labs (the two pack is good value)
- Any USB keyboard to type on the Pi
- Any HDMI display to show output from the Pi
Attaching the Traffic Lights
The Low Voltage Labs traffic lights connect to the Pi using four pins. One of these needs to be ground, the other three being actual GPIO pins used to control each of the individual LEDs.
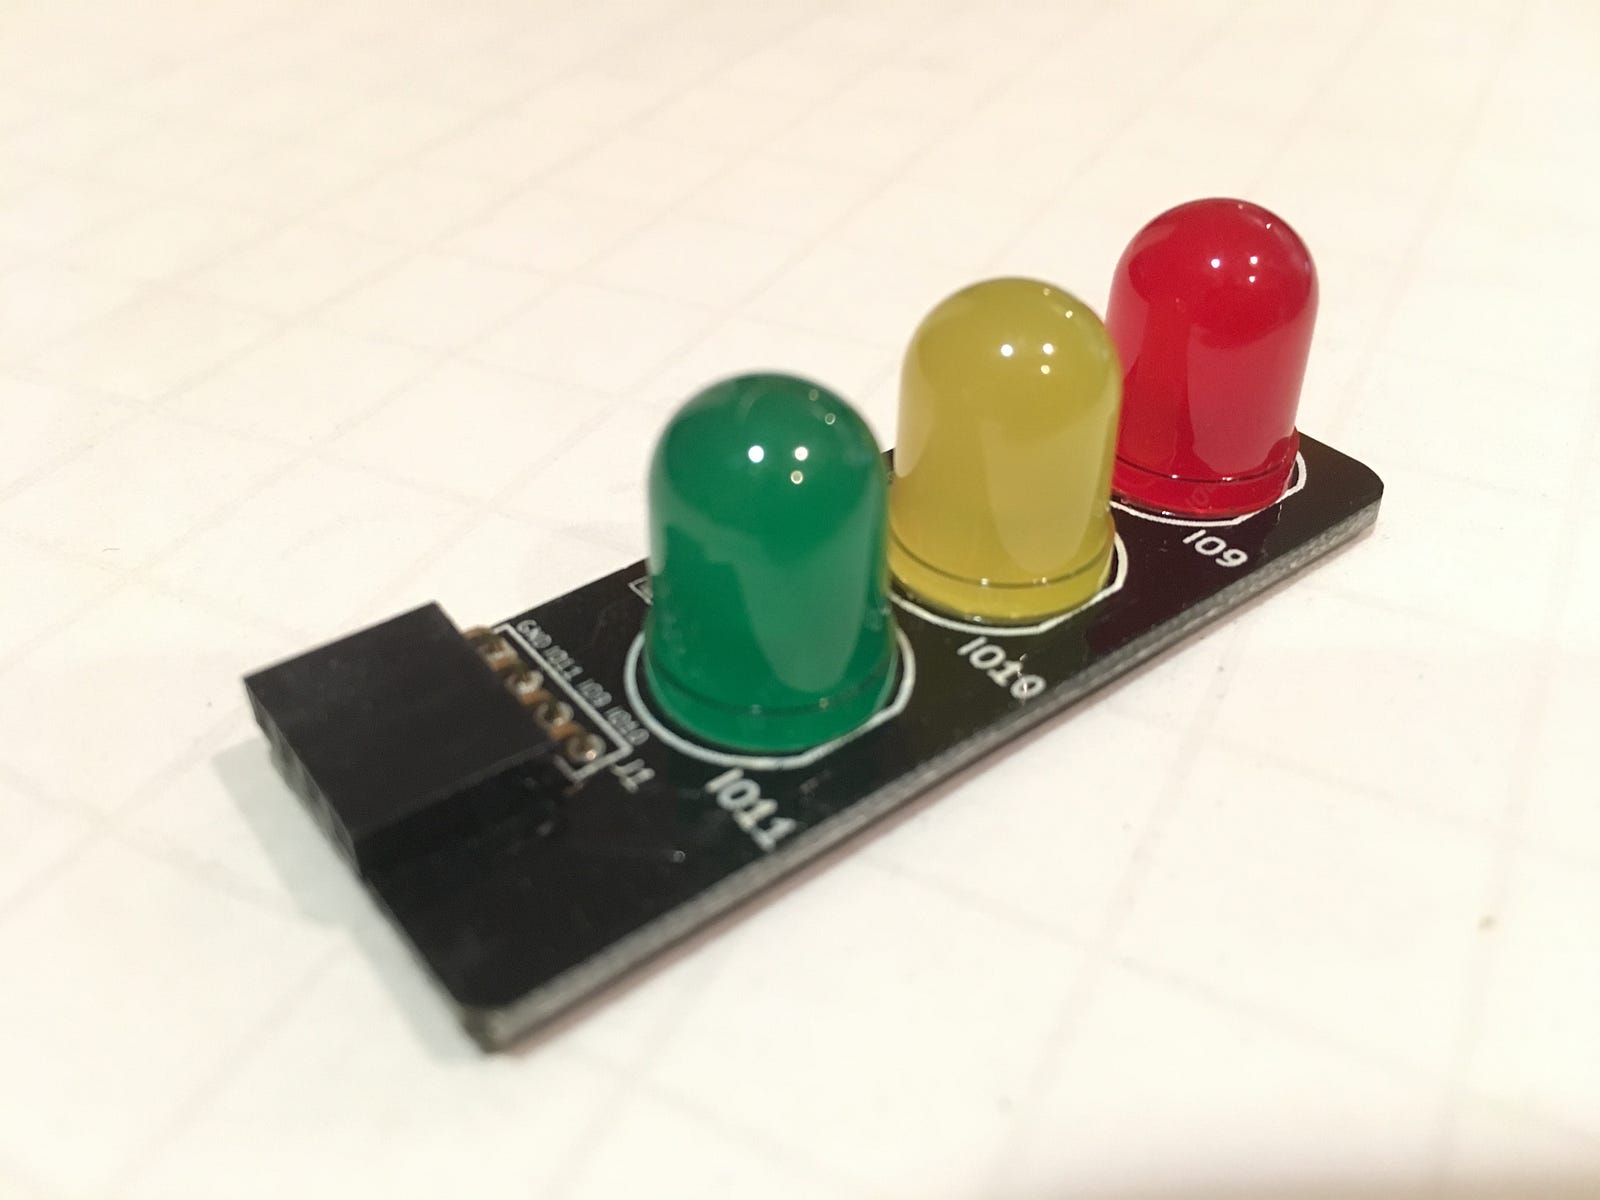
Before powering up the Pi, attach the traffic lights so that the pins connect to the GPIO pins highlighted in red:

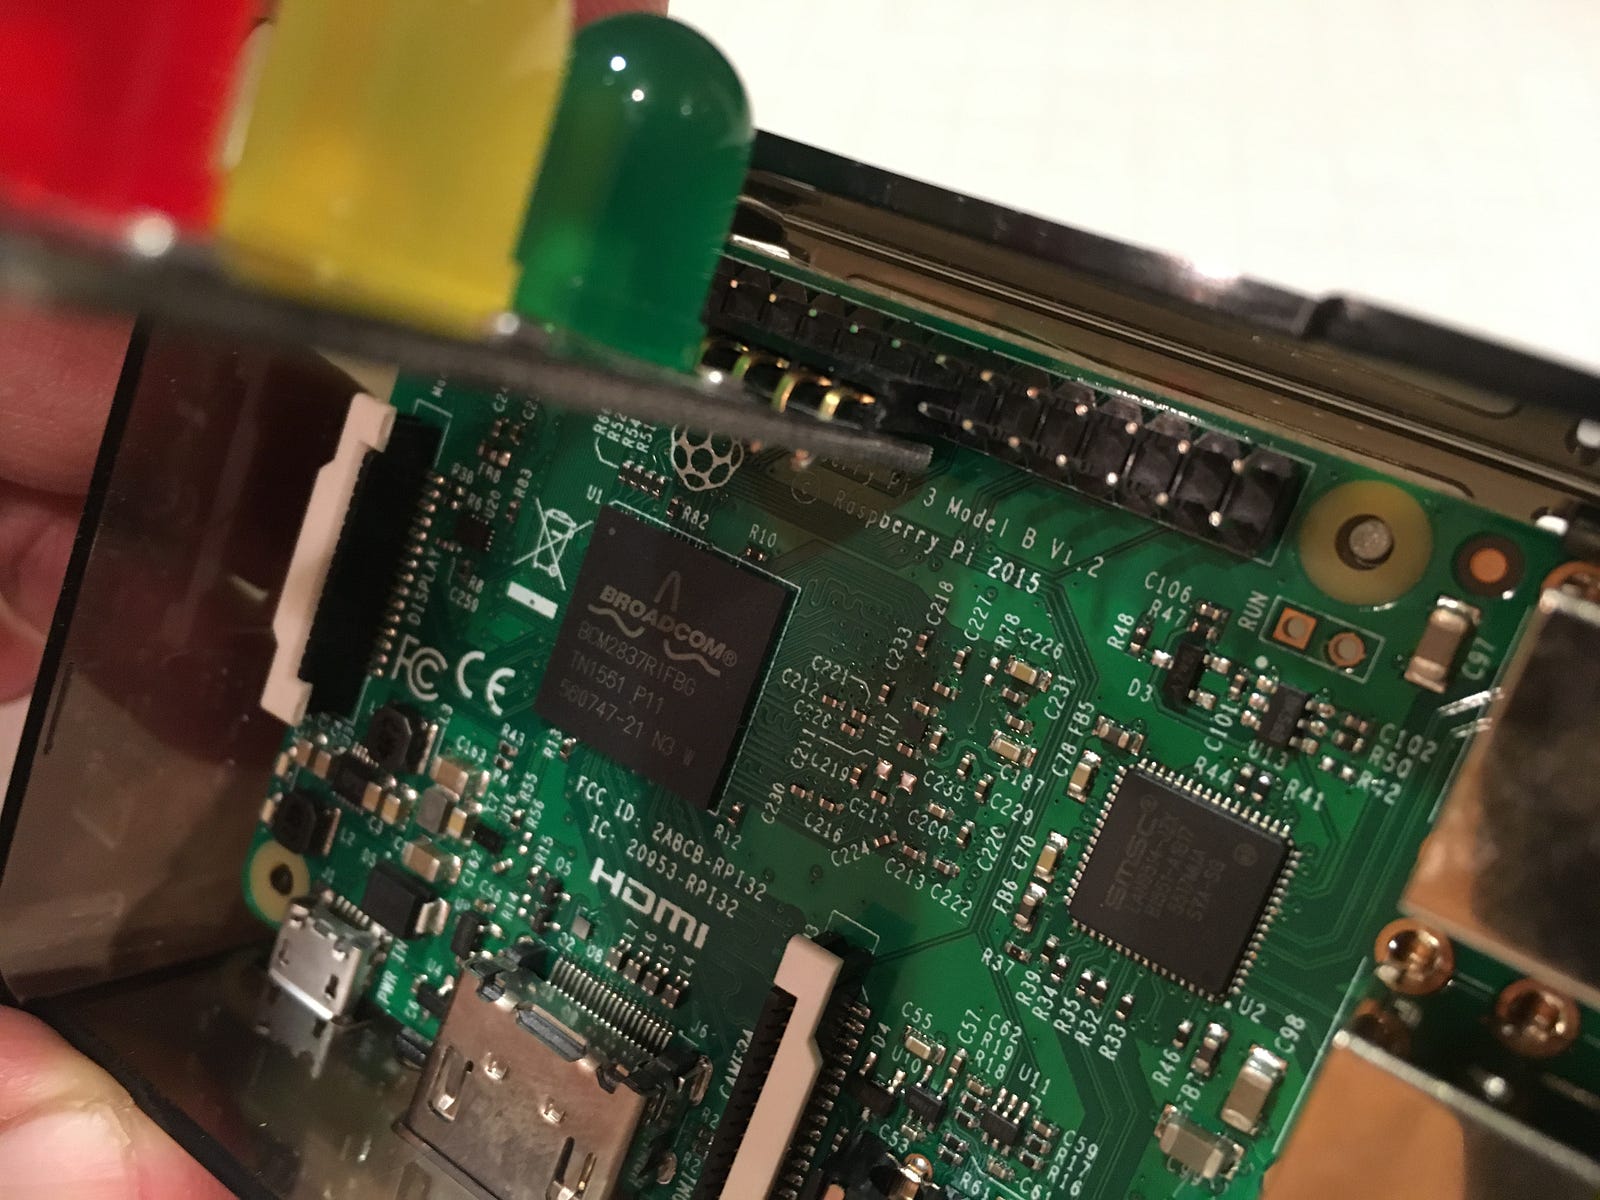
When you’re done it’s going to look something like this… (an easy way to make sure you have it right is to locate the lights on the left hand row of pins as you look at the Pi with the USB ports to the bottom, then count 8 pins up and attach the lights there).

Don’t turn the Pi on yet, you’ll need to prepare an operating system image for it first…
Operating System Setup
Install the Raspbian Stretch Lite OS which can be downloaded from the official Raspberry Pi site. You can also find an excellent installation guide there should you need help. I found the free Etcher tool from Resin.io helpful when transferring the operating system image to the micro SD card.
Once you’ve got the operating system installed make sure you can login, and have a working wired or wifi internet connection configured.
Now you can go ahead and start turning lights on and off!
Installing Go
Go code can be compiled and distributed as a binary, it can also be cross compiled (where the compiler generates a binary to run on a different operating system / processor architecture than the one it was built on). We’ll look at both options here so will need to install the Go distribution on the Pi as it’s not included with Raspbian Lite.
Go installation is a simple matter of downloading the distribution (check here for latest ARM v6 version that the Pi uses), then expanding it into /usr/local:
$ wget https://storage.googleapis.com/golang/go1.10.1.linux-armv6l.tar.gz
$ sudo tar -C /usr/local -xvf go1.10.1.linux-armv6l.tar.gz
Amend your PATH by editing ~/.profile and adding the following at the bottom:
PATH=$PATH:/usr/local/go/bin
Having saved your profile, source it to get the new value for path in your current terminal session:
$ . ~/.profile
Clean up the downloaded archive to save space on the micro SD card:
$ rm go1.10.1.linux-armv6l.tar.gz
Finally, verify go was installed by checking its version:
$ go version
go version go1.10.1 linux/arm
(Official Go installation instructions can be found here).
Installing Dependencies
We’ll also need git, which isn’t installed with Raspbian Lite but is simple to add:
$ sudo apt-get install git
$ git --version
git version 2.11.0
We’ll also use a Go package for accessing the GPIO pins on the Pi. This is installed with the “go get” command:
$ go get github.com/stianeikeland/go-rpio/...
The package will be installed to:
~/go/src/github.com/stianeikeland/go-rpio
If you’d prefer your Go code to live somewhere else on the filesystem, you’ll want to look at setting your GOPATH environment variable to specify an alternative location (see documentation).
Programming the Traffic Lights
Similarly, “go get” my example code that uses the “go-rpio” package to make the lights work:
$ go get github.com/simonprickett/gopitrafficlights/...
We’ve now got everything we need to start seeing some action, so without further ado…
$ cd ~/go/src/github.com/simonprickett/gopitrafficlights
$ go run main.go
If the lights are connected to the correct GPIO pins, they should start to flash on and off in the UK traffic light pattern (red, red + amber, green, amber, red). If you don’t see anything, make sure that you have the lights connected to the right pins.

You can also compile the code to a binary file, then run it:
$ go build -o trafficlights
$ ./trafficlights
To exit, press Ctrl + C. This will cause all of the lights to turn off, and the program will exit.
How It Works
Here’s a brief walkthrough of the complete source code…
The program checks that it can open the Pi’s GPIO pins at line 13. If it can’t, it will exit. Assuming that’s successful lines 19–26 assign GPIO pins 9, 10 and 11 to more meaningful variable names and tell the Pi to use them as output pins.
Lines 28–39 set up a channel for the SIGTERM signal… this signal is sent to the program whenever the user gets bored of watching the lights and hits Ctrl+C. The program sets up a channel that will be notified when the termination signal occurs, then runs a goroutine at line 31. The goroutine runs concurrently with the rest of the program, and waits for a message to be sent to the channel. When it receives one, the program is attempting to exit because Ctrl+C was pressed. The code in the goroutine then turns off all of the lights and exits cleanly.
As part of cleanup we also free up resources associated with the GPIO pins at line 39, using the defer keyword to ensure that it will happen whenever the program exits.
Each light turns on when its associated pin it set high, and off when set low. Lines 42–44 make sure that all the lights are off to begin with, just in case something else was using the GPIO pins before and left them on.
At line 47, the program enters an infinite loop in which it turns the lights on “.High()” and off “.Low()” in the right sequence for a traffic light. In between phases, “time.Sleep” pauses execution.
Cross Compiling
One of the features of the Go toolset is that it allows you to cross compile code to binary executables. This means that you can create a binary for a platform other than the one you’re compiling the code on.
Go makes this very simple: for example I can compile the traffic lights example code on my Intel Mac OS computer and output a binary that will run on the ARM based Raspberry Pi running Linux. This is simply a matter of setting some environment variables when compiling:
$ go get github.com/stianeikeland/go-rpio/...
$ go get github.com/simonprickett/gopitrafficlights/...
$ cd ~/go/src/github.com/simonprickett/gopitrafficlights
$ env GOOS=linux GOARCH=arm GOARM=7 go build -o trafficlights
(For a list of possible values for GOOS and GOARCH, see Installing Go from Source)
The resulting “trafficlights” binary will work on a Raspberry Pi 3, but not on the Mac OS machine that compiled it. If you have an older model Pi you may need to set GOARM to 6. To try it out, FTP the compiled binary “trafficlights” over to the Pi then start it up with:
$ ./trafficlights
You should see the lights work as before. I’ve put the source code on GitHub for your enjoyment.
I’d love to hear what you’re up to with the Raspberry Pi, Go or a combination of the two — find me on Twitter or via the responses here. If you enjoyed this article, please share it far and wide! I’ll try and write more as time allows.
