

Update: On June 13, 2018, Microsoft announced general availability of the Azure Kubernetes Service (AKS). After close
collaboration with Microsoft engineers, HashiCorp is pleased to announce day-zero support with HashiCorp Terraform for AKS. With AKS, Terraform users can create and manage Kubernetes clusters as part of their Terraform workflows. This blog
details how to begin using AKS and Terraform and outlines the necessary steps for proper configuration.
Microsoft and HashiCorp have been working together to build the Azure provider for HashiCorp Terraform allowing you to manage all of your Azure infrastructure declaratively using HashiCorp Configuration Language (HCL).
One of the most recent releases has included the preview of Azure Kubernetes Service (AKS). AKS manages your hosted Kubernetes environment, making it quick and easy to deploy and manage containerized applications without container orchestration expertise. It also eliminates the burden of ongoing operations and maintenance by provisioning, upgrading, and scaling resources on demand, without taking your applications offline.
Creating an AKS resource with Terraform is incredibly easy, it only requires a single resource azurerm_kubernetes_cluster and in this post, we are going to walk through the necessary steps to create this with Terraform.
Setup
The first step is to configure the Azure provider, we add the provider to our configuration using the provider stanza:
provider "azurerm" {
  version = "=1.5.0"
}
We need to configure the provider with the subscription_id, client_id, client_secret and tenant_id. Set the following environment variables with the values which correspond to your account.
export ARM_SUBSCRIPTION_ID=xxxxxxxx
export ARM_CLIENT_ID=xxxxxxx
export ARM_CLIENT_SECRET=xxxxxxx
export ARM_TENANT_ID=xxxxxxxx
If you do not have these details you can use the az command line tool to obtain them:
$ az ad sp create-for-rbac --role="Contributor" --scopes="/subscriptions/your_subscription_id"Creating the resources
In Azure, all infrastructure elements such as virtual machines, storage, and our Kubernetes cluster need to be attached to a resource group. The resource group also defines the region in which resources are created. To create a resource group,
we use the azure_resource_group stanza. The below example is using variables for the name and the location. Variables allow you to create a dynamic configuration and avoid hardcoding values.
resource "azurerm_resource_group" "k8s" {
  name     = "${var.resource_group_name}"
  location = "${var.location}"
}
The resource required to create a cluster is azurerm_kubernetes_cluster, this can be seen in the following example:
resource "azurerm_kubernetes_cluster" "k8s" {
  name                = "${var.cluster_name}"
  location            = "${azurerm_resource_group.k8s.location}"
  resource_group_name = "${azurerm_resource_group.k8s.name}"
  dns_prefix          = "${var.dns_prefix}"

  linux_profile {
    admin_username = "ubuntu"

    ssh_key {
      key_data = "${file("${var.ssh_public_key}")}"
    }
  }

  agent_pool_profile {
    name            = "default"
    count           = "${var.agent_count}"
    vm_size         = "Standard_A0"
    os_type         = "Linux"
    os_disk_size_gb = 30
  }

  service_principal {
    client_id     = "${var.client_id}"
    client_secret = "${var.client_secret}"
  }

  tags {
    Environment = "Production"
  }
}
We are setting the standard attributes, name of the cluster, location, and the resource_group_name. Then we set the dns_prefix; the dns_prefix forms part of the fully qualified domain
name used to access the cluster.
The linux_profile stanza allows us to configure the settings which enable logging into the worker nodes using ssh.
With AKS you only pay for the worker nodes and in the next block agent_pool_profile we configure the details for these. This block includes the number of workers we would like to create and the type of workers. Should we need to scale
up or scale down the cluster at a later date, we can change the count of the workers defined in this block.
The service_principle block allows us to set the client_id and client_secret that Kubernetes uses when creating Azure load balancers, for this example we can set this to the main client_id and secret which
is used to create the resources. When running in a production environment, we would usually set this to a specific restricted account. We would never want to hard code this information, so we are getting these values from a variable. To set
the variable, you can either pass the information when running terraform plan:
$ terraform plan -var "client_id=your_client_id" -var "client_secret=your_client_secret"Or we can use environment variables like we did for the provider and remote state configuration:
export TF_VAR_client_id=${ARM_CLIENT_ID}
export TF_VAR_client_secret=${ARM_CLIENT_SECRET}
Configuring Input Variables - Terraform by HashiCorp
Finally, we can set some output variables which allows access to the cluster with kubectl.
output "kube_config" {
  value = "${azurerm_kubernetes_cluster.k8s.kube_config_raw}"
}

output "host" {
  value = "${azurerm_kubernetes_cluster.k8s.kube_config.0.host}"
}
Azure Resource Manager: azurerm_kubernetes_cluster - Terraform by HashiCorp
Once we have everything set up, we first need to run terraform init the init command downloads the required providers defined in your configuration.
$ terraform init

Initializing provider plugins...

The following providers do not have any version constraints in configuration,
so the latest version was installed.

To prevent automatic upgrades to new major versions that may contain breaking
changes, it is recommended to add version = "..." constraints to the
corresponding provider blocks in configuration, with the constraint strings
suggested below.

* provider.azurerm: version = "~> 1.4"

Terraform has been successfully initialized!

You may now begin working with Terraform. Try running "terraform plan" to see
any changes that are required for your infrastructure. All Terraform commands
should now work.

If you ever set or change modules or backend configuration for Terraform,
rerun this command to reinitialize your working directory. If you forget, other
commands will detect it and remind you to do so if necessary.
We can then create a plan which defines the infrastructure elements that will be Created, Updated and Destroyed. Elements added to the plan are the difference between the current state and the current configuration.
$ terraform plan -out run.plan
Refreshing Terraform state in-memory prior to plan...
The refreshed state will be used to calculate this plan, but will not be
persisted to local or remote state storage.


------------------------------------------------------------------------

An execution plan has been generated and is shown below.
Resource actions are indicated with the following symbols:
  + create

Terraform will perform the following actions:

  + azurerm_kubernetes_cluster.k8s
      id:                                         <computed>
      agent_pool_profile.#:                       "1"
#...
Plan: 2 to add, 0 to change, 0 to destroy.

------------------------------------------------------------------------

This plan was saved to: run.plan

To perform exactly these actions, run the following command to apply:
    terraform apply "run.plan"
If everything looks OK, let's apply the plan and create the cluster:
$ terraform apply "run.plan"                                                           <<<
azurerm_resource_group.k8s: Creating...
  location: "" => "centralus"
  name:     "" => "nic-k8svault"
  tags.%:   "" => "<computed>"
azurerm_resource_group.k8s: Creation complete after 2s (ID: /subscriptions/c0a607b2-6372-4ef3-abdb-dbe52a7b56ba/resourceGroups/nic-k8svault)
azurerm_kubernetes_cluster.k8s: Creating...
#...
Apply complete! Resources: 2 added, 0 changed, 0 destroyed.
Testing the cluster
To test our cluster let's view the Kubernetes dashboard. First, we need to get the Kubernetes config from the Terraform state and store it in a file that kubectl can read.
$ echo "$(terraform output kube_config)" > ~/.kube/azurek8sWe then set an environment variable so that kubectl picks up the correct config.
$ export KUBECONFIG=~/.kube/azurek8sFirst, let's check the health of the cluster:
$ kubectl get nodes
NAME                     STATUS    ROLES     AGE       VERSION
aks-default-27881813-0   Ready     agent     48m       v1.9.6
aks-default-27881813-1   Ready     agent     48m       v1.9.6
aks-default-27881813-2   Ready     agent     48m       v1.9.6
You should see the details of your worker nodes, and they should all have a status Ready.
Then we run kubectl proxy to be able to access the dashboard.
$ kubectl proxy
Starting to serve on 127.0.0.1:8001
Finally, we can access the dashboard:
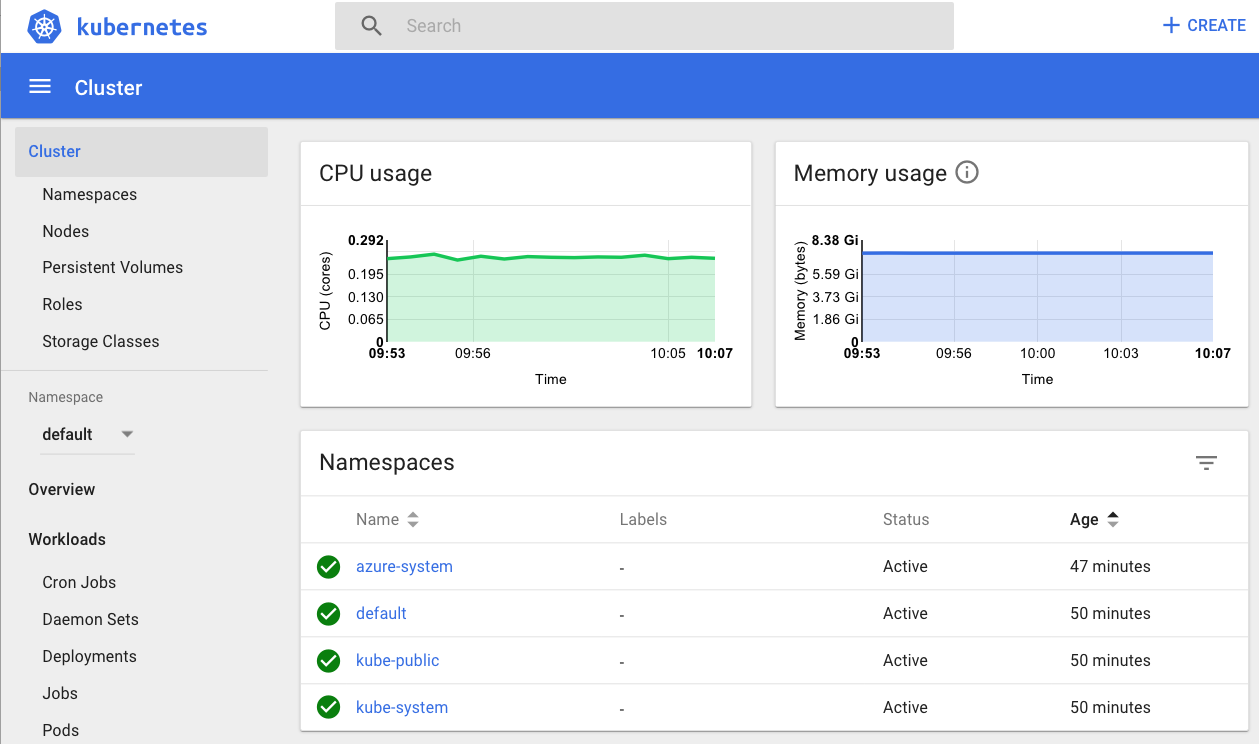
$ open 'http://localhost:8001/api/v1/namespaces/kube-system/services/kubernetes-dashboard/proxy/#!/overview?namespace=default'
Deploying Pods with the Kubernetes Terraform provider
In addition to being able to leverage kubectl for interacting with the cluster, it is also possible to use the Terraform provider for Kubernetes. In version
0.11.7 we made this even easier with the capability for a provider to be configured using interpolated syntax from a resource. The below example shows how the outputs in our simple example can be used to configure the provider
for Kubernetes.
provider "kubernetes" {
  host                   = "${azurerm_kubernetes_cluster.main.kube_config.0.host}"
  username               = "${azurerm_kubernetes_cluster.main.kube_config.0.username}"
  password               = "${azurerm_kubernetes_cluster.main.kube_config.0.password}"
  client_certificate     = "${base64decode(azurerm_kubernetes_cluster.main.kube_config.0.client_certificate)}"
  client_key             = "${base64decode(azurerm_kubernetes_cluster.main.kube_config.0.client_key)}"
  cluster_ca_certificate = "${base64decode(azurerm_kubernetes_cluster.main.kube_config.0.cluster_ca_certificate)}"
}
Adding this provider configuration and by leveraging resources in this provider such as the kubernetes_pod resource we can now create a cluster and provision pods and services with a single terraform apply.
resource "kubernetes_pod" "test" {
  metadata {
    name = "terraform-example"
  }

  spec {
    container {
      image = "nginx:1.7.9"
      name  = "example"
    }
  }
}
Summary
AKS is still in preview, but the simplicity of creating a Kubernetes cluster by defining a single Terraform resource is an incredibly easy way to place Kubernetes at the heart of your infrastructure. Combining this with the Kubernetes provider gives you a single and straightforward workflow for provisioning your Kubernetes clusters and any pods or services which define your application.
To learn more about Terraform, visit www.hashicorp.com/products/te….
For the full example code mentioned in this post, please see: github.com/nicholasjac…
For more information on the Azure provider: www.terraform.io/docs/provid…
For more information on the Kubernetes Provider: www.terraform.io/docs/provid…
Finally, Tom Harvey (HashiCorp), Arun Chandrasekhar, and Damien Caro (Microsoft) presented a session on Terraform and Azure at Build 2018. You can see the session in full here: www.youtube.com/watch?v=_uo…
