

本系列文章是对 metalkit.org 上面MetalKit内容的全面翻译和学习.
现在,你可以注意到我很喜欢Swift.同时我也是个Xcodeplaygrounds的狂热爱好者.本周我们会把我们的Metal代码放到playground中.欢呼吧,为了playgrounds中的Metal原型!
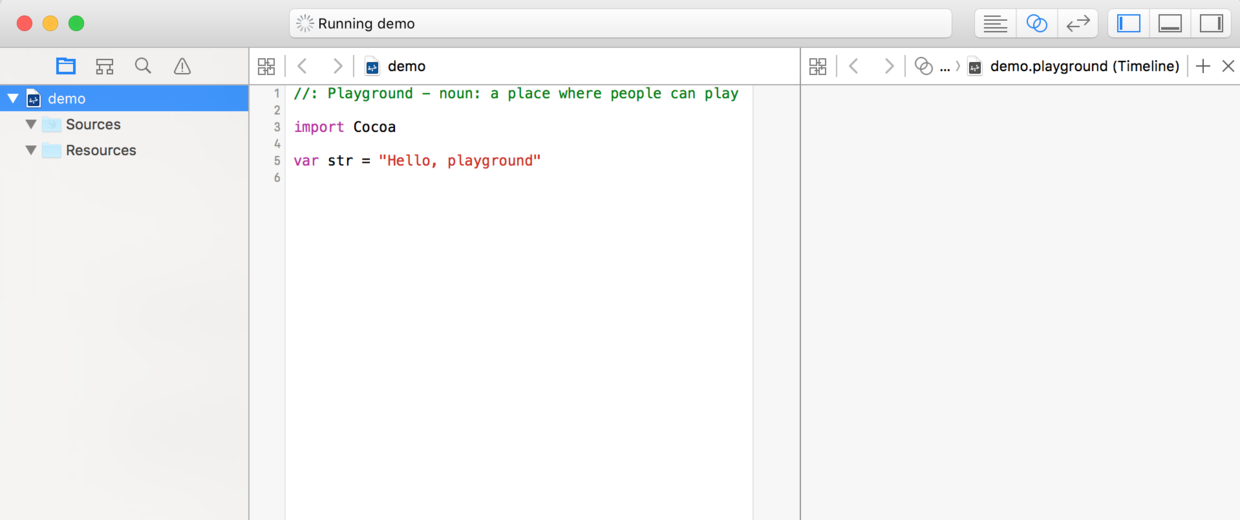
让我们从创建一个新的OS X版Xcodeplayground开始.创建好后,单击Show the Assistant editor按钮并按下Command + 1显示Project navigator导航区.你的playground看起来应该这样:
第一件事就是在Project navigator中的Resources文件夹下创建Shaders.metal,代码和本系列前一章节保持一致.然后,我们在Sources文件夹下创建MathUtils.swift和MetalView.swift.惟一要改动的地方是在MathUtils.swift中为Vertex结构体创建一个初始化方法:
struct Vertex {
    var position: vector_float4
    var color: vector_float4
    init(pos: vector_float4, col: vector_float4) {
        position = pos
        color = col
    }
}
在MetalView.swift中我们需要改的多一些.首先,我们要让类是public,因为我们将在Sources文件夹外调用它.因此,初始化方法和drawRect(:) 方法也必须是public的.同时,我们再创建第二个初始化方法,这样我们就可能创建一个指定frame的MetalView了:
public class MetalView: MTKView {
    ...
    required public init(coder: NSCoder) {
        super.init(coder: coder)
    }

    override public init(frame frameRect: CGRect, device: MTLDevice?) {
        super.init(frame: frameRect, device: device)
        createBuffers()
        registerShaders()
    }
    ...
}
下一步,我们需要做一些奇妙的改动,创建一个Library:
let library = device.newDefaultLibrary()!
提示错误信息:
MTLLibrary.mm:1016: failed assertion `filepath must not be nil.'
这是因为playground没有默认的filepath来给我们使用,我们需要自己创建:
func registerShaders() {
    let path = NSBundle.mainBundle().pathForResource("Shaders", ofType: "metal")
    let input: String?
    let library: MTLLibrary
    let vert_func: MTLFunction
    let frag_func: MTLFunction
    do {
        input = try String(contentsOfFile: path!, encoding: NSUTF8StringEncoding)
        library = try device!.newLibraryWithSource(input!, options: nil)
        vert_func = library.newFunctionWithName("vertex_func")!
        frag_func = library.newFunctionWithName("fragment_func")!
        let rpld = MTLRenderPipelineDescriptor()
        rpld.vertexFunction = vert_func
        rpld.fragmentFunction = frag_func
        rpld.colorAttachments[0].pixelFormat = .BGRA8Unorm
        rps = try device!.newRenderPipelineStateWithDescriptor(rpld)
    } catch let e {
        Swift.print("\(e)")
    }
}
注意,我们告诉playground去找到名为Shaders类型为metal的资源的存放路径.然后,我们将文件转换为一个长的String并用这些资源创建library.
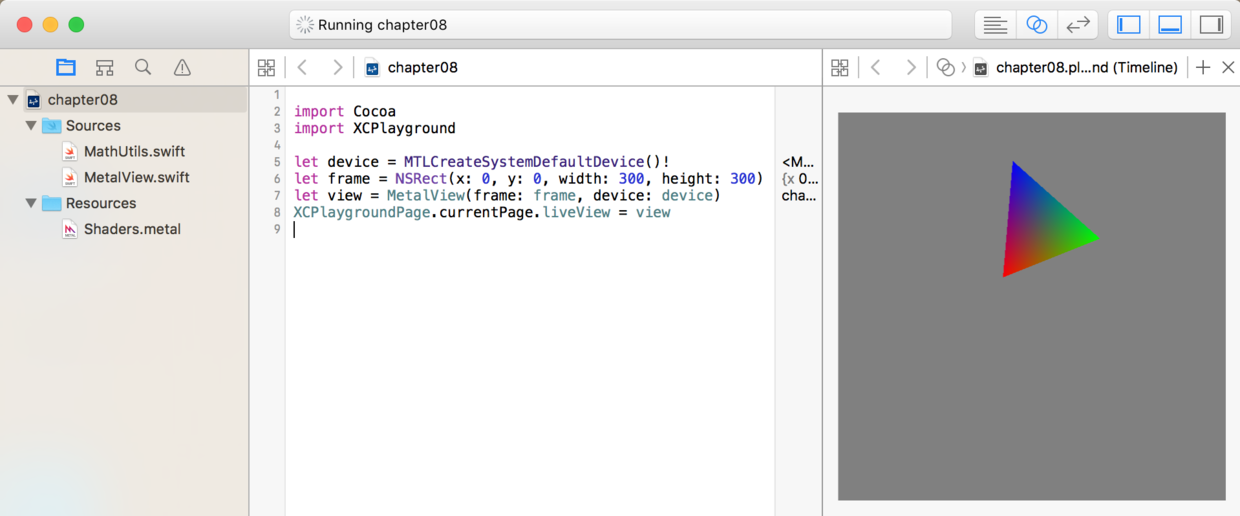
最后,我们到playground的主页并创建一个带有frame的MetalView.然后我们告诉playground展示活跃视图:
import Cocoa
import XCPlayground

let device = MTLCreateSystemDefaultDevice()!
let frame = NSRect(x: 0, y: 0, width: 300, height: 300)
let view = MetalView(frame: frame, device: device)
XCPlaygroundPage.currentPage.liveView = view
如果你显示了Assistant editor区的Timeline,你会看到一个类似的视图:
源代码source code 已发布在Github上.
下次见!
