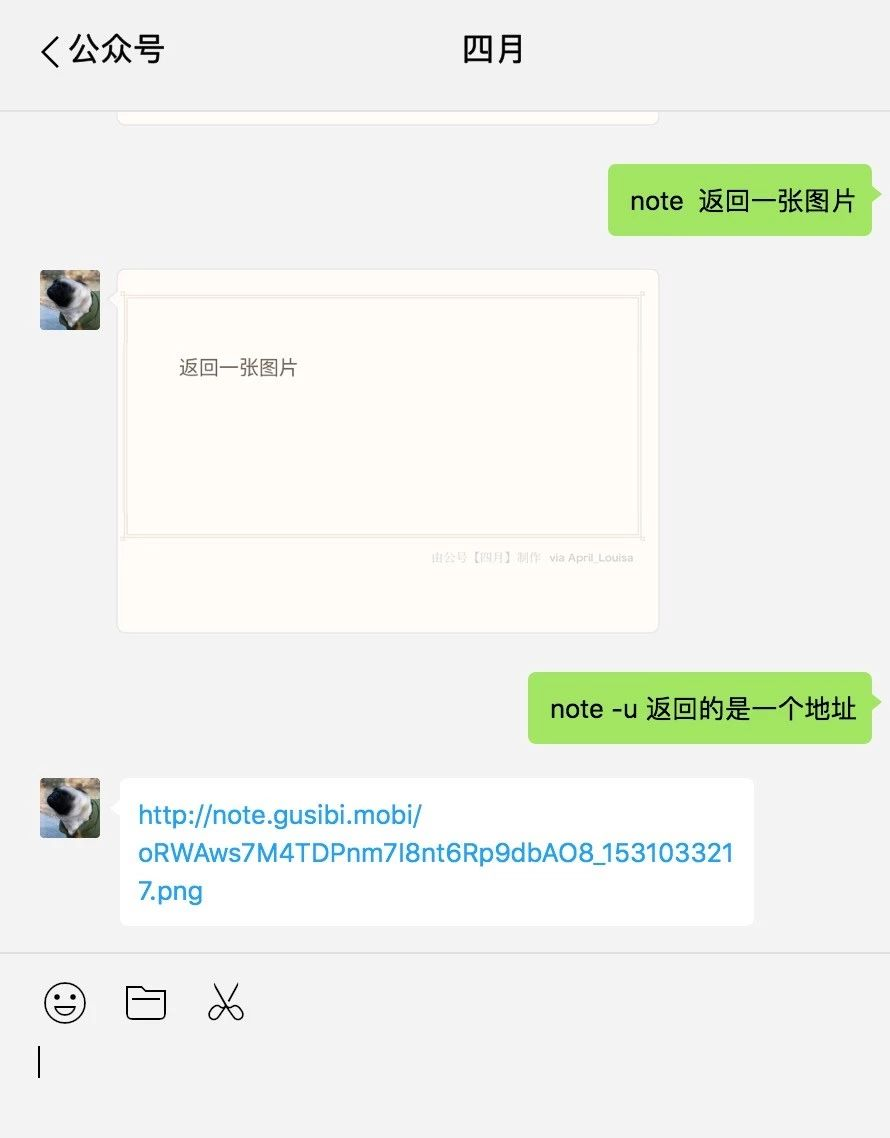
最近有文字转图片的需求,但是不太想下载 APP,就使用 Python Pillow 实现了一个,效果如下:
PIL 提供了 PIL.ImageDraw.ImageDraw.text 方法,可以方便的把文字写到图片上,简单示例如下:
from PIL import Image, ImageDraw, ImageFont
# get an image
base = Image.open('Pillow/Tests/images/hopper.png').convert('RGBA')

# make a blank image for the text, initialized to transparent text color
txt = Image.new('RGBA', base.size, (255,255,255,0))

# get a font
fnt = ImageFont.truetype('Pillow/Tests/fonts/FreeMono.ttf', 40)
# get a drawing context
d = ImageDraw.Draw(txt)

# draw text, half opacity
d.text((10,10), "Hello", font=fnt, fill=(255,255,255,128))
# draw text, full opacity
d.text((10,60), "World", font=fnt, fill=(255,255,255,255))

out = Image.alpha_composite(base, txt)

out.show()
为什么要计算文字的宽高呢?把文字直接写到背景图不可以么?
Pillow PIL.ImageDraw.ImageDraw.text写文字是按换行符\n换行的,如果一句话特别长,文字就会超出背景图的宽度,所以第一步我们需要先把文本按固定的宽度计算出高度。
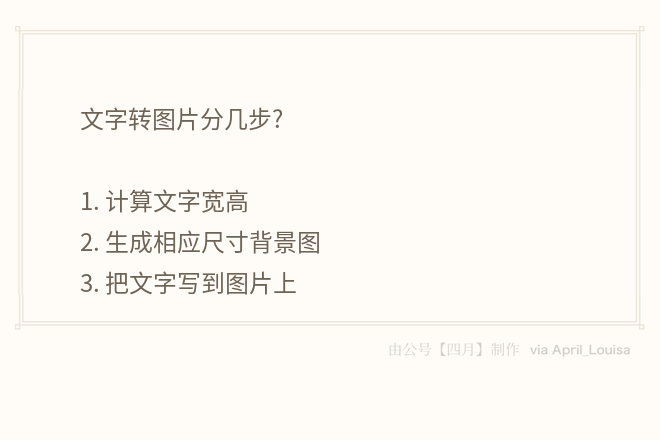
像图上写的这样,文字转图片分三步:
- 计算文字宽高
- 生成响应尺寸背景图
- 把文字写到图片上
计算文字宽高
这里背景图宽度是固定的,所以文字的宽可以不用计算。PIL.ImageDraw.ImageDraw.text 是通过\n来换行的,那我们只需要在文字合适的位置加上\n就可以了。
第一个想到的是 textwrap 方法,textwrap 可以实现通过调整换行符的位置来格式化文本。但 textwrap 还有一个问题就是它是根据字符长度来分隔的,但文本中的字符并不是等宽的,通过textwrap格式化后的文字写到图片上效果可能是这样的:
使用这种方式,如果我们要调整字体大小,每一行的长度都还需要再重新调整。
为了保证每一行宽度尽可能的一致,这里使用 PIL.ImageDraw.ImageDraw.textsize 获取字符宽高,然后按约定宽度把长文本分隔成文本列表,然后把列表每行文字写到图片上。
def get_paragraph(text, note_width):
    # 把每段文字按约定宽度分隔成几行
    txt = Image.new('RGBA', (100, 100), (255, 255, 255, 0))
    # get a drawing context
    draw = ImageDraw.Draw(txt)
    paragraph, sum_width = '', 0
    line_numbers, line_height = 1, 0
    for char in text:
        w, h = draw.textsize(char, font)
        sum_width += w
        if sum_width > note_width:
            line_numbers += 1
            sum_width = 0
            paragraph += '\n'
        paragraph += char
        line_height = max(h, line_height)
    if not paragraph.endswith('\n'):
        paragraph += '\n'
    return paragraph, line_height, line_numbers


def split_text(text):
    # 将文本按规定宽度分组
    max_line_height, total_lines = 0, 0
    paragraphs = []
    for t in text.split('\n'):
        # 先按 \n 把文本分段
        paragraph, line_height, line_numbers = get_paragraph(t)
        max_line_height = max(line_height, max_line_height)
        total_lines += line_numbers
        paragraphs.append((paragraph, line_numbers))
    line_height = max_line_height
    total_height = total_lines * line_height
    # 这里返回分好的段,文本总高度以及行高
    return paragraphs, total_height, line_height
这是按字符宽度分隔文本写到图片的效果:
由于文本长度不固定,生成得到的文本高度也不固定,背景图我们也需要动态生成
根据文本高度生成背景图
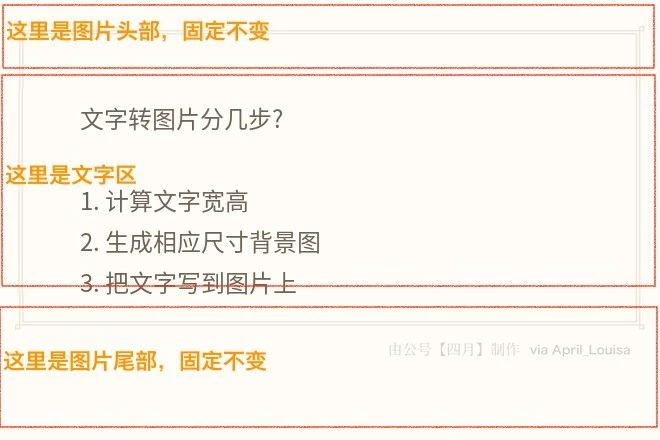
通过图片我们可以看到,头部和尾部是固定的,变化的是文字部分,那么背景图片的高度计算公式为
背景图片高度=头部高度+尾部高度+文本高度
实现代码如下:
NOTE_HEADER_IMG = path.normpath(path.join(
    path.dirname(__file__), 'note_header_660.png'))
NOTE_BODY_IMG = path.normpath(path.join(
    path.dirname(__file__), 'note_body_660.png'))
NOTE_FOOTER_IMG = path.normpath(path.join(
    path.dirname(__file__), 'note_footer_660.png'))
NOTE_WIDTH = 660
NOTE_TEXT_WIDTH = 460
body_height = NOTE_BODY_HEIGHT = 206
header_height = NOTE_HEADER_HEIGHT = 89
footer_height = NOTE_FOOTER_HEIGHT = 145
font = ImageFont.truetype(NOTE_OTF, 24)


def get_images(note_height):
    numbers = note_height // body_height + 1
    images = [(NOTE_HEADER_IMG, header_height)]
    images.extend([(NOTE_BODY_IMG, body_height)] * numbers)
    images.append((NOTE_FOOTER_IMG, footer_height))
    return images


def make_backgroud():
    # 将图片拼接到一起
    images = get_images()
    total_height = sum([height for _, height in images])
    # 最终拼接完成后的图片
    backgroud = Image.new('RGB', (body_width, total_height))
    left, right = 0, 0
    background_img = '/tmp/%s_backgroud.png' % total_height
    # 判断背景图是否存在
    if path.exists(background_img):
        return background_img
    for image_file, height in images:
        image = Image.open(image_file)
        # (0, left, self.body_width, right+height)
        # 分别为 左上角坐标 0, left
        # 右下角坐标 self.body_width, right+height
        backgroud.paste(image, (0, left, body_width, right+height))
        left += height  # 从上往下拼接,左上角的纵坐标递增
        right += height  # 左下角的纵坐标也递增
    backgroud.save(background_img, quality=85)
    return background_img
将文字写到图片
现在我们得到了背景图以及分隔好的文本,就可以直接将文本写到图片上了
def draw_text(paragraphs, height):
    background_img = make_backgroud()
    note_img = Image.open(background_img).convert("RGBA")
    draw = ImageDraw.Draw(note_img)
    # 文字开始位置坐标,需要根据背景图的大小做调整
    x, y = 80, 100
    for paragraph, line_numbers in paragraphs:
        for line in paragraph.split('\n')[:-1]:
            draw.text((x, y), line, fill=(110, 99, 87), font=font)
            y += line_height
        # draw.text((x, y), paragraph, fill=(110, 99, 87), font=font)
        # y += self.line_height * line_numbers
    note_img.save(filename, "png", quality=1, optimize=True)
    return filename
完整版代码请查看 [https://github.com/gusibi/momo/blob/master/momo/note.py][https://github.com/gusibi/momo/blob/master/momo/note.py]
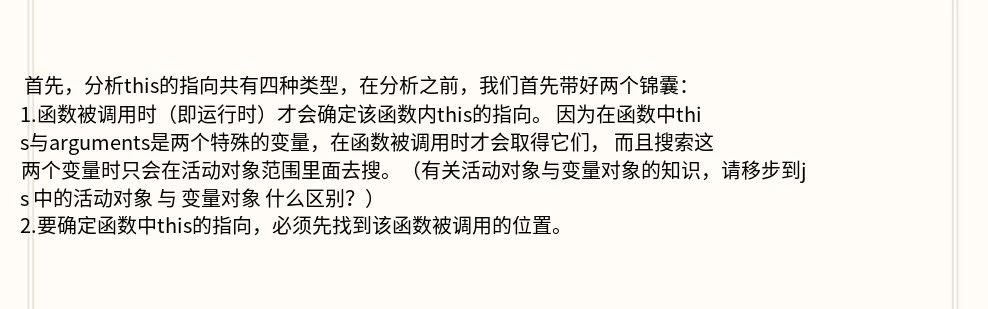
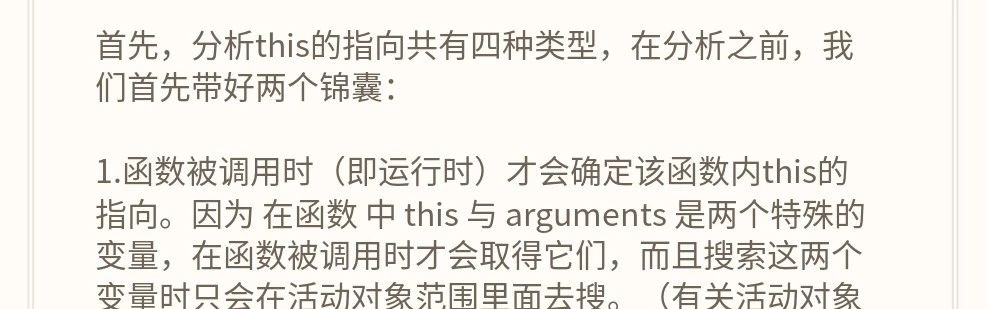
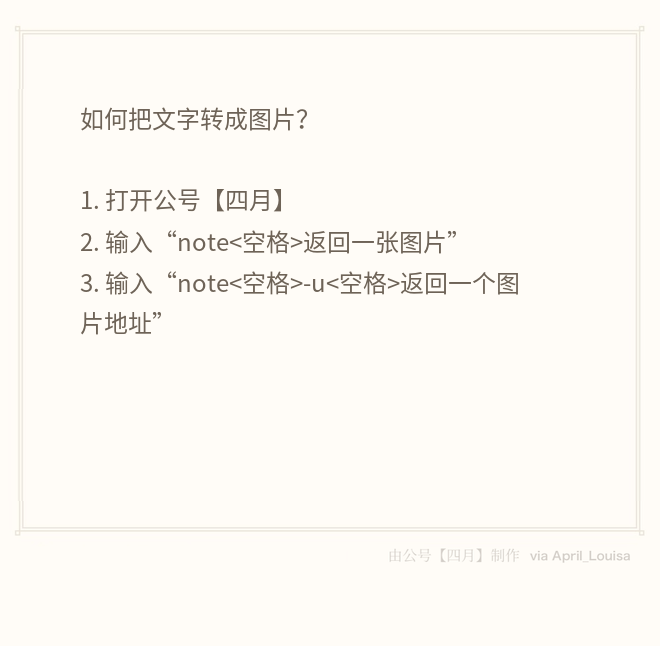
执行后效果如图:
遇到的问题
为了能方便使用,我把这个做成了公号的一个功能,然后遇到了一个严重问题,太慢了!
使用 line_profiler 分析可以发现,大部分时间都消耗在了图片保存这一步,
note_img.save(filename, "png", quality=1, optimize=True)
性能分析工具也会占用时间,测试完成后需要关闭分析
解决这个问题可能的方法:
- 减小背景图片大小
- 减小字体大小
通过测试,发现把背景图宽度从990减到660,字体大小从40px 调整到24px,生成的图片大小体积缩小了接近1倍,生成速度也比原来快了2/5。
相同代码,相同文本,使用 python3 只用了2.3s,而 Python2 用时却是5.3 s,还从来没在其它功能上遇到过 Python2 和 Python3 有这么大的差别。
具体差异可以使用源码测试一下
还是有问题
优化完图片生成速度后,发现在长文本状态下,公号还是会超时报错。经过检查发现是图片上传到公众平台太慢了(服务器只有1M 带宽,没有办法.)。
解决方法,把图片上传到腾讯云(文件上传使用的是内网带宽,不受限制),返回图片 url。