
Kotlin
Kotlin 是一个基于 JVM 的编程语言,它的简洁、便利早已不言而喻。Kotlin 能够胜任 Java 做的所有事。目前,我们公司 C 端 的 Android 产品全部采用 Kotlin 编写。公司的后端项目也可能会使用 Kotlin,所以我给他们做一些 demo 进行演示。
示例一:结合 Redis 进行数据存储和查询
1.1 配置 gradle
在build.gradle中添加插件和依赖的库。
plugins {
    id 'java'
    id 'org.jetbrains.kotlin.jvm' version '1.3.0'
}

ext {
    libraries = [

            rxjava                    : "2.2.2",

            logback                   : "1.2.3",

            spring_boot               : "2.1.0.RELEASE",

            commons_pool2             : "2.6.0",

            fastjson                  : "1.2.51"
    ]
}

group 'com.kotlin.tutorial'
version '1.0-SNAPSHOT'

sourceCompatibility = 1.8

def libs = rootProject.ext.libraries // 库

repositories {
    mavenCentral()
}

dependencies {
    compile "org.jetbrains.kotlin:kotlin-stdlib-jdk8"
    compile "org.jetbrains.kotlin:kotlin-reflect:1.3.0"
    testCompile group: 'junit', name: 'junit', version: '4.12'

    implementation "io.reactivex.rxjava2:rxjava:${libs.rxjava}"

    implementation "ch.qos.logback:logback-classic:${libs.logback}"
    implementation "ch.qos.logback:logback-core:${libs.logback}"
    implementation "ch.qos.logback:logback-access:${libs.logback}"

    implementation "org.springframework.boot:spring-boot-starter-web:${libs.spring_boot}"
    implementation "org.springframework.boot:spring-boot-starter-data-redis:${libs.spring_boot}"
    implementation "org.apache.commons:commons-pool2:${libs.commons_pool2}"
    implementation "com.alibaba:fastjson:${libs.fastjson}"
}

compileKotlin {
    kotlinOptions.jvmTarget = "1.8"
}
compileTestKotlin {
    kotlinOptions.jvmTarget = "1.8"
}
1.2 创建 SpringKotlinApplication:
import org.springframework.boot.SpringApplication
import org.springframework.boot.autoconfigure.SpringBootApplication


/**
 * Created by tony on 2018/11/13.
 */
@SpringBootApplication
open class SpringKotlinApplication

fun main(args: Array<String>) {
    SpringApplication.run(SpringKotlinApplication::class.java, *args)
}
需要注意open的使用,如果不加open会报如下的错误:
org.springframework.beans.factory.parsing.BeanDefinitionParsingException: Configuration problem: @Configuration class 'SpringKotlinApplication' may not be final. Remove the final modifier to continue.
因为 Kotlin 的类默认是final的,所以这里需要使用open关键字。
1.3 配置 redis
在 application.yml 中添加 redis 的配置
spring:
  redis:
    #数据库索引
    database: 0
    host: 127.0.0.1
    port: 6379
    password:
    lettuce:
      pool:
        #最大连接数
        max-active: 8
        #最大阻塞等待时间(负数表示没限制)
        max-wait: -1
        #最大空闲
        max-idle: 8
        #最小空闲
        min-idle: 0
    #连接超时时间
    timeout: 10000
接下来定义 redis 的序列化器,本文采用fastjson,当然使用gson、jackson等都可以,看个人喜好。
import com.alibaba.fastjson.JSON
import com.alibaba.fastjson.serializer.SerializerFeature
import org.springframework.data.redis.serializer.RedisSerializer
import org.springframework.data.redis.serializer.SerializationException
import java.nio.charset.Charset

/**
 * Created by tony on 2018/11/13.
 */

class FastJsonRedisSerializer<T>(private val clazz: Class<T>) : RedisSerializer<T> {

    @Throws(SerializationException::class)
    override fun serialize(t: T?) = if (null == t) {
            ByteArray(0)
        } else JSON.toJSONString(t, SerializerFeature.WriteClassName).toByteArray(DEFAULT_CHARSET)

    @Throws(SerializationException::class)
    override fun deserialize(bytes: ByteArray?): T? {

        if (null == bytes || bytes.size <= 0) {
            return null
        }
        val str = String(bytes, DEFAULT_CHARSET)
        return JSON.parseObject(str, clazz) as T
    }

    companion object {
        private val DEFAULT_CHARSET = Charset.forName("UTF-8")
    }
}
创建 RedisConfig
import org.springframework.data.redis.core.RedisTemplate
import org.springframework.data.redis.connection.RedisConnectionFactory
import org.springframework.context.annotation.Bean
import org.springframework.data.redis.cache.RedisCacheManager
import org.springframework.cache.CacheManager
import org.springframework.cache.annotation.CachingConfigurerSupport
import org.springframework.cache.annotation.EnableCaching
import org.springframework.context.annotation.Configuration
import org.springframework.data.redis.serializer.StringRedisSerializer
import org.springframework.boot.autoconfigure.condition.ConditionalOnMissingBean
import org.springframework.boot.context.properties.EnableConfigurationProperties
import org.springframework.data.redis.core.RedisOperations
import org.springframework.boot.autoconfigure.condition.ConditionalOnClass
import org.springframework.boot.autoconfigure.data.redis.RedisProperties


/**
 * Created by tony on 2018/11/13.
 */

@EnableCaching
@Configuration
@ConditionalOnClass(RedisOperations::class)
@EnableConfigurationProperties(RedisProperties::class)
open class RedisConfig : CachingConfigurerSupport() {

    @Bean(name = arrayOf("redisTemplate"))
    @ConditionalOnMissingBean(name = arrayOf("redisTemplate"))
    open fun redisTemplate(redisConnectionFactory: RedisConnectionFactory): RedisTemplate<Any, Any> {

        val template = RedisTemplate<Any, Any>()

        val fastJsonRedisSerializer = FastJsonRedisSerializer(Any::class.java)

        template.valueSerializer = fastJsonRedisSerializer
        template.hashValueSerializer = fastJsonRedisSerializer

        template.keySerializer = StringRedisSerializer()
        template.hashKeySerializer = StringRedisSerializer()

        template.connectionFactory = redisConnectionFactory
        return template
    }

    //缓存管理器
    @Bean
    open fun cacheManager(redisConnectionFactory: RedisConnectionFactory): CacheManager {
        val builder = RedisCacheManager
                .RedisCacheManagerBuilder
                .fromConnectionFactory(redisConnectionFactory)
        return builder.build()
    }

}
这里也都需要使用open,理由同上。
1.4 创建 Service
创建一个 User 对象,使用 datat class 类型。
data class User(var userName:String,var password:String):Serializable
创建操作 User 的Service接口
import com.kotlin.tutorial.user.User

/**
 * Created by tony on 2018/11/13.
 */
interface IUserService {

    fun getUser(username: String): User

    fun createUser(username: String,password: String)
}
创建 Service 的实现类:
import com.kotlin.tutorial.user.User
import com.kotlin.tutorial.user.service.IUserService
import org.springframework.beans.factory.annotation.Autowired
import org.springframework.data.redis.core.RedisTemplate
import org.springframework.stereotype.Service


/**
 * Created by tony on 2018/11/13.
 */
@Service
class UserServiceImpl : IUserService {

    @Autowired
    lateinit var redisTemplate: RedisTemplate<Any, Any>

    override fun getUser(username: String): User {

        var user = redisTemplate.opsForValue().get("user_${username}")

        if (user == null) {

            user = User("default","000000")
         }

        return user as User
    }

    override fun createUser(username: String, password: String) {

        redisTemplate.opsForValue().set("user_${username}", User(username, password))
    }

}
1.5 创建 Controller
创建一个 UserController,包含 createUser、getUser 两个接口。
import com.kotlin.tutorial.user.User
import com.kotlin.tutorial.user.service.IUserService
import com.kotlin.tutorial.web.dto.HttpResponse

import org.springframework.beans.factory.annotation.Autowired
import org.springframework.web.bind.annotation.GetMapping
import org.springframework.web.bind.annotation.RequestMapping
import org.springframework.web.bind.annotation.RequestParam
import org.springframework.web.bind.annotation.RestController


/**
 * Created by tony on 2018/11/13.
 */
@RestController
@RequestMapping("/user")
class UserController {

    @Autowired
    lateinit var userService: IUserService

    @GetMapping("/getUser")
    fun getUser(@RequestParam("name") userName: String): HttpResponse<User> {

        return HttpResponse(userService.getUser(userName))
    }

    @GetMapping("/createUser")
    fun createUser(@RequestParam("name") userName: String,@RequestParam("password") password: String): HttpResponse<String> {

        userService.createUser(userName,password)

        return HttpResponse("create ${userName} success")
    }
}
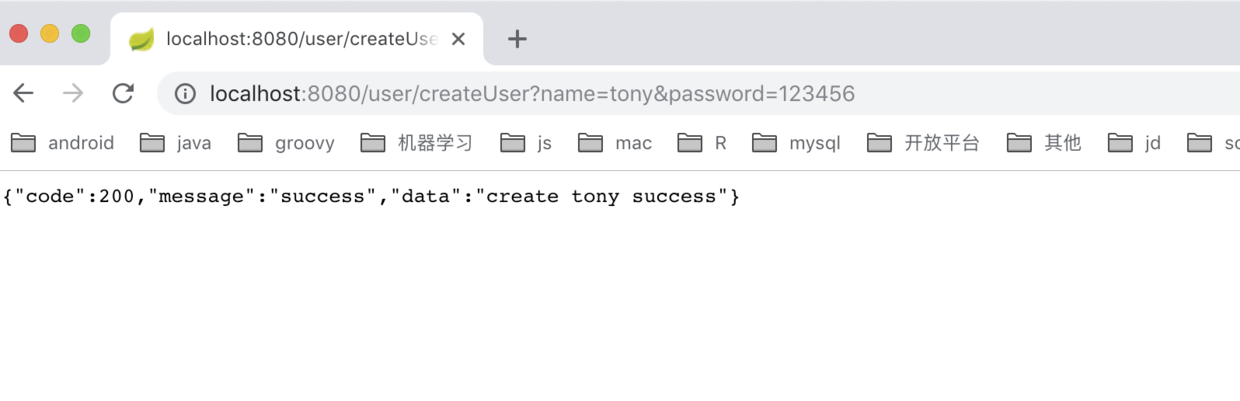
创建完 Controller 之后,可以进行测试了。
创建用户tony:
查询用户tony:

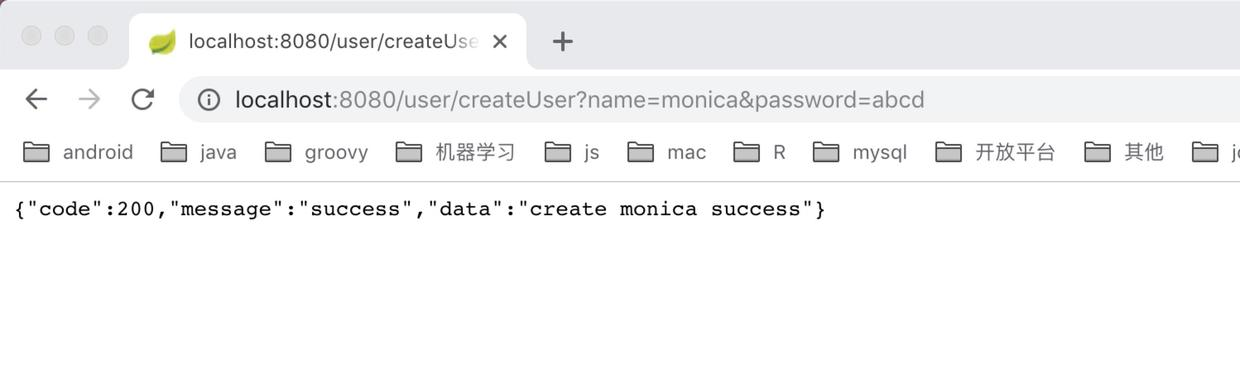
创建用户monica:
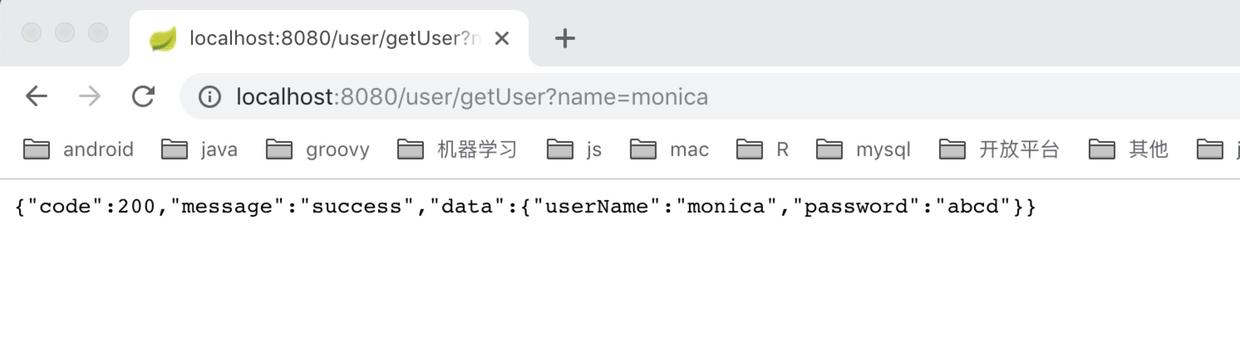
查询用户monica:
示例二:结合 RxJava 模拟顺序、并发地执行任务
2.1 创建 MockTask
首先定义一个任务接口,所有的任务都需要实现该接口:
/**
 * Created by tony on 2018/11/13.
 */
interface ITask {

    fun execute()
}
再创建一个模拟的任务,其中delayInSeconds用来模拟任务所花费的时间,单位是秒。
import java.util.concurrent.TimeUnit
import com.kotlin.tutorial.task.ITask

/**
 * Created by tony on 2018/11/13.
 */
class MockTask(private val delayInSeconds: Int) : ITask {

    /**
     * Stores information if task was started.
     */
    var started: Boolean = false

    /**
     * Stores information if task was successfully finished.
     */
    var finishedSuccessfully: Boolean = false

    /**
     * Stores information if the task was interrupted.
     * It can happen if the thread that is running this task was killed.
     */
    var interrupted: Boolean = false

    /**
     * Stores the thread identifier in which the task was executed.
     */
    var threadId: Long = 0

    override fun execute() {
        try {
            this.threadId = Thread.currentThread().id
            this.started = true
            TimeUnit.SECONDS.sleep(delayInSeconds.toLong())
            this.finishedSuccessfully = true
        } catch (e: InterruptedException) {
            this.interrupted = true
        }

    }
}
2.2 创建 ConcurrentTasksExecutor
顺序执行的话比较简单,一个任务接着一个任务地完成即可,是单线程的操作。
对于并发而言,在这里借助 RxJava 的 merge 操作符来将多个任务进行合并。还用到了 RxJava 的任务调度器 Scheduler,createScheduler()是按照所需的线程数来创建Scheduler的。
import com.kotlin.tutorial.task.ITask
import io.reactivex.Completable
import io.reactivex.schedulers.Schedulers
import org.slf4j.LoggerFactory
import org.springframework.util.CollectionUtils
import java.util.*
import java.util.concurrent.Executors
import java.util.stream.Collectors


/**
 * Created by tony on 2018/11/13.
 */
class ConcurrentTasksExecutor(private val numberOfConcurrentThreads: Int, private val tasks: Collection<ITask>?) : ITask {

    val log = LoggerFactory.getLogger(this.javaClass)

    constructor(numberOfConcurrentThreads: Int, vararg tasks: ITask) : this(numberOfConcurrentThreads, if (tasks == null) null else Arrays.asList<ITask>(*tasks)) {}

    init {

        if (numberOfConcurrentThreads < 0) {
            throw RuntimeException("Amount of threads must be higher than zero.")
        }
    }

    /**
     * Converts collection of tasks (except null tasks) to collection of completable actions.
     * Each action will be executed in thread according to the scheduler created with [.createScheduler] method.
     *
     * @return list of completable actions
     */
    private val asConcurrentTasks: List<Completable>
        get() {

            if (tasks!=null) {

                val scheduler = createScheduler()

                return tasks.stream()
                        .filter { task -> task != null }
                        .map { task ->
                            Completable
                                    .fromAction {
                                        task.execute()
                                    }
                                    .subscribeOn(scheduler)
                        }
                        .collect(Collectors.toList())
            } else {

                return ArrayList<Completable>()
            }
        }

    /**
     * Checks whether tasks collection is empty.
     *
     * @return true if tasks collection is null or empty, false otherwise
     */
    private val isTasksCollectionEmpty: Boolean
        get() = CollectionUtils.isEmpty(tasks)


    /**
     * Executes all tasks concurrent way only if collection of tasks is not empty.
     * Method completes when all of the tasks complete (or one of them fails).
     * If one of the tasks failed the the exception will be rethrown so that it can be handled by mechanism that calls this method.
     */
    override fun execute() {

        if (isTasksCollectionEmpty) {
            log.warn("There are no tasks to be executed.")
            return
        }

        log.debug("Executing #{} tasks concurrent way.", tasks?.size)
        Completable.merge(asConcurrentTasks).blockingAwait()
    }

    /**
     * Creates a scheduler that will be used for executing tasks concurrent way.
     * Scheduler will use number of threads defined in [.numberOfConcurrentThreads]
     *
     * @return scheduler
     */
    private fun createScheduler() = Schedulers.from(Executors.newFixedThreadPool(numberOfConcurrentThreads))
}
2.3 创建 Controller
创建一个 TasksController,包含 sequential、concurrent 两个接口,会分别把sequential 和 concurrent 执行任务的时间展示出来。
import com.kotlin.tutorial.task.impl.ConcurrentTasksExecutor
import com.kotlin.tutorial.task.impl.MockTask
import com.kotlin.tutorial.web.dto.TaskResponse
import com.kotlin.tutorial.web.dto.ErrorResponse
import com.kotlin.tutorial.web.dto.HttpResponse
import org.springframework.http.HttpStatus
import org.springframework.util.StopWatch
import org.springframework.web.bind.annotation.*
import java.util.stream.Collectors
import java.util.stream.IntStream

/**
 * Created by tony on 2018/11/13.
 */
@RestController
@RequestMapping("/tasks")
class TasksController {

    @GetMapping("/sequential")
    fun sequential(@RequestParam("task") taskDelaysInSeconds: IntArray): HttpResponse<TaskResponse> {

        val watch = StopWatch()
        watch.start()

        IntStream.of(*taskDelaysInSeconds)
                .mapToObj{
                    MockTask(it)
                }
                .forEach{
                    it.execute()
                }

        watch.stop()
        return HttpResponse(TaskResponse(watch.totalTimeSeconds))
    }

    @GetMapping("/concurrent")
    fun concurrent(@RequestParam("task") taskDelaysInSeconds: IntArray, @RequestParam("threads",required = false,defaultValue = "1") numberOfConcurrentThreads: Int): HttpResponse<TaskResponse> {

        val watch = StopWatch()
        watch.start()

        val delayedTasks = IntStream.of(*taskDelaysInSeconds)
                .mapToObj{
                    MockTask(it)
                }
                .collect(Collectors.toList())

        ConcurrentTasksExecutor(numberOfConcurrentThreads, delayedTasks).execute()

        watch.stop()
        return HttpResponse(TaskResponse(watch.totalTimeSeconds))
    }

    @ExceptionHandler(IllegalArgumentException::class)
    @ResponseStatus(HttpStatus.BAD_REQUEST)
    fun handleException(e: IllegalArgumentException) = ErrorResponse(e.message)
}
顺序地执行多个任务:http://localhost:8080/tasks/sequential?task=1&task=2&task=3&task=4
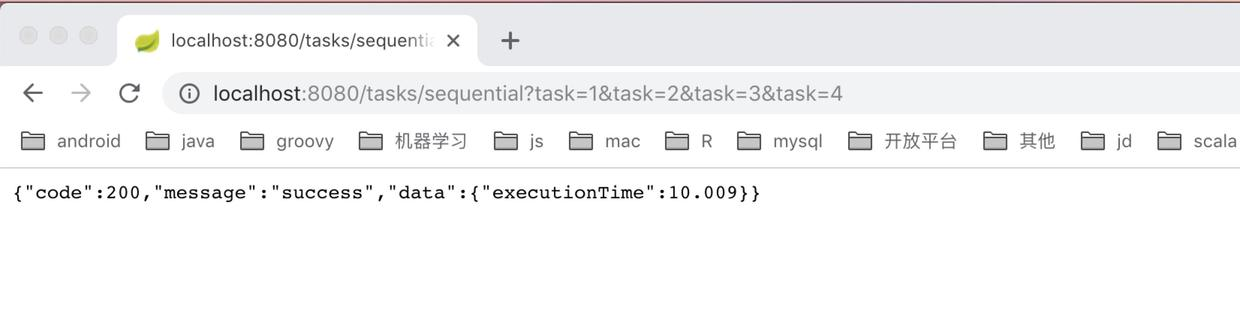
每个任务所花费的时间分别是1秒、2秒、3秒和4秒。最后,一共花费了10.009秒。
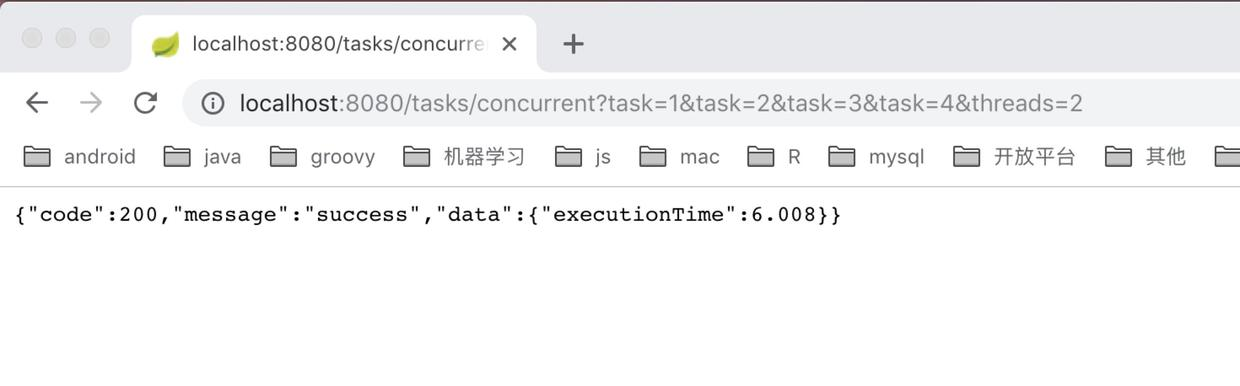
两个线程并发地执行多个任务:http://localhost:8080/tasks/concurrent?task=1&task=2&task=3&task=4&threads=2
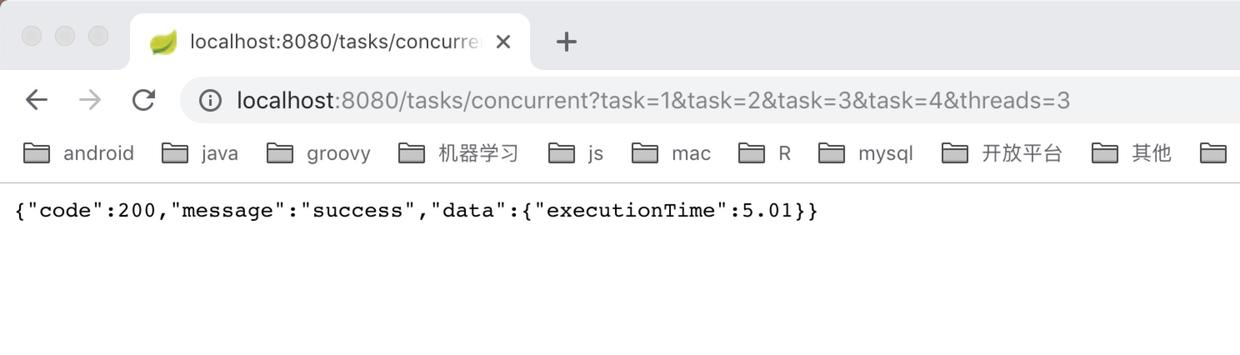
三个线程并发地执行多个任务:http://localhost:8080/tasks/concurrent?task=1&task=2&task=3&task=4&threads=3
总结
本文使用了 Kotlin 的特性跟 Spring Boot 整合进行后端开发。Kotlin 的很多语法糖使得开发变得更加便利,当然 Kotlin 也是 Java 的必要补充。
本文 demo 的 github 地址:github.com/fengzhizi71…
Java与Android技术栈:每周更新推送原创技术文章,欢迎扫描下方的公众号二维码并关注,期待与您的共同成长和进步。