简单介绍
最近使用了Flutter的展示对话框的功能,踩了一点坑,顺便做下总结,方便各位以后少踩坑,如果有说错的地方,还请大家指出来。
下面将介绍对话框的几种场景和踩坑。
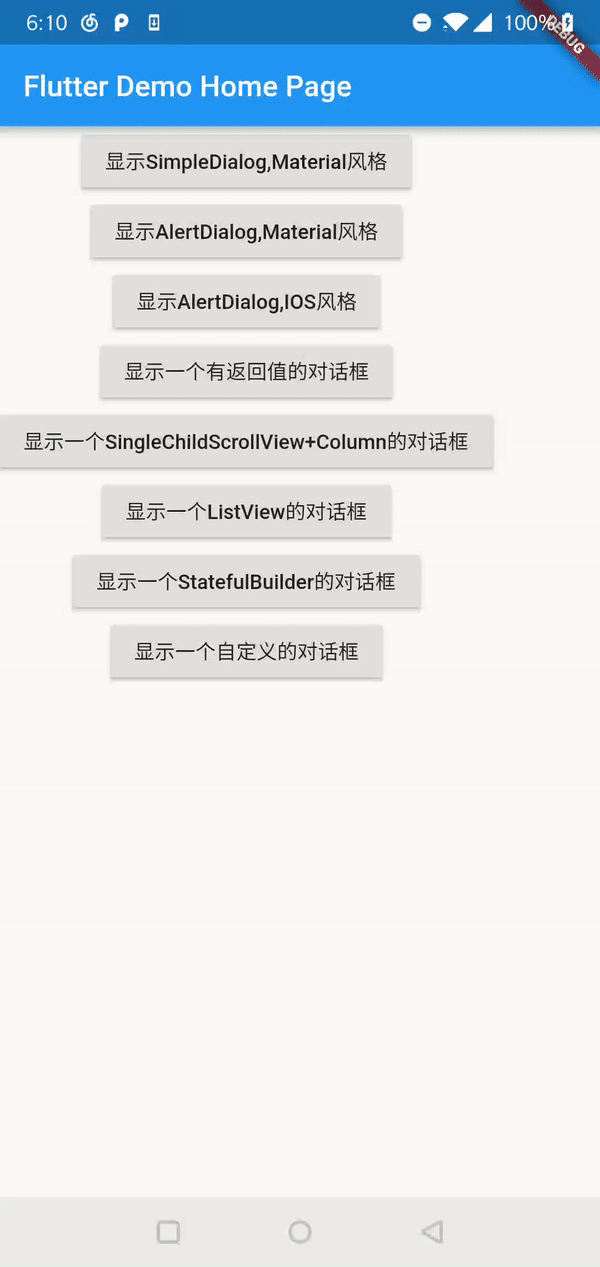
- 展示普通对话框
- 展示包含列表项的对话框
- 对话框界面需要动态刷新
- 自定义对话框。
先理解一些东西
-
对话框本质上是属于一个路由的页面route,由Navigator进行管理,所以控制对话框的显示和隐藏,也是调用Navigator.of(context)的push和pop方法。
-
在Flutter中,对话框会有两种风格,调用showDialog()方法展示的是material风格的对话框,调用showCupertinoDialog()方法展示的是ios风格的对话框。 而这两个方法其实都会去调用showGeneralDialog()方法,可以从源码中看到最后是利用Navigator.of(context, rootNavigator: true).push()一个页面。
基本要传的参数:context上下文,builder用于创建显示的widget,barrierDismissible可以控制点击对话框以外的区域是否隐藏对话框。
- 你会注意到,showDialog()方法返回的是一个Future对象,可以通过这个future对象来获取对话框所传递的数据。 比如我们想知道想知道用户是点击了对话框的确认按钮还是取消按钮,那就在退出对话框的时候,利用Navigator.of(context).pop("一些数据");
Future<T> showCupertinoDialog<T>({
  @required BuildContext context,
  @required WidgetBuilder builder,
});

Future<T> showDialog<T>({
  @required BuildContext context,
  bool barrierDismissible = true,
  WidgetBuilder builder,
})

Future<T> showGeneralDialog<T>({
  @required BuildContext context,
  @required RoutePageBuilder pageBuilder,
  bool barrierDismissible,
  String barrierLabel,
  Color barrierColor,
  Duration transitionDuration,
  RouteTransitionsBuilder transitionBuilder,
}) {
  assert(pageBuilder != null);
  assert(!barrierDismissible || barrierLabel != null);
  return Navigator.of(context, rootNavigator: true).push<T>(_DialogRoute<T>(
    pageBuilder: pageBuilder,
    barrierDismissible: barrierDismissible,
    barrierLabel: barrierLabel,
    barrierColor: barrierColor,
    transitionDuration: transitionDuration,
    transitionBuilder: transitionBuilder,
  ));
}
简单的显示对话框
Flutter中的Dialog主要是SimpleDialog和AlertDialog。
- SimpleDialog,一般可以利用多个SimpleDialogOption为用户提供了几个选项。
- AlertDialog,警告对话框。警告对话框有一个可选标题title和一个可选列表的actions选项。
展示一个简单的SimpleDialog,代码如下:
void showMySimpleDialog(BuildContext context) {
    showDialog(
        context: context,
        builder: (context) {
          return new SimpleDialog(
            title: new Text("SimpleDialog"),
            children: <Widget>[
              new SimpleDialogOption(
                child: new Text("SimpleDialogOption One"),
                onPressed: () {
                  Navigator.of(context).pop("SimpleDialogOption One");
                },
              ),
              new SimpleDialogOption(
                child: new Text("SimpleDialogOption Two"),
                onPressed: () {
                  Navigator.of(context).pop("SimpleDialogOption Two");
                },
              ),
              new SimpleDialogOption(
                child: new Text("SimpleDialogOption Three"),
                onPressed: () {
                  Navigator.of(context).pop("SimpleDialogOption Three");
                },
              ),
            ],
          );
        });
  }
展示一个简单的Material风格的AlertDialog,代码如下:
void showMyMaterialDialog(BuildContext context) {
    showDialog(
        context: context,
        builder: (context) {
          return new AlertDialog(
            title: new Text("title"),
            content: new Text("内容内容内容内容内容内容内容内容内容内容内容"),
            actions: <Widget>[
              new FlatButton(
                onPressed: () {
                  Navigator.of(context).pop();
                },
                child: new Text("确认"),
              ),
              new FlatButton(
                onPressed: () {
                  Navigator.of(context).pop();
                },
                child: new Text("取消"),
              ),
            ],
          );
        });
  }
展示一个简单的IOS风格的AlertDialog,代码如下:
void showMyCupertinoDialog(BuildContext context) {
    showCupertinoDialog(
        context: context,
        builder: (context) {
          return new CupertinoAlertDialog(
            title: new Text("title"),
            content: new Text("内容内容内容内容内容内容内容内容内容内容内容"),
            actions: <Widget>[
              new FlatButton(
                onPressed: () {
                  Navigator.of(context).pop("点击了确定");
                },
                child: new Text("确认"),
              ),
              new FlatButton(
                onPressed: () {
                  Navigator.of(context).pop("点击了取消");
                },
                child: new Text("取消"),
              ),
            ],
          );
        });
  }
展示列表项对话框(踩坑了)
构造对话框的时候,我们都需要传一个content对象,来构造对话框的主要内容。一般情况下,如果content里面只是简单的一些内容,那问题不大,可以正常显示。 但是有时候,我们需要展示一个列表对话框。这个时候,如果列表项比较多,就会出现一些问题。
- 使用Column+SingleChildScrollView来显示列表对话框。
当Column的列表项数据比较多的时候,屏幕已经放不了,就会出现overflow错误了,所以这个时候需要在外部嵌套一个SingleChildScrollView控件,使内部child控件可以滚动, 不会出现overflow错误。(哈哈,可以使用下面的代码跑一跑,然后去掉SingleChildScrollView,对比运行结果)
void showMyDialogWithColumn(BuildContext context) {
    showDialog(
        context: context,
        builder: (context) {
          return new AlertDialog(
            title: new Text("title"),
            content: new SingleChildScrollView(
              child: new Column(
                children: <Widget>[
                  new SizedBox(
                    height: 100,
                    child: new Text("1"),
                  ),
                  new SizedBox(
                    height: 100,
                    child: new Text("1"),
                  ),
                  new SizedBox(
                    height: 100,
                    child: new Text("1"),
                  ),
                  new SizedBox(
                    height: 100,
                    child: new Text("1"),
                  ),
                  new SizedBox(
                    height: 100,
                    child: new Text("1"),
                  ),
                  new SizedBox(
                    height: 100,
                    child: new Text("1"),
                  ),
                  new SizedBox(
                    height: 100,
                    child: new Text("1"),
                  ),
                  new SizedBox(
                    height: 100,
                    child: new Text("1"),
                  ),
                  new SizedBox(
                    height: 100,
                    child: new Text("1"),
                  ),
                  new SizedBox(
                    height: 100,
                    child: new Text("1"),
                  ),
                  new SizedBox(
                    height: 100,
                    child: new Text("1"),
                  ),
                  new SizedBox(
                    height: 100,
                    child: new Text("1"),
                  ),
                ],
              ),
            ),
            actions: <Widget>[
              new FlatButton(
                onPressed: () {},
                child: new Text("确认"),
              ),
              new FlatButton(
                onPressed: () {},
                child: new Text("取消"),
              ),
            ],
          );
        });
  }
- 使用ListView+指定宽度和高度的Container来显示对话框
要将ListView包装在具有特定宽度和高度的Container中。 如果Container没有定义这两个属性的话,会报错,无法显示ListView。(目前我也是这样解决的,不知道有没有人有其他更好的方法哈。) 报错如下:
void showMyDialogWithListView(BuildContext context) {
    showDialog(
      context: context,
      builder: (BuildContext context) {
        return new AlertDialog(
            content: new Container(
          /*
              暂时的解决方法:要将ListView包装在具有特定宽度和高度的Container中
              如果Container没有定义这两个属性的话,会报错,无法显示ListView
               */
          width: MediaQuery.of(context).size.width * 0.9,
          height: MediaQuery.of(context).size.height * 0.9,
          child: new ListView.builder(
            itemBuilder: (context, index) {
              return new SizedBox(
                height: 100,
                child: new Text("1"),
              );
            },
            itemCount: 10,
            shrinkWrap: true,
          ),
        ));
      },
    );

  //如果直接将ListView放在dialog中,会报错,比如
  //下面这种写法会报错:I/flutter (10721): ══╡ EXCEPTION CAUGHT BY RENDERING LIBRARY ╞═════════════════════════════════════════════════════════
  //    I/flutter (10721): The following assertion was thrown during performLayout():
  //    I/flutter (10721): RenderShrinkWrappingViewport does not support returning intrinsic dimensions.
  //    I/flutter (10721): Calculating the intrinsic dimensions would require instantiating every child of the viewport, which
  //    I/flutter (10721): defeats the point of viewports being lazy.
  //    I/flutter (10721): If you are merely trying to shrink-wrap the viewport in the main axis direction, you should be able
  //    I/flutter (10721): to achieve that effect by just giving the viewport loose constraints, without needing to measure its
  //    I/flutter (10721): intrinsic dimensions.
  //    I/flutter (10721):
  //    I/flutter (10721): When the exception was thrown, this was the stack:
  //    I/flutter (10721): #0      RenderShrinkWrappingViewport.debugThrowIfNotCheckingIntrinsics.<anonymous closure> (package:flutter/src/rendering/viewport.dart:1544:9)
  //    I/flutter (10721): #1      RenderShrinkWrappingViewport.debugThrowIfNotCheckingIntrinsics (package:flutter/src/rendering/viewport.dart:1554:6)
  //    I/flutter (10721): #2      RenderViewportBase.computeMaxIntrinsicWidth (package:flutter/src/rendering/viewport.dart:321:12)
  //    I/flutter (10721): #3      RenderBox._computeIntrinsicDimension.<anonymous closure> (package:flutter/src/rendering/box.dart:1109:23)
  //    I/flutter (10721): #4      __InternalLinkedHashMap&_HashVMBase&MapMixin&_LinkedHashMapMixin.putIfAbsent (dart:collection/runtime/libcompact_hash.dart:277:23)
  //    I/flutter (10721): #5      RenderBox._computeIntrinsicDimension (package:flutter/src/rendering/box.dart:1107:41)
  //    I/flutter (10721): #6      RenderBox.getMaxIntrinsicWidth (package:flutter/src/rendering/box.dart:1291:12)
  //    I/flutter (10721): #7      _RenderProxyBox&RenderBox&RenderObjectWithChildMixin&RenderProxyBoxMixin.computeMaxIntrinsicWidth (package:flutter/src/rendering/proxy_box.dart:81:20)

  //        showDialog(context: context, builder: (context) {
  //      return new AlertDialog(title: new Text("title"),
  //        content: new SingleChildScrollView(
  //          child: new Container(
  //            height: 200,
  //            child: new ListView.builder(
  //              itemBuilder: (context, index) {
  //                return new SizedBox(height: 100, child: new Text("1"),);
  //              }, itemCount: 10, shrinkWrap: true,),
  //          ),
  //        ),
  //        actions: <Widget>[
  //          new FlatButton(onPressed: () {}, child: new Text("确认"),),
  //          new FlatButton(onPressed: () {}, child: new Text("取消"),),
  //        ],);
  //    });
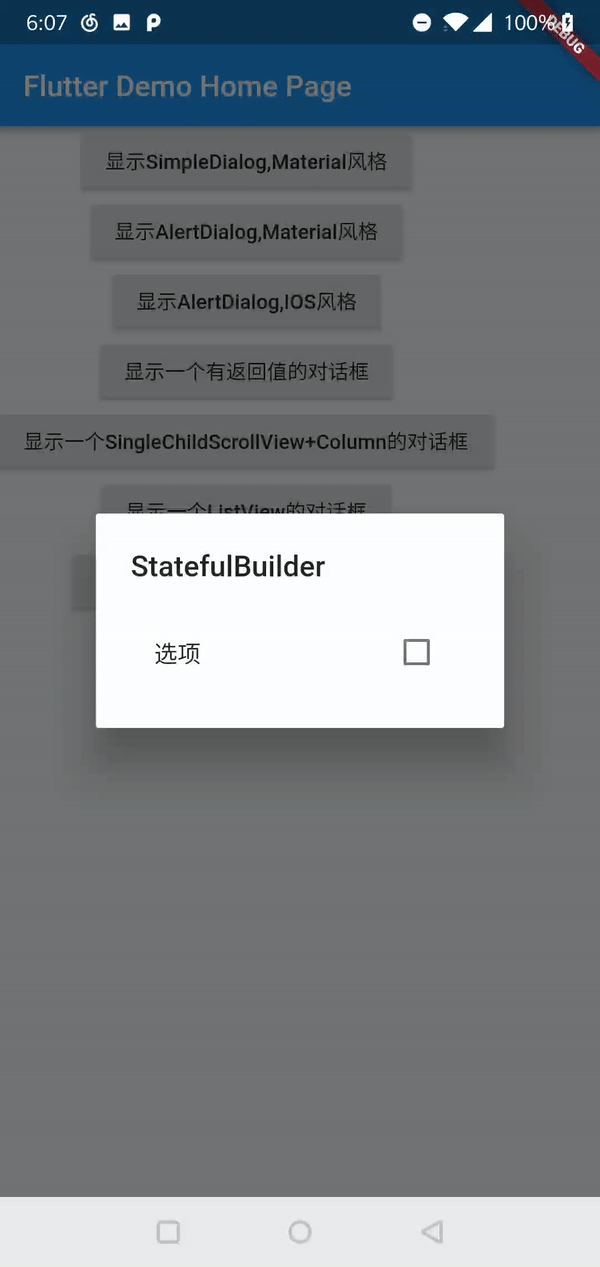
需要动态更新界面的对话框
利用StatefulBuilder来实现一些对话框场景,需要对话框动态更新界面的。
比如在对话框里面显示一个checkbox,然后点击会修改checkbox的显示状态。如果是跟之前一样的实现对话框方法, 是无法实现动态去刷新对话框的界面的。
StatefulBuilder可以包含一个child,具有状态,可以调用setState刷新界面。
builder参数,用于创建想要显示的widget,可以调用StateSetter类型的setState参数来进行刷新界面。
typedef StatefulWidgetBuilder = Widget Function(BuildContext context, StateSetter setState);

 const StatefulBuilder({
    Key key,
    @required this.builder
  }) : assert(builder != null),
       super(key: key);
实例的代码如下:
 void showMyDialogWithStateBuilder(BuildContext context) {
    showDialog(
        context: context,
        builder: (context) {
          bool selected = false;
          return new AlertDialog(
            title: new Text("StatefulBuilder"),
            content:
                new StatefulBuilder(builder: (context, StateSetter setState) {
              return Container(
                child: new CheckboxListTile(
                    title: new Text("选项"),
                    value: selected,
                    onChanged: (bool) {
                      setState(() {
                        selected = !selected;
                      });
                    }),
              );
            }),
          );
        });
  }
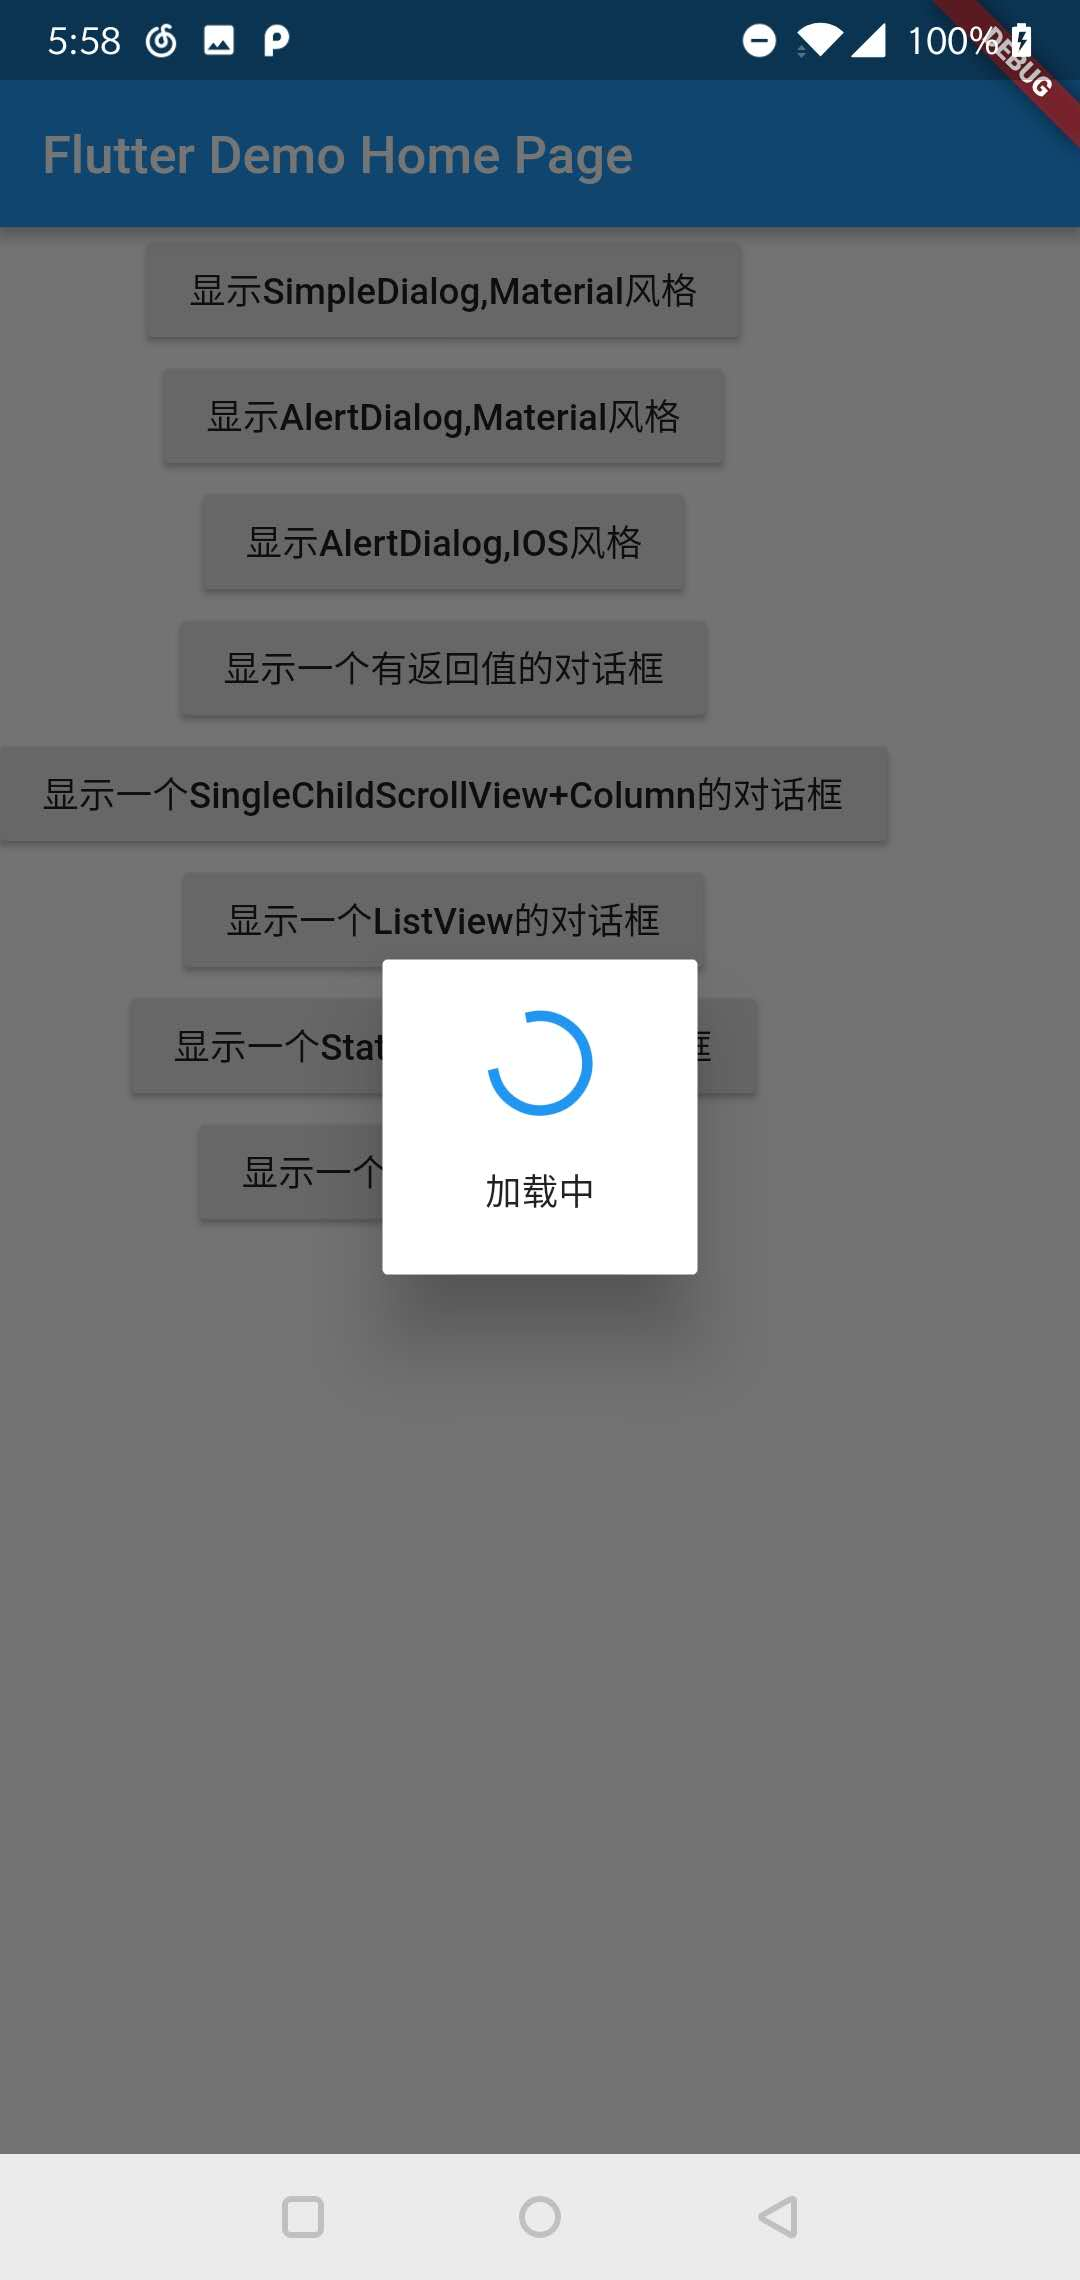
自定义Dialog
比如我想显示一个菊花的loading加载框,那么用上面的方法都是行不通的。这个时候就需要我们去自定义一个对话框。
首先我们可以先去看一下Dialog的源码实现,然后只需再照着源码的实现,修改一下就行了。大部分代码是保持一致的,所以 对话框的显示效果比如动画,主题都是一致的。
下面是Dialog源码中的build方法实现。简单的修改下child属性所传的参数就行了。
 @override
  Widget build(BuildContext context) {
    final DialogTheme dialogTheme = DialogTheme.of(context);
    return AnimatedPadding(
      padding: MediaQuery.of(context).viewInsets + const EdgeInsets.symmetric(horizontal: 40.0, vertical: 24.0),
      duration: insetAnimationDuration,
      curve: insetAnimationCurve,
      child: MediaQuery.removeViewInsets(
        removeLeft: true,
        removeTop: true,
        removeRight: true,
        removeBottom: true,
        context: context,
        //所以我们其实只需要修改child这个属性了,改成我们想要展示的widget就行了。
        child: Center(
          child: ConstrainedBox(
            constraints: const BoxConstraints(minWidth: 280.0),
            child: Material(
              elevation: 24.0,
              color: _getColor(context),
              type: MaterialType.card,
              child: child,
              shape: shape ?? dialogTheme.shape ?? _defaultDialogShape,
            ),
          ),
        ),
      ),
    );
  }
下面是一个自定义加载框Dialog的例子,就是将AlertDialog的源码进行刚才所说的修改就行了。
  void showMyCustomLoadingDialog(BuildContext context) {
    showDialog(
        context: context,
        barrierDismissible: false,
        builder: (context) {
          return new MyCustomLoadingDialog();
        });
  }

class MyCustomLoadingDialog extends StatelessWidget {
  @override
  Widget build(BuildContext context) {
    Duration insetAnimationDuration = const Duration(milliseconds: 100);
    Curve insetAnimationCurve = Curves.decelerate;

    RoundedRectangleBorder _defaultDialogShape = RoundedRectangleBorder(
        borderRadius: BorderRadius.all(Radius.circular(2.0)));

    return AnimatedPadding(
      padding: MediaQuery.of(context).viewInsets +
          const EdgeInsets.symmetric(horizontal: 40.0, vertical: 24.0),
      duration: insetAnimationDuration,
      curve: insetAnimationCurve,
      child: MediaQuery.removeViewInsets(
        removeLeft: true,
        removeTop: true,
        removeRight: true,
        removeBottom: true,
        context: context,
        child: Center(
          child: SizedBox(
            width: 120,
            height: 120,
            child: Material(
              elevation: 24.0,
              color: Theme.of(context).dialogBackgroundColor,
              type: MaterialType.card,
              //在这里修改成我们想要显示的widget就行了,外部的属性跟其他Dialog保持一致
              child: new Column(
                mainAxisSize: MainAxisSize.min,
                crossAxisAlignment: CrossAxisAlignment.center,
                mainAxisAlignment: MainAxisAlignment.center,
                children: <Widget>[
                  new CircularProgressIndicator(),
                  Padding(
                    padding: const EdgeInsets.only(top: 20),
                    child: new Text("加载中"),
                  ),
                ],
              ),
              shape: _defaultDialogShape,
            ),
          ),
        ),
      ),
    );
  }
}
Demo的Github地址
公众号
最近弄了个学习Flutter的公众号(入魔的冬瓜),一部分是搬砖一些国外文章再加些自己的理解,一部分是自己平时的总结。
希望与大家在2019一起学习,共同进步!
祝大家狗年快乐!