1、基础介绍
2、使用redux
cnpm i -S redux react-redux redux-thunk // redux-thunk => action异步处理
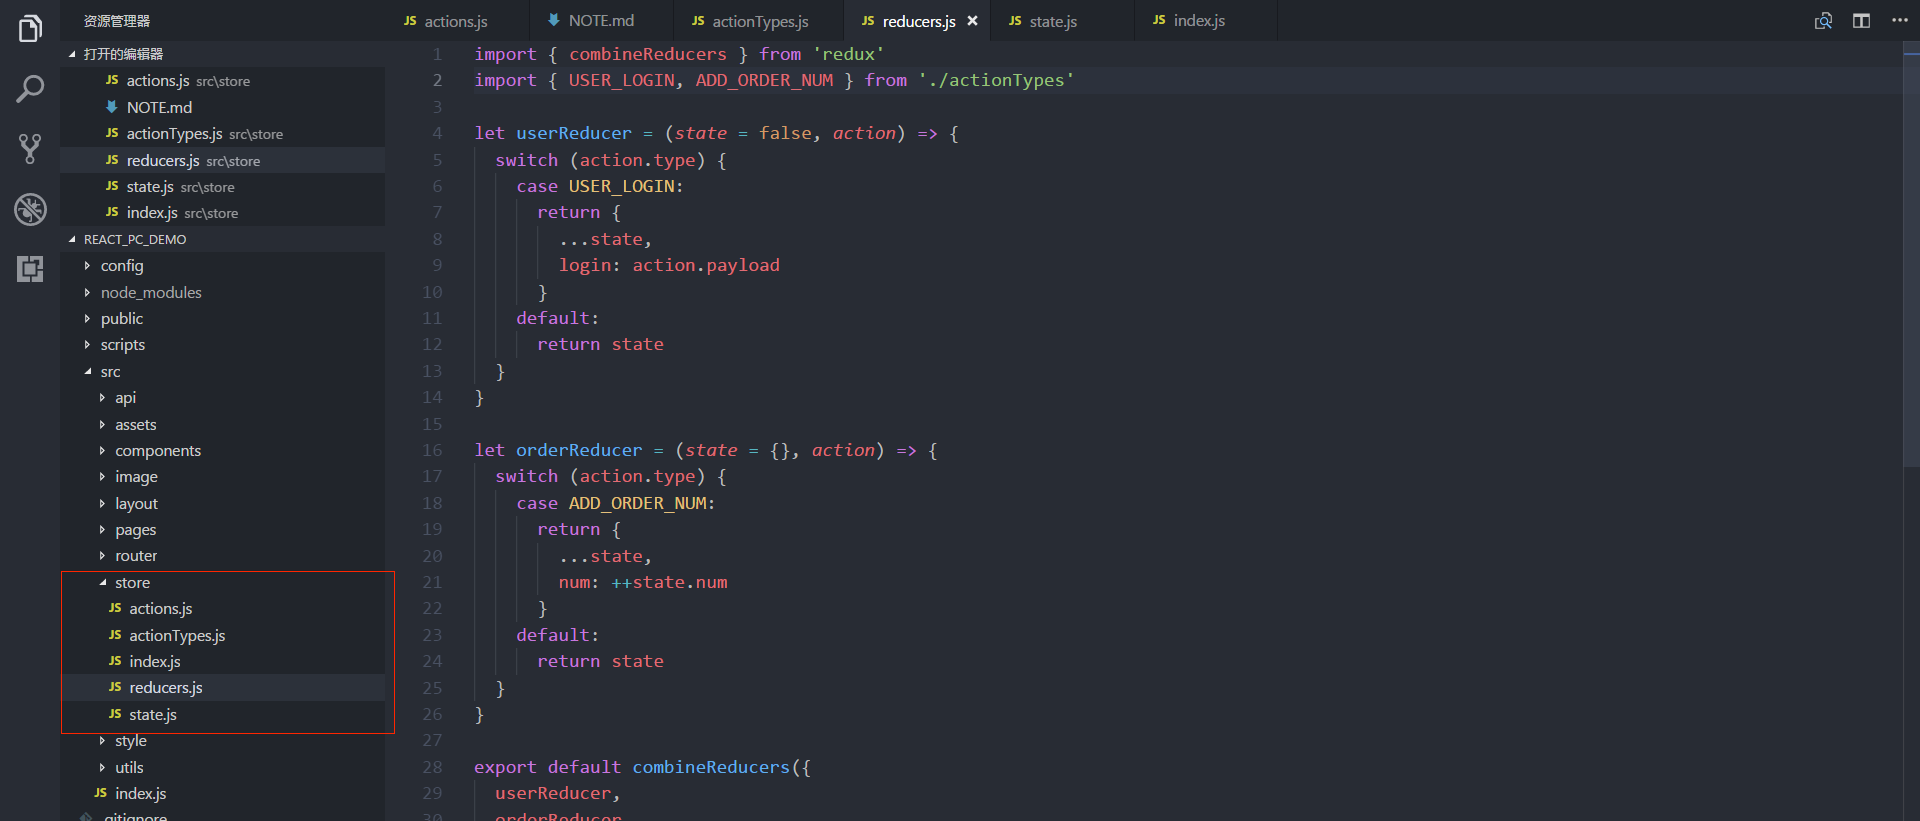
- 基础模块介绍,如图所示,在src下新建store文件夹,新建
state,actions,reducers,actionTypes,index
state  ==> 初始化state数据
actions ==> redux规定修改state数据必须通过dispatch对应的action
reducers ==> 描述应用如何更新state(可以理解为action触发了state的修改方法,reducers是修改方法的具体内容)
actionTypes ==> action的类型,这里新建actionTypes文件,只是方便统一管理
index ===> 导出创建的store
export default {
  userReducer: {
    login: false,
    test: 'test'
  },
  orderReducer: {
    orderType: 'order',
    completed: 'false',
    num: 0
  }
}
import { USER_LOGIN, ADD_ORDER_NUM } from './actionTypes'
export function userLogin(payload) {
  return {
    type: USER_LOGIN,
    payload
  }
}
export function addOrderNum() {
  return {
    type: ADD_ORDER_NUM
  }
}
actionTypes.js,对action的类型集中管理
export const USER_LOGIN = 'USER_LOGIN'
export const ADD_ORDER_NUM = 'ADD_ORDER_NUM'
import { combineReducers } from 'redux'
import { USER_LOGIN, ADD_ORDER_NUM } from './actionTypes'

let userReducer = (state = false, action) => {
  switch (action.type) {
    case USER_LOGIN:
      return {
        ...state,
        login: action.payload
      }
    default:
      return state
  }
}

let orderReducer = (state = {}, action) => {
  switch (action.type) {
    case ADD_ORDER_NUM:
      return {
        ...state,
        num: ++state.num
      }
    default:
      return state
  }
}

export default combineReducers({ // combineReducers,合并多个reducers
  userReducer,
  orderReducer,
})
import { createStore, applyMiddleware } from 'redux'
import reducers from './reducers'
import initialState  from './state'
import thunk from "redux-thunk"  // thunk中间件,增强异步action
const enhancer = applyMiddleware(thunk)  // redux需要通过applyMiddleware来使用中间件
export default createStore( // createStore,创建store实例
  reducers,
  initialState,
  enhancer
)
3、在组件中使用
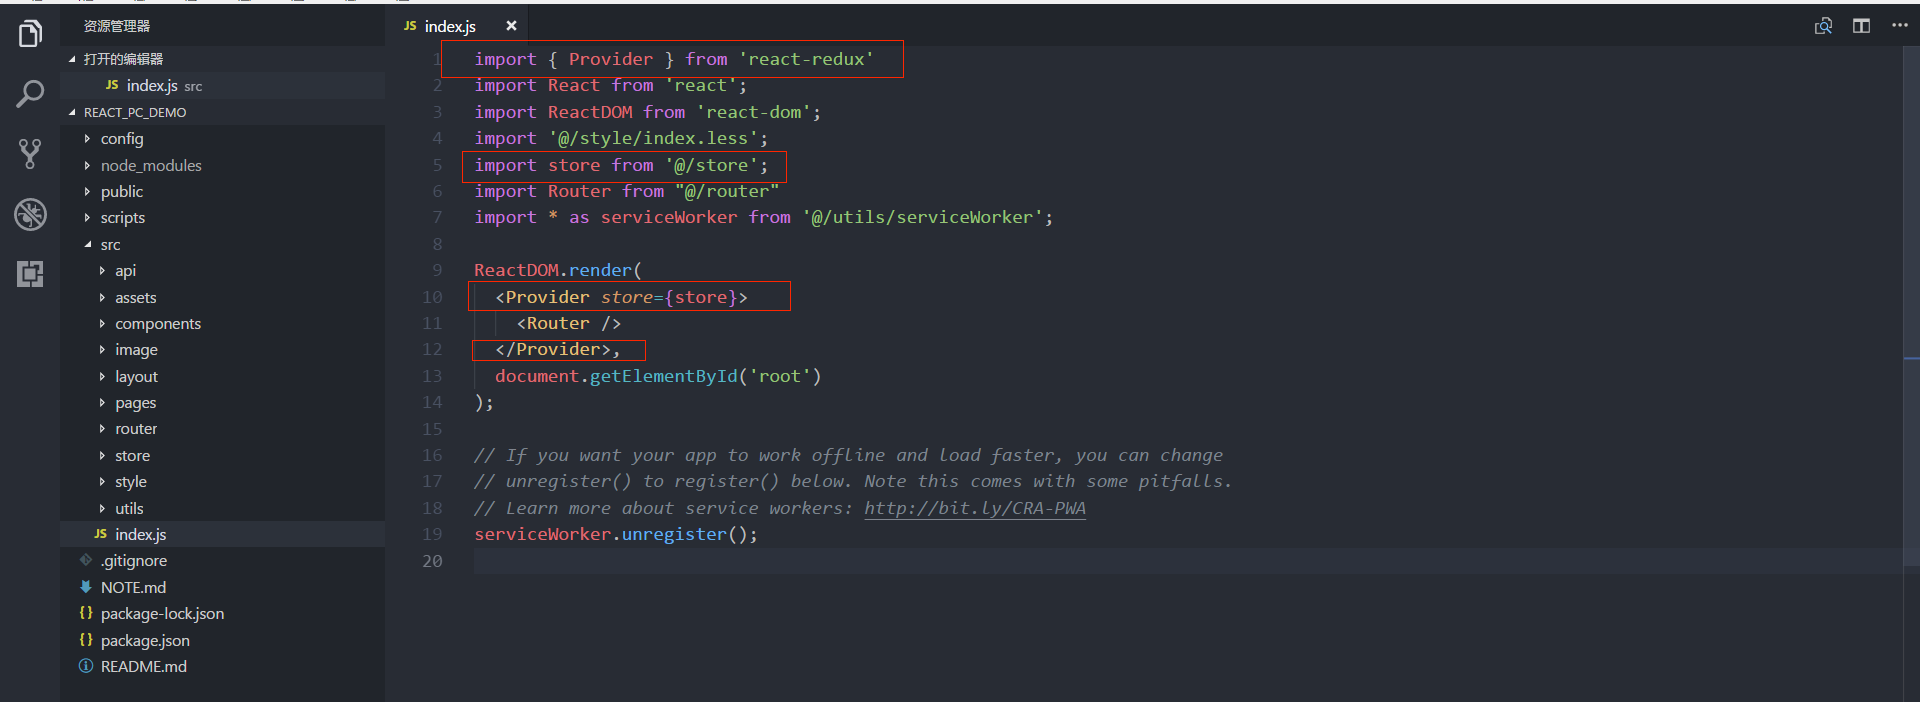
- 修改index.js入口文件,如图所示,红线部分是需要修改的部分。
Provider,是一个高价组件,通过它把store共享给子组件。其主要原理就是利用react的context来向子组件共享数据。
- 在具体的组件中使用
import React, { Component } from 'react';
import PropsTypes from 'prop-types'  // PropsTypes定义数据的类型,cnpm i -S prop-types
import { connect } from 'react-redux' // connect顾名思义,连接组件,返回一个高阶组件
import { addOrderNum } from '@/store/actions' // 引入需要使用的action

class OrderNum extends Component {
  static PropsTypes = { // 定义props的类型,isRequired表示参数是必须的
    orderType: PropsTypes.string,
    num: PropsTypes.number.isRequired,
    completed: PropsTypes.bool,
    addOrderNum: PropsTypes.func.isRequired
  }
  render() {
    return (
      <div className="order_component">
        <p>orderType: {this.props.orderType}</p>
        <p>orderNum: {this.props.num}</p>
        <p>completed: {this.props.completed}</p>
        <button onClick={this.props.addOrderNum}>add order number</button>
      </div>
    );
  }
}
const mapStateToProps = (state, ownProps) => ({ // mapStateToProps,将组件的props和state中的数据关联起来
  orderType: state.orderReducer.orderType,
  completed: state.orderReducer.completed,
  num: state.orderReducer.num
})
const mapDispatchToProps = { // mapDispatchToProps, 将组件的事件和action关联起来
  addOrderNum
}
export default connect(mapStateToProps, mapDispatchToProps)(OrderNum)  // connect接受mapStateToProps, mapDispatchToProps
4、总结
- 本文主要介绍了react-redux的使用
- 布局完全根据自己的喜好,你也可以不这么做
- 若有不妥之处,欢迎指正。


