引言

- react native
- web
- android
- ios
申请测试账号
在开始之前我们要申请一个账号。 注册链接
简单的填写之后提交,并激活你的邮件。
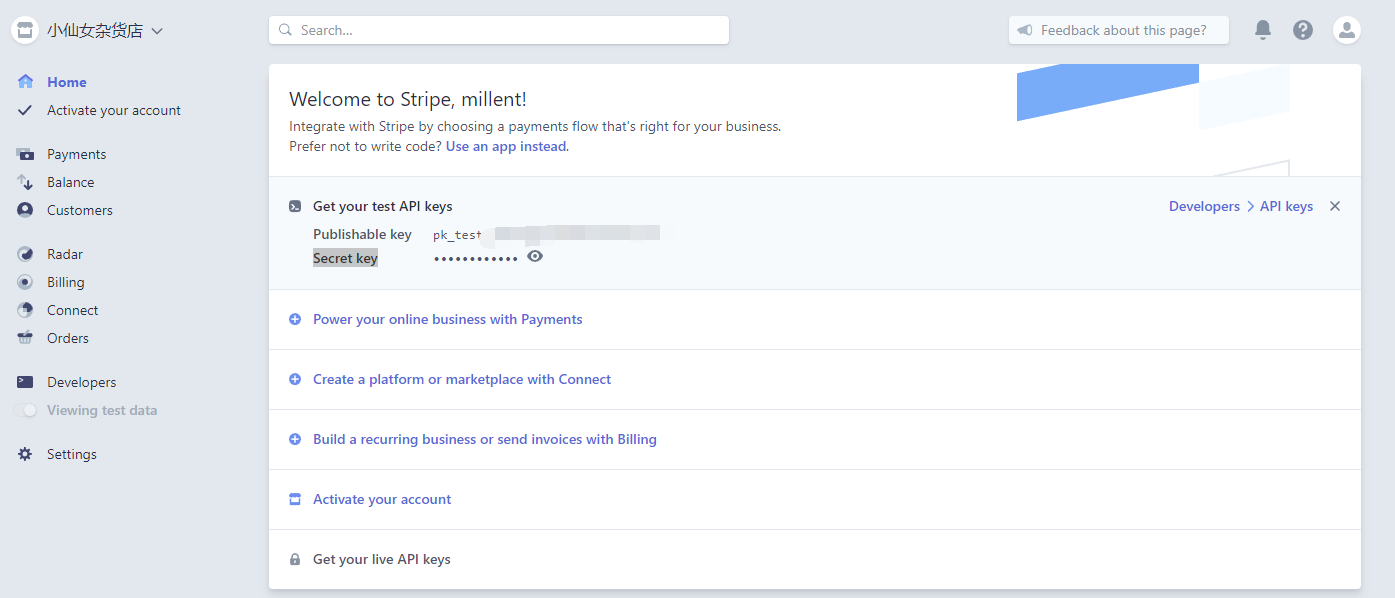
注册完之后打开 管理页面
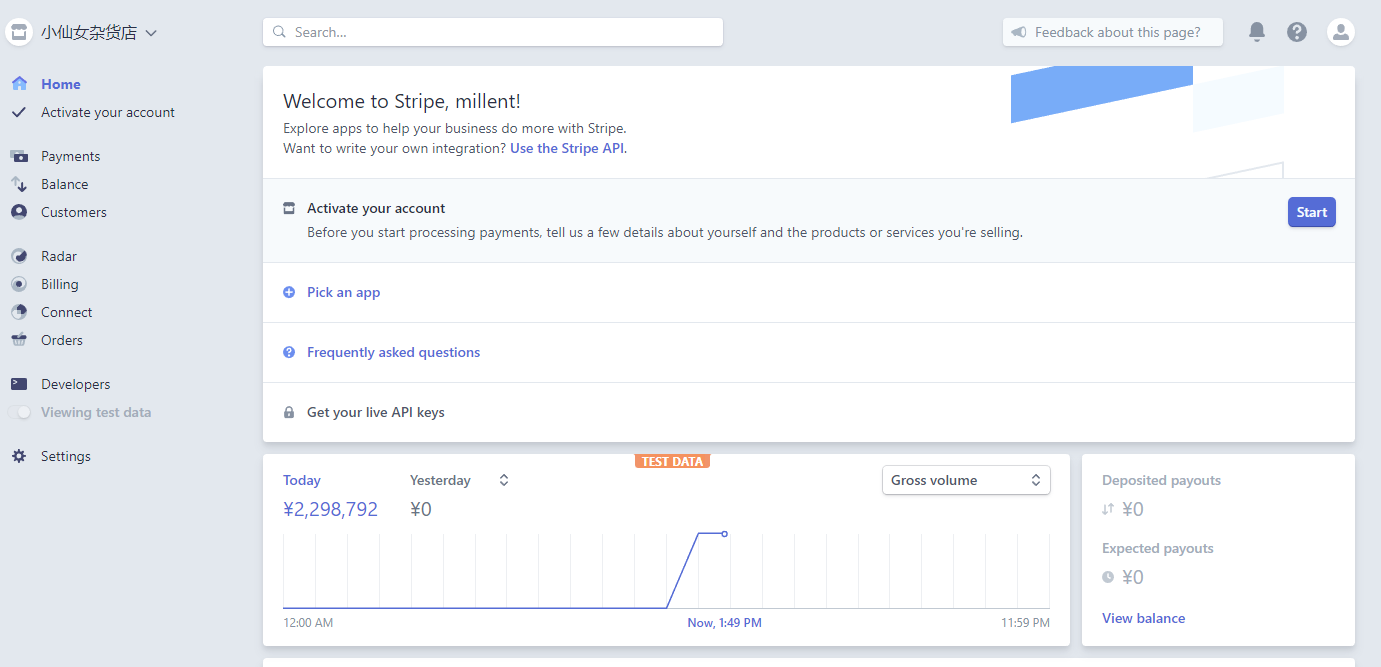
Use the Stripe API 获取 appkey 和 Secret key
实践
思路
前端实现获取支付token,后端接到token后发起支付。
下面我们在react native端实现对接信用卡支付,其他端以此类推。
安装rn依赖
react-native-stripe-api是针对于Rn端的封装好的sdk,用来获取支付的token
yarn add react-native-stripe-api
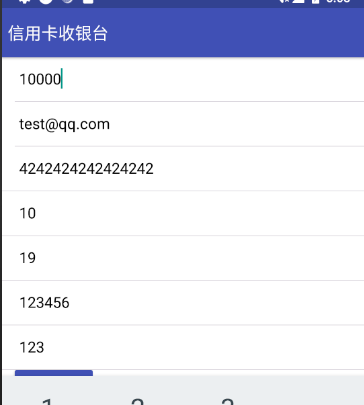
首先简单搭建一个界面
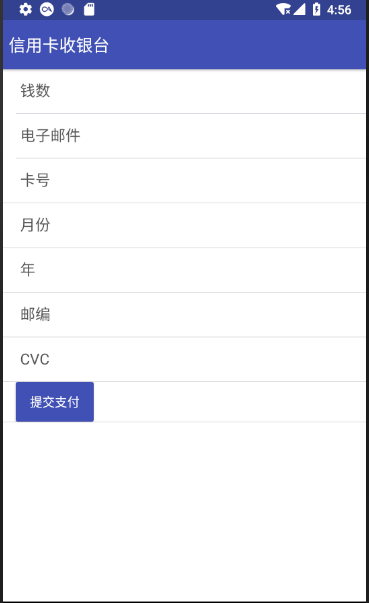
一个交易需要以下参数
- 钱数
- 电子邮件
- 卡号
- 月份
- 年
- 邮编
- CVC
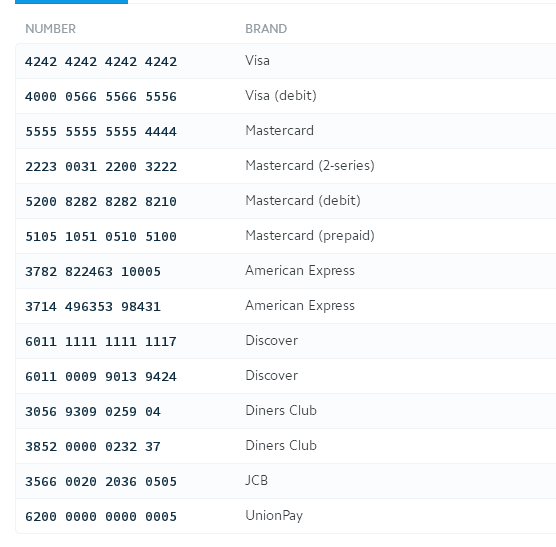
很显然我们这么穷的人是没有信用卡的,那怎么办?在这里stripe为我们提供了测试卡号,除了卡号的月份要大于当前月份,年份要大于等于当前年份,我们可以随意测试。测试卡号连接
rn 获取token关键代码
import React, {Component} from 'react';
import Stripe from 'react-native-stripe-api';
const apiKey = 'pk_test_xxxx';

export default class Pay extends Component<Props> {
    constructor(props){
        super(props);

        this.state = {
          money: '10',
          email: 'test@qq.com',
          cardID: '4242424242424242',
          month: '10',
          year: '19',
          cvc: '123',
          address: '123456',
          isLoading: false
        }
    }

    async _pay(){
        const client = new Stripe(apiKey);

        // 获取token
        const token = await client.createToken({
          number: this.state.cardID ,
          exp_month: this.state.month ,
          exp_year: this.state.year ,
          cvc: this.state.cvc ,
          address_zip: this.state.address
        });
    }

}
发送请求给后台
 async _pay(){
    const client = new Stripe(apiKey);

    // 获取token
    const token = await client.createToken({
      number: this.state.cardID ,
      exp_month: this.state.month ,
      exp_year: this.state.year ,
      cvc: this.state.cvc ,
      address_zip: this.state.address
    });

    fetch('http://192.168.70.41:7001/', {
      method: 'POST',
      headers: {
        Accept: 'application/json',
        'Content-Type': 'application/json',
      },
      body: JSON.stringify({
        token: token.id,
        money: this.state.money,
        email: this.state.email
      }),
    }).then((responseJson) => {
        Alert.alert('支付成功')
        console.log(responseJson)
      })
      .catch((error) => {
        console.error(error);
      });
}
后台处理
在此之前别忘记安装stripe node sdk stripe
yarn add stripe
'use strict';

const Controller = require('egg').Controller;

const stripe = require('stripe')('你的Secret key');

class HomeController extends Controller {


  async create() {
    const { ctx } = this;


    let userData = ctx.request.body

    console.log(userData, '<------------------------------')

    const customer = await stripe.customers.create({
      source: userData.token, // Token retrieved from Elements, Checkout, or native SDKs.
      email: userData.email,
    });

    let charge = await stripe.charges.create({
      amount: parseInt(userData.money) * 100,
      currency: 'usd',
      customer: customer.id
    });

    console.log(charge)

    ctx.body = 'hi, egg';
  }

  async index(){
    const { ctx } = this;
    ctx.body = 'hi, egg';
  }
}

module.exports = HomeController;
测试
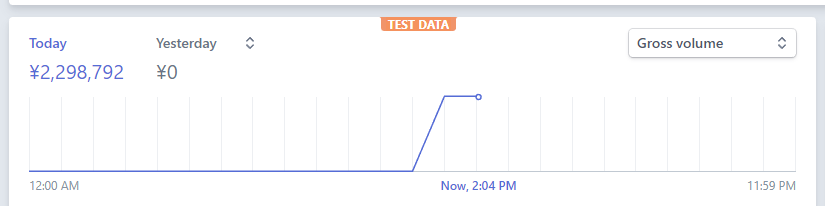
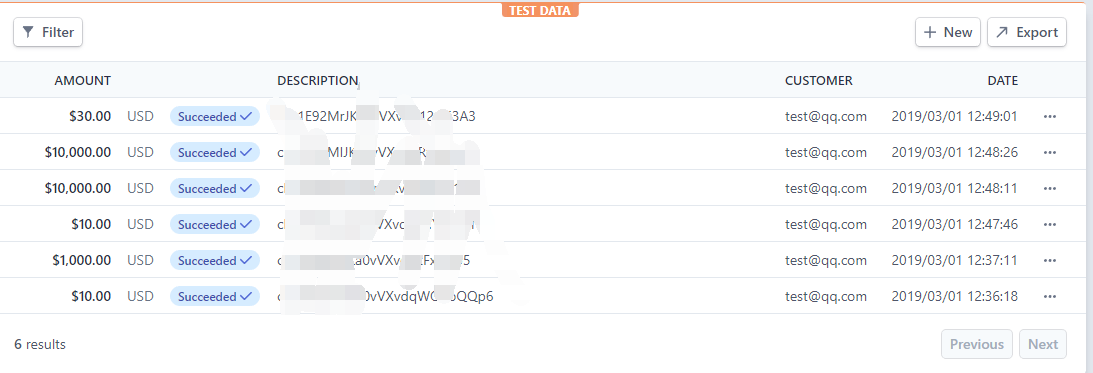
啦啦啦,发财了!!!!