很久没写文章了,写这篇文章的目的是骗几个赞,结尾有说明。先上效果图:
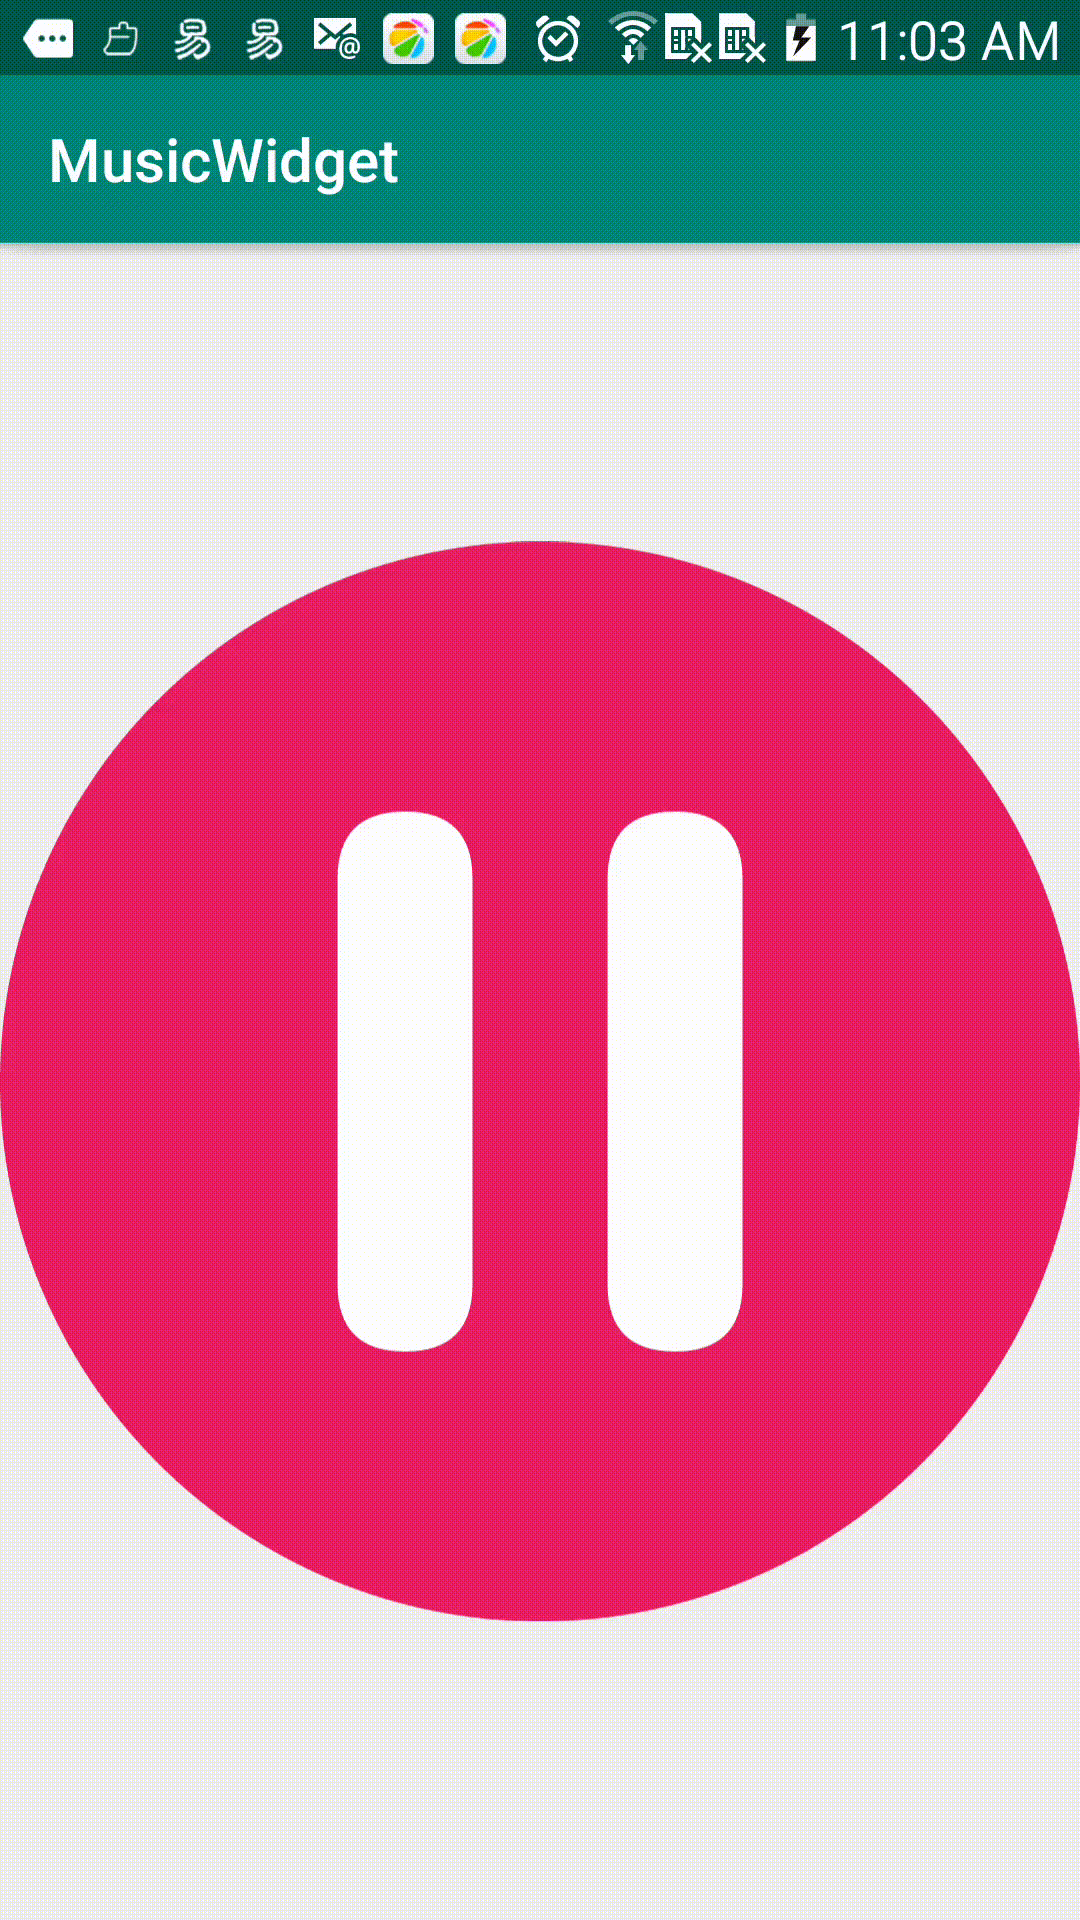
非常简单的一个按钮,实现了从播放到暂停并且从暂停到播放的状态。
这个主要是依赖Android内置的vector、objectAnimator和animated-vector组合实现的动画效果。
1. Vector部分
vector主要功能室以svg语法的形式绘制静态图像。它的主要优势在于绘制简单图形时可以矢量图的形式展示,不会因为放大或缩小而失真。
首先创建icon-play.xml,并填写如下内容:
<?xml version="1.0" encoding="utf-8"?>
<vector xmlns:android="http://schemas.android.com/apk/res/android"
    android:width="48dp"
    android:height="48dp"
    android:viewportWidth="48"
    android:viewportHeight="48">
    <!--背景圆-->
    <path
        android:name="bg_circle"
        android:fillColor="#e91e63"
        android:pathData="M0,24
                          A24,24 0 1,1 48,24
                          A24,24 0 1,1, 0,24z" />
    <!--线-->
    <path
        android:name="line"
        android:fillColor="#ffffff"
        android:pathData="M15,33
                          L15,15
                          Q15,12 18,12
                          L18,12
                          Q21,12 21,15
                          L21,33
                          Q21,36 18,36
                          L18,36
                          Q15,36 15,33

                          M27,33
                          L27,15
                          Q27,12 30,12
                          L30,12
                          Q33,12 33,15
                          L33,33
                          Q33,36 30,36
                          L30,36
                          Q27,36 27,33
                    " />
</vector>
显示效果如下:

vector的画布坐标与view中的画布坐标一致,左上角是原点,向右是x正方向,向下是y正方向。vector节点下的width和height与常用xml布局中的属性是一致的,而viewportWidth和viewHeight是将画布平分为对应的份数,也就是将width平均分成viewWidth份,从而可以自由定制坐标系的单位长度。
path节点下的一系列属性都与paint相似,可以设置颜色,strokeColor,strokeWidth,fillColor等。pathData即是svg的路径。这里分两段绘制,其中圆角部分采用的一阶贝塞尔曲线。
然后创建icon-puase.xml文件,并填写内容如下:
<?xml version="1.0" encoding="utf-8"?>
<vector xmlns:android="http://schemas.android.com/apk/res/android"
    android:width="48dp"
    android:height="48dp"
    android:viewportWidth="48"
    android:viewportHeight="48">

    <!--背景圆-->
    <path
        android:name="bg_circle"
        android:fillColor="#e91e63"
        android:pathData="M0,24
                          A24,24 0 1,1 48,24
                          A24,24 0 1,1, 0,24z" />

    <path
        android:name="triangle"
        android:fillColor="#ffffff"
        android:pathData="M15,33
                          L15,15
                          Q15,11 18,12
                          L24,16
                          Q24,16 24,16
                          L24,32
                          Q24,32 24,32
                          L18,36
                          Q15,37 15,33
                          M24,32
                          L24,16
                          Q24,16 24,16
                          L33,22
                          Q35,23.3 35,24
                          L35,24
                          Q35,24.7 33,26
                          L24,32
                          Q24,32 24,32
                    " />
</vector>
这里的形式与icon-play.xml一致,不同的地方在于pathData部分。效果如下:

为了要实现文章开头的效果,最右侧的圆角部分采用了一种曲折的方式实现,计算了方程的斜率来计算出贝塞尔曲线的控制点。
注意:前后两个XML文件的pathData形式一定要一致,否则将会抛出异常
这样就绘制好了开始和结束的状态了。
2. objectAnimator部分
创建play_pause_anim.xml,实现从play状态到pause状态的过渡:
<?xml version="1.0" encoding="utf-8"?>
<set xmlns:android="http://schemas.android.com/apk/res/android"
    android:ordering="sequentially">
    <objectAnimator
        android:duration="1000"
        android:propertyName="pathData"
        android:valueFrom="M15,33
                          L15,15
                          Q15,12 18,12
                          L18,12
                          Q21,12 21,15
                          L21,33
                          Q21,36 18,36
                          L18,36
                          Q15,36 15,33
                          M27,33
                          L27,15
                          Q27,12 30,12
                          L30,12
                          Q33,12 33,15
                          L33,33
                          Q33,36 30,36
                          L30,36
                          Q27,36 27,33"
        android:valueTo="M15,33
                          L15,15
                          Q15,11 18,12
                          L24,16
                          Q24,16 24,16
                          L24,32
                          Q24,32 24,32
                          L18,36
                          Q15,37 15,33
                          M24,32
                          L24,16
                          Q24,16 24,16
                          L33,22
                          Q35,23.3 35,24
                          L35,24
                          Q35,24.7 33,26
                          L24,32
                          Q24,32 24,32"
        android:valueType="pathType" />
</set>
android:propertyName设置为pathData,android:valueType设置为pathType,这样valueFrom和valueTo就会按照svg路径来运动。
然后创建pause_play_anim.xml,实现从pause到play状态的转换:
<?xml version="1.0" encoding="utf-8"?>
<set xmlns:android="http://schemas.android.com/apk/res/android"
    android:ordering="sequentially">
    <objectAnimator
        android:duration="1000"
        android:propertyName="pathData"
        android:valueFrom="M15,33
                          L15,15
                          Q15,11 18,12
                          L24,16
                          Q24,16 24,16
                          L24,32
                          Q24,32 24,32
                          L18,36
                          Q15,37 15,33
                          M24,32
                          L24,16
                          Q24,16 24,16
                          L33,22
                          Q35,23.3 35,24
                          L35,24
                          Q35,24.7 33,26
                          L24,32
                          Q24,32 24,32"
        android:valueTo=" M27,33
                          L27,15
                          Q27,12 30,12
                          L30,12
                          Q33,12 33,15
                          L33,33
                          Q33,36 30,36
                          L30,36
                          Q27,36 27,33
                          M15,33
                          L15,15
                          Q15,12 18,12
                          L18,12
                          Q21,12 21,15
                          L21,33
                          Q21,36 18,36
                          L18,36
                          Q15,36 15,33
                         "
        android:valueType="pathType" />
</set>
3. animated-vector部分
这个是最终的粘合剂,将svg于objectAnimator结合起来。
创建icon_pause_anim.xml:
<?xml version="1.0" encoding="utf-8"?>
<animated-vector xmlns:android="http://schemas.android.com/apk/res/android"
    android:drawable="@drawable/icon_pause">
    <target
        android:name="triangle"
        android:animation="@animator/pause_play_anim" />
</animated-vector>
创建icon_play_anim.xml:
<?xml version="1.0" encoding="utf-8"?>
<animated-vector xmlns:android="http://schemas.android.com/apk/res/android"
    android:drawable="@drawable/icon_play">
    <target
        android:name="line"
        android:animation="@animator/play_pause_anim" />
</animated-vector>
然后我们就可以将动画展示出来了。定义一个imageview:
<ImageView
        android:id="@+id/icon"
        android:layout_width="match_parent"
        android:layout_height="match_parent"
        android:onClick="start"
        app:srcCompat="@drawable/icon_play_anim" />
java代码如下:
 public void start(View view) {
    isChecked = !isChecked;
    imageView.setImageResource(isChecked ? R.drawable.icon_play_anim : R.drawable.icon_pause_anim);
    Drawable drawable = imageView.getDrawable();
    if (drawable instanceof Animatable) {
        ((Animatable) drawable).start();
    }
}
所有的都做好了。
5. 后记
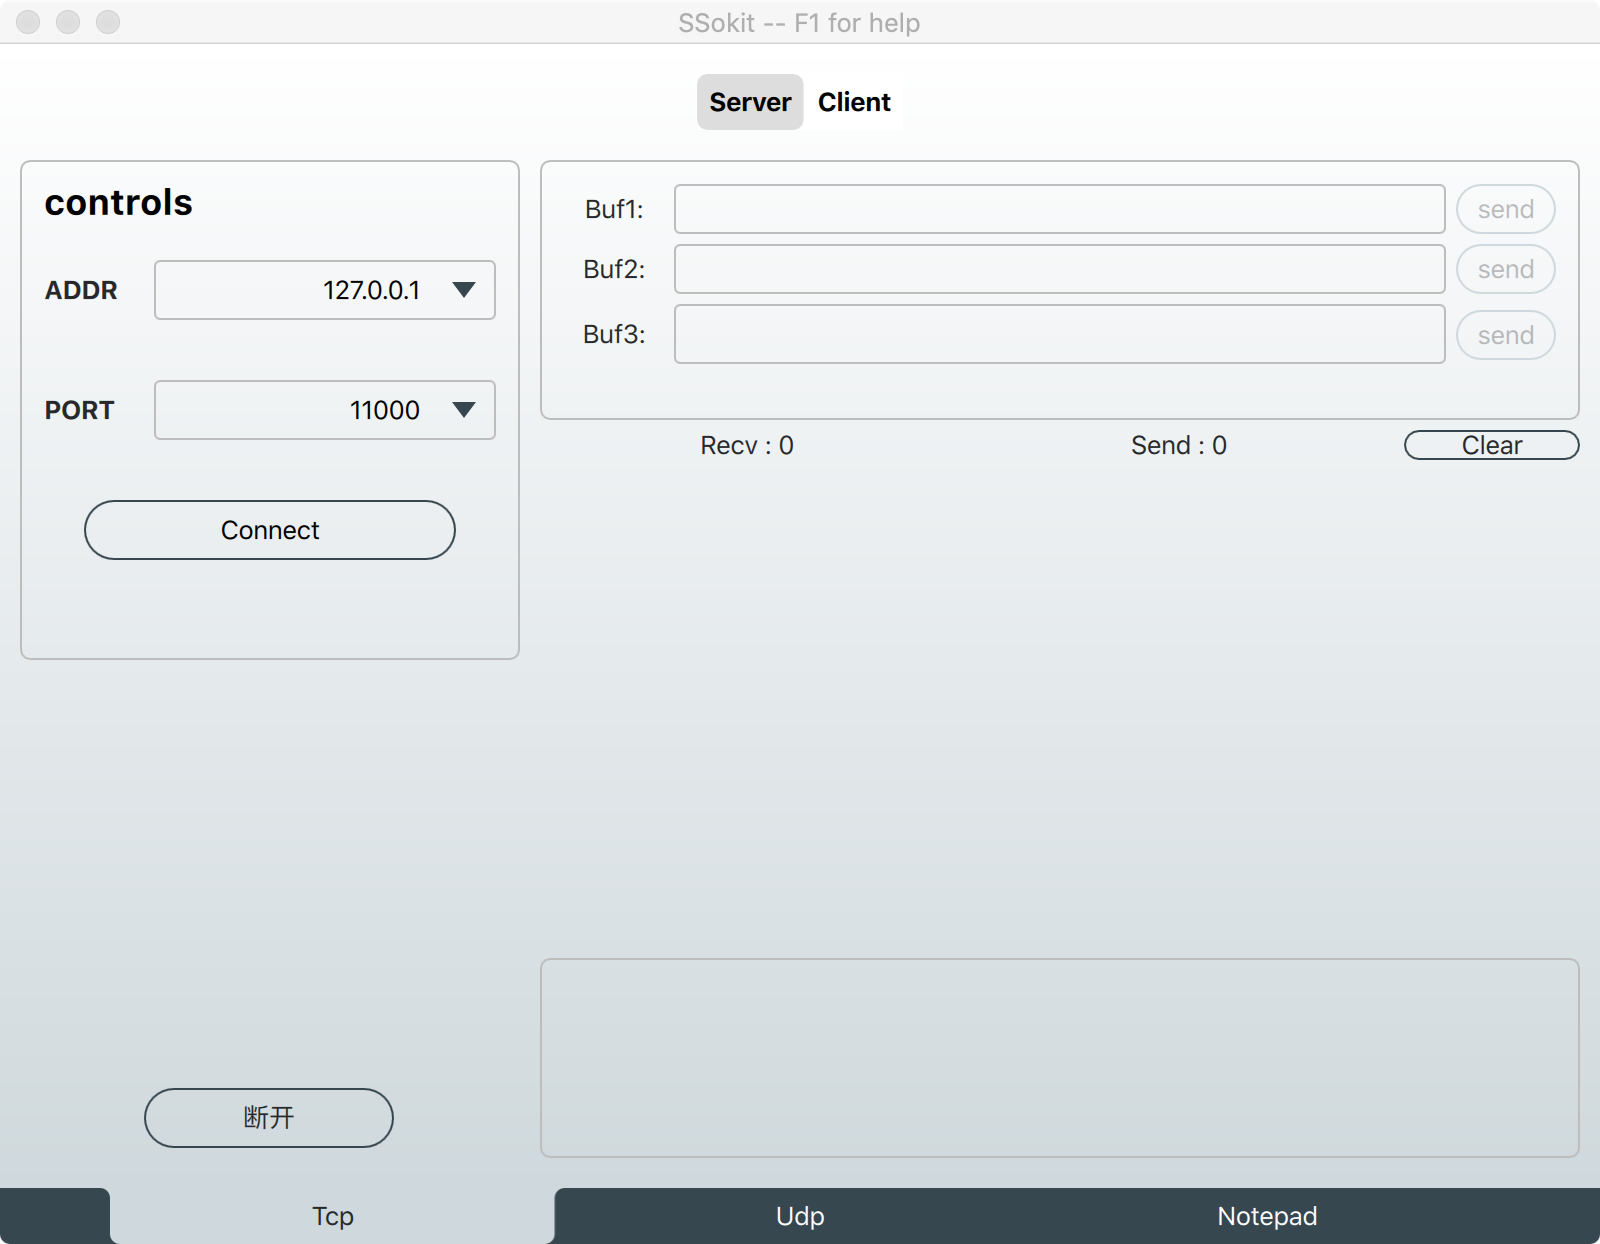
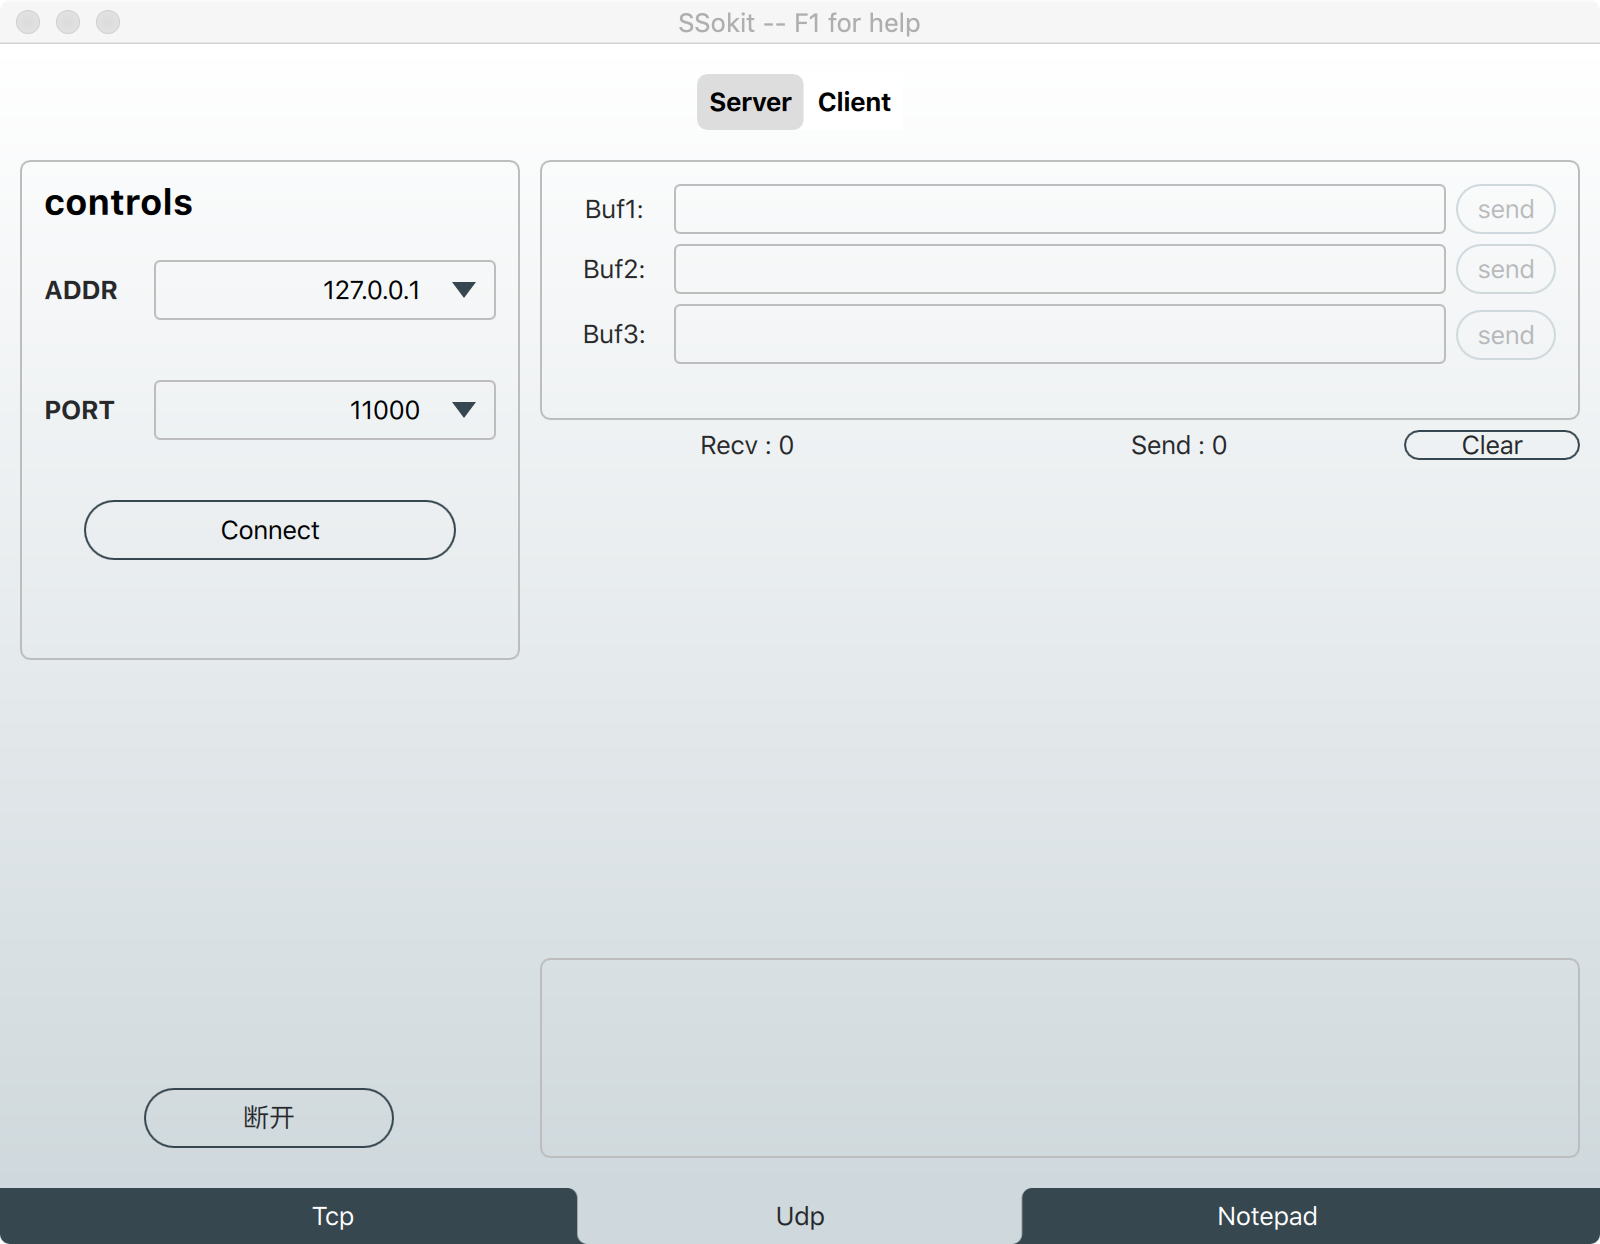
最后推广一下根据ssokit,这是一个用qml'重构的sokit的socket调试软件,目前提供了dmg文件的下载,但是并未上架brew-cask,官方回复原因是用的人太少,start不够,所以希望觉得好用的朋友可以给个start
This app is a advanced qml project for sokit github.com/sinpolib/so…
The dmg download address:
It can used be as a Tcp/Udp server,the user interface is just like this :