

Jupyter Notebook是非常优秀的开发环境,在Ubuntu服务器中,启动服务,通过浏览器开发,同时可视化执行.ipynb文件,这样就可以使用GPU直接执行深度学习的算法。
环境:
- 本地ssh登录跳板机 -> 跳板机ssh登录服务器;
- 通过本地直接访问Ubuntu服务器的Jypyter服务。
关键点:
- 安装jupyter;
- 设置jupyter访问密码;
- 配置jupyter环境;
- 通过跳板机访问jupyter服务;
- 添加虚拟环境;
启动服务
创建virtualenv虚拟环境,在虚拟环境中,安装Jupyter:
pip install jupyter
创建密匙,密匙就是jupyter的登录密码,生成sha1的加密字符串:
>> from notebook.auth import passwd
>> passwd()
Enter password:
Verify password:
'sha1:xxx'
编辑配置文件,命名为:jupyter_config.py
c.NotebookApp.ip = 'localhost' # 指定
c.NotebookApp.open_browser = False # 关闭自动打开浏览器
c.NotebookApp.port = 8812 # 端口随意指定
c.NotebookApp.password = u'sha1:xxxx' # 复制前一步生成的密钥
启动Jupyter服务:jupyter notebook --config=jupyter_config.py
(mlp3_p37_venv) xxx@xxxx:/data1/wcl/workspace$ jupyter notebook --config=jupyter_config.py

[I 17:14:01.262 NotebookApp] Serving notebooks from local directory: /data1/wcl/workspace
[I 17:14:01.262 NotebookApp] The Jupyter Notebook is running at:
[I 17:14:01.262 NotebookApp] http://localhost:8812/
[I 17:14:01.262 NotebookApp] Use Control-C to stop this server and shut down all kernels (twice to skip confirmation).
nohup版本的启动命令:
nohup jupyter notebook --config=jupyter_config.py &
本地连接
本地连接服务器的方式为:.ssh/config
Host gateway
    HostName xx.xx.xx.xxx
    User xxx
    Port xxxxx
Host 3
    User    xxx
    HostName xxx.xx.xx.3
    ProxyCommand ssh -q -W %h:%p gateway
执行如下命令,其中:
- -N:告诉SSH没有命令要被远程执行;
- -f:告诉SSH在后台执行;
- -L:是指定port forwarding的配置
ssh -N -f -L localhost:8812:localhost:8812 xxx@3
前面的是本地端口,后面的是远程端口,xxx是用户名,3是服务器。
这个命令也可以写入至系统环境中,每次启动shell都会自动执行。
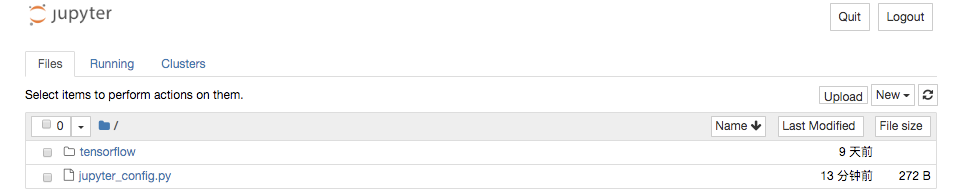
本地浏览器中,输入:http://localhost:8812
添加虚拟环境
在开发中,需要使用虚拟环境,因此需要在Jypyter中,增加虚拟环境。
- 激活虚拟环境;
- 添加至ipython kernel中;
命令如下:
(mlp3_p37_venv) xxx@3:/data/workspace$ ipython kernel install --user --name=mlp3_p37_venv
测试Python的版本:

OK, that's all!
