

通过前面三篇的探索,我大概了解了CodePush可实现的效果。本篇是记录总结怎么把RN的项目集成到现有的项目中来。
一、新建package.json
1.如果是新导入的RN.则创建如下内容到package.json中。name是项目名字。RN可指定版本号。
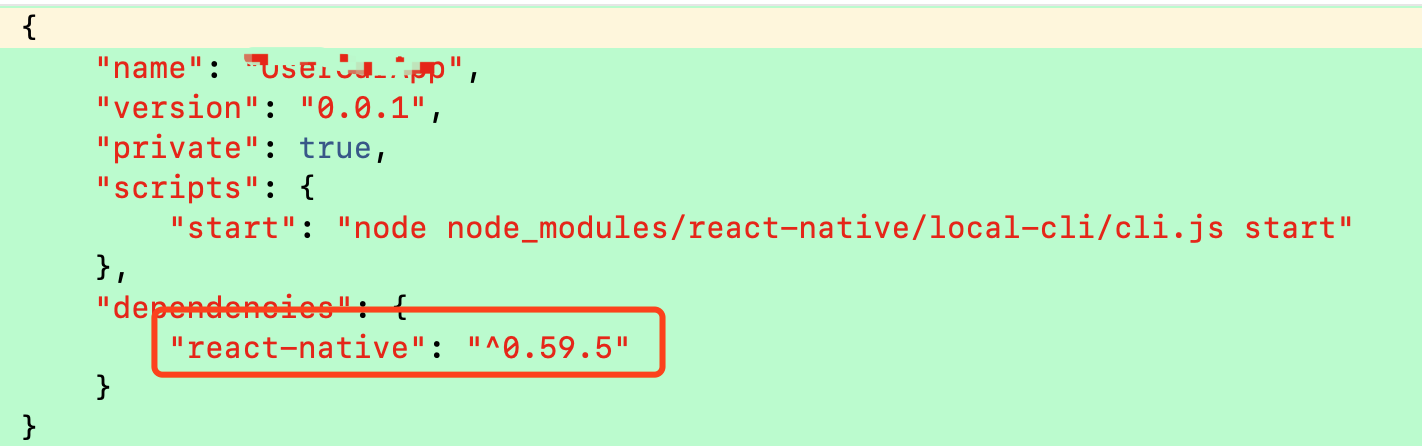
2.我是将我之前RNTest的RN项目中的json文件复制了过来
二、安装RN依赖库
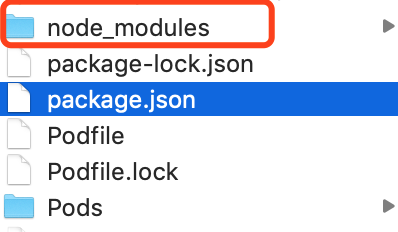
进入package.json所在的文件目录下,执行如下命令。
npm install
安装后,文件夹里面会多出node_modules。
三、添加RN依赖库到Podfile文件中
1.如果是新导入的RN,也就是只依赖了RN(0.59.5)的话,将以下导入到Podfile中。
# React Native requirements
pod 'React', :path => './node_modules/react-native', :subspecs => [
   'Core',
   'CxxBridge', # Include this for RN >= 0.47
   'DevSupport', # Include this to enable In-App Devmenu if RN >= 0.43
   'RCTText',
   'RCTNetwork',
   'RCTWebSocket', # Needed for debugging
   'RCTAnimation', # Needed for FlatList and animations running on native UI thread
   # Add any other subspecs you want to use in your project
]
# Explicitly include Yoga if you are using RN >= 0.42.0
pod 'yoga', :path => './node_modules/react-native/ReactCommon/yoga'
pod 'DoubleConversion', :podspec => './node_modules/react-native/third-party-podspecs/DoubleConversion.podspec'
pod 'glog', :podspec => './node_modules/react-native/third-party-podspecs/glog.podspec'
pod 'Folly', :podspec => './node_modules/react-native/third-party-podspecs/Folly.podspec'
2.如果已经有自己的RN项目的话,将里面ios里面的Podfile里面的复制过来即可。
3.pod install。
四、添加RN文件。
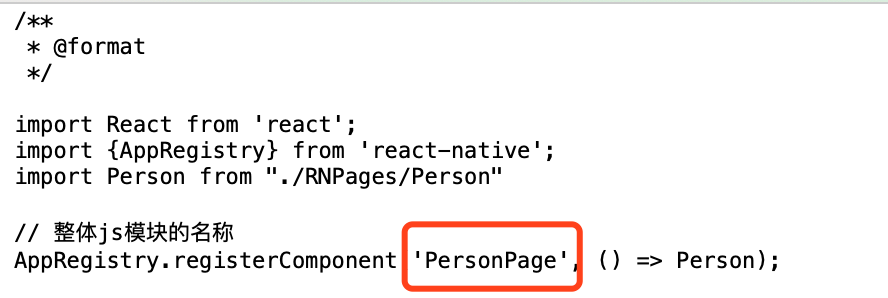
1.创建index.js。注意下面红框里面的是在iOS代码里面,创建RNView的时候会用到的。
2.如果是已写了一部分的RN项目,则将里面的文件复制过来
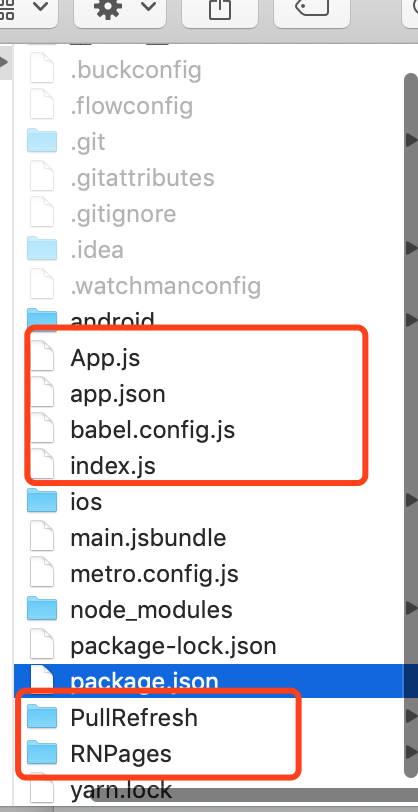
3.我是将文件移到iOS项目中(通过1或者2来移到项目中),然后打包。
react-native bundle --entry-file App.js --bundle-output main.jsbundle --platform ios --assets-dest ./bundle --dev false
五、运行Xcode。
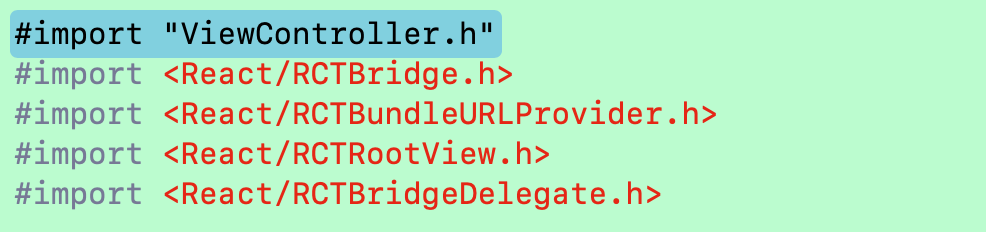
1.引入头文件。
#import <React/RCTBridge.h>
#import <React/RCTBundleURLProvider.h>
#import <React/RCTRootView.h>
#import <React/RCTBridgeDelegate.h>
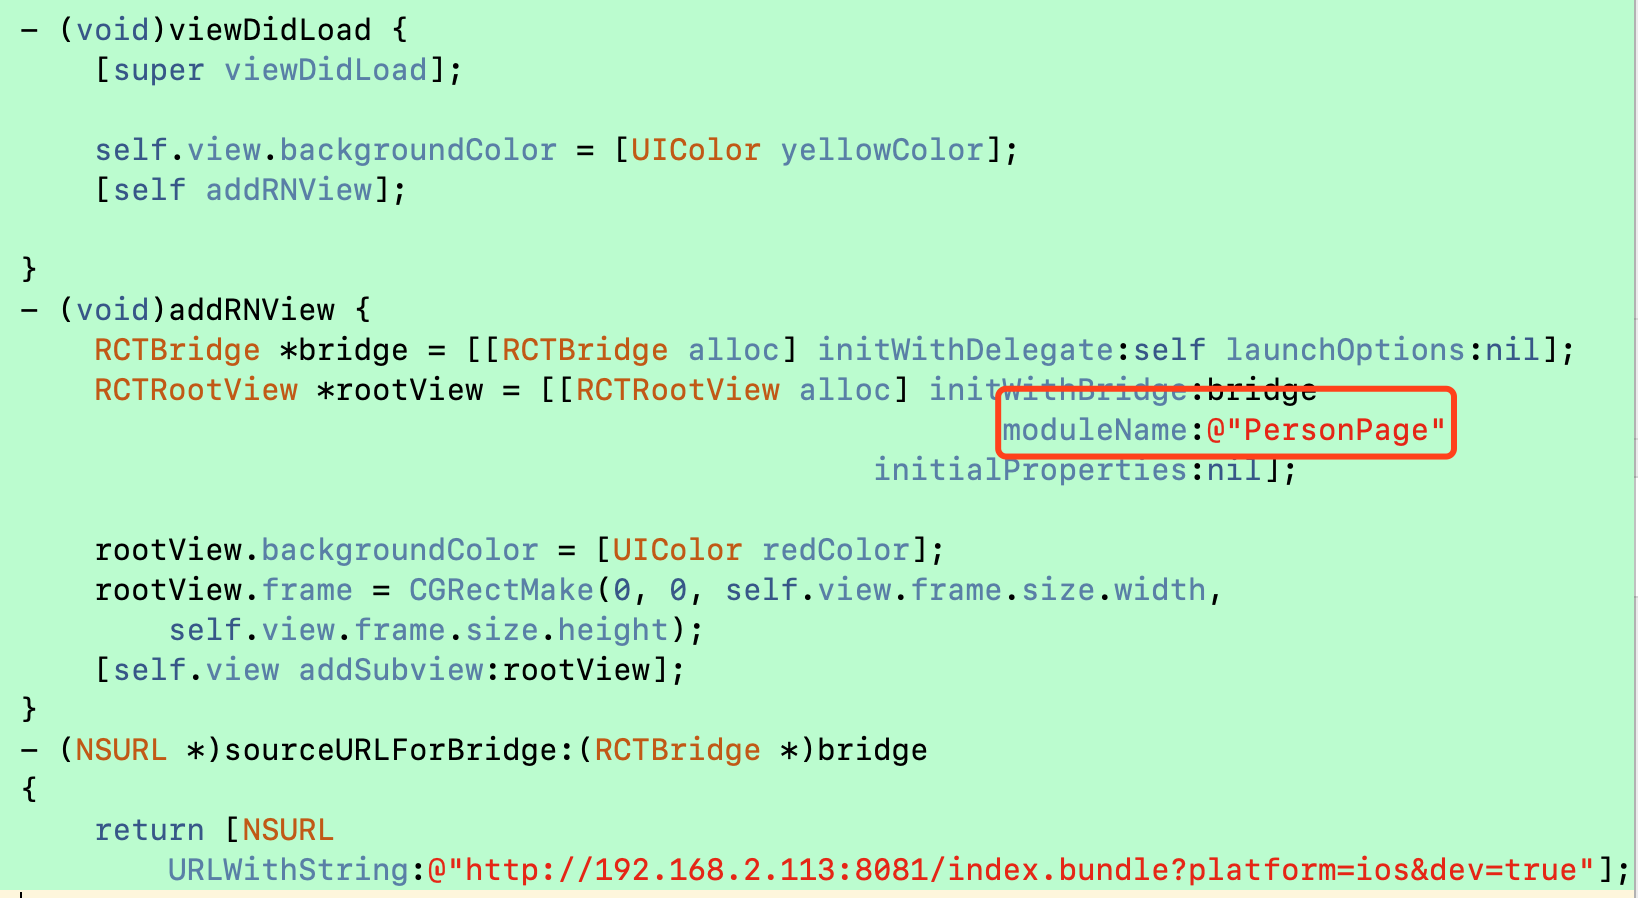
2.添加RNView
注意moduleName和RN中的保持一致。
- (void)addRNView {
    RCTBridge *bridge = [[RCTBridge alloc] initWithDelegate:self launchOptions:nil];
    RCTRootView *rootView = [[RCTRootView alloc] initWithBridge:bridge
                                                     moduleName:@"PersonPage"
                                              initialProperties:nil];

    rootView.backgroundColor = [UIColor redColor];
    rootView.frame = CGRectMake(0, 0, SCREENW, SCREENH - kTabarHeight);
    [self.view addSubview:rootView];
}
- (NSURL *)sourceURLForBridge:(RCTBridge *)bridge
{
    return [NSURL URLWithString:@"http://192.168.2.113:8081/index.bundle?platform=ios&dev=true"];
}
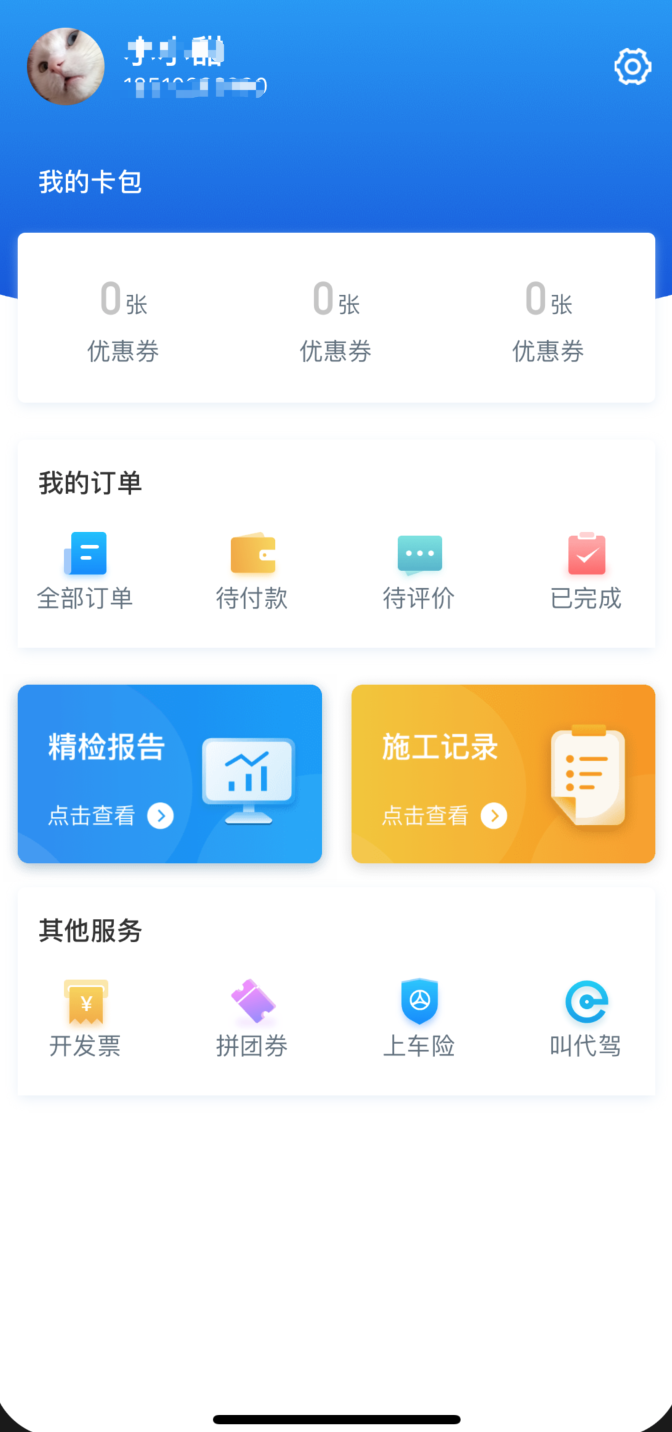
3、运行项目。查看效果。
疑问&请教
我也是在入门的路上,如果上面有不对的,欢迎大神指点哦~
另外,我很好奇,难道大家都是这样复制,然后打包,让iOS跑起来的吗?感觉这样还挺麻烦的。
下篇记录
之后我就开始搭界面了。简单的界面还比较好搭,大家看看我的成果(以我们项目的个人中心页面练手的)~~~代码感觉跟小程序很像。布局是yoga布局,我到现在有些还是需要试几次才能出来效果。。
上面的布局控件什么的,看官网或者用到什么去网上查一下~目前是在研究自定义下拉刷新~ 下篇写RN与iOS交互~~~
