安装全局依赖apidoc
npm install apidoc -g创建项目目录
- 创建src文件夹,并创建apidoc.json文件
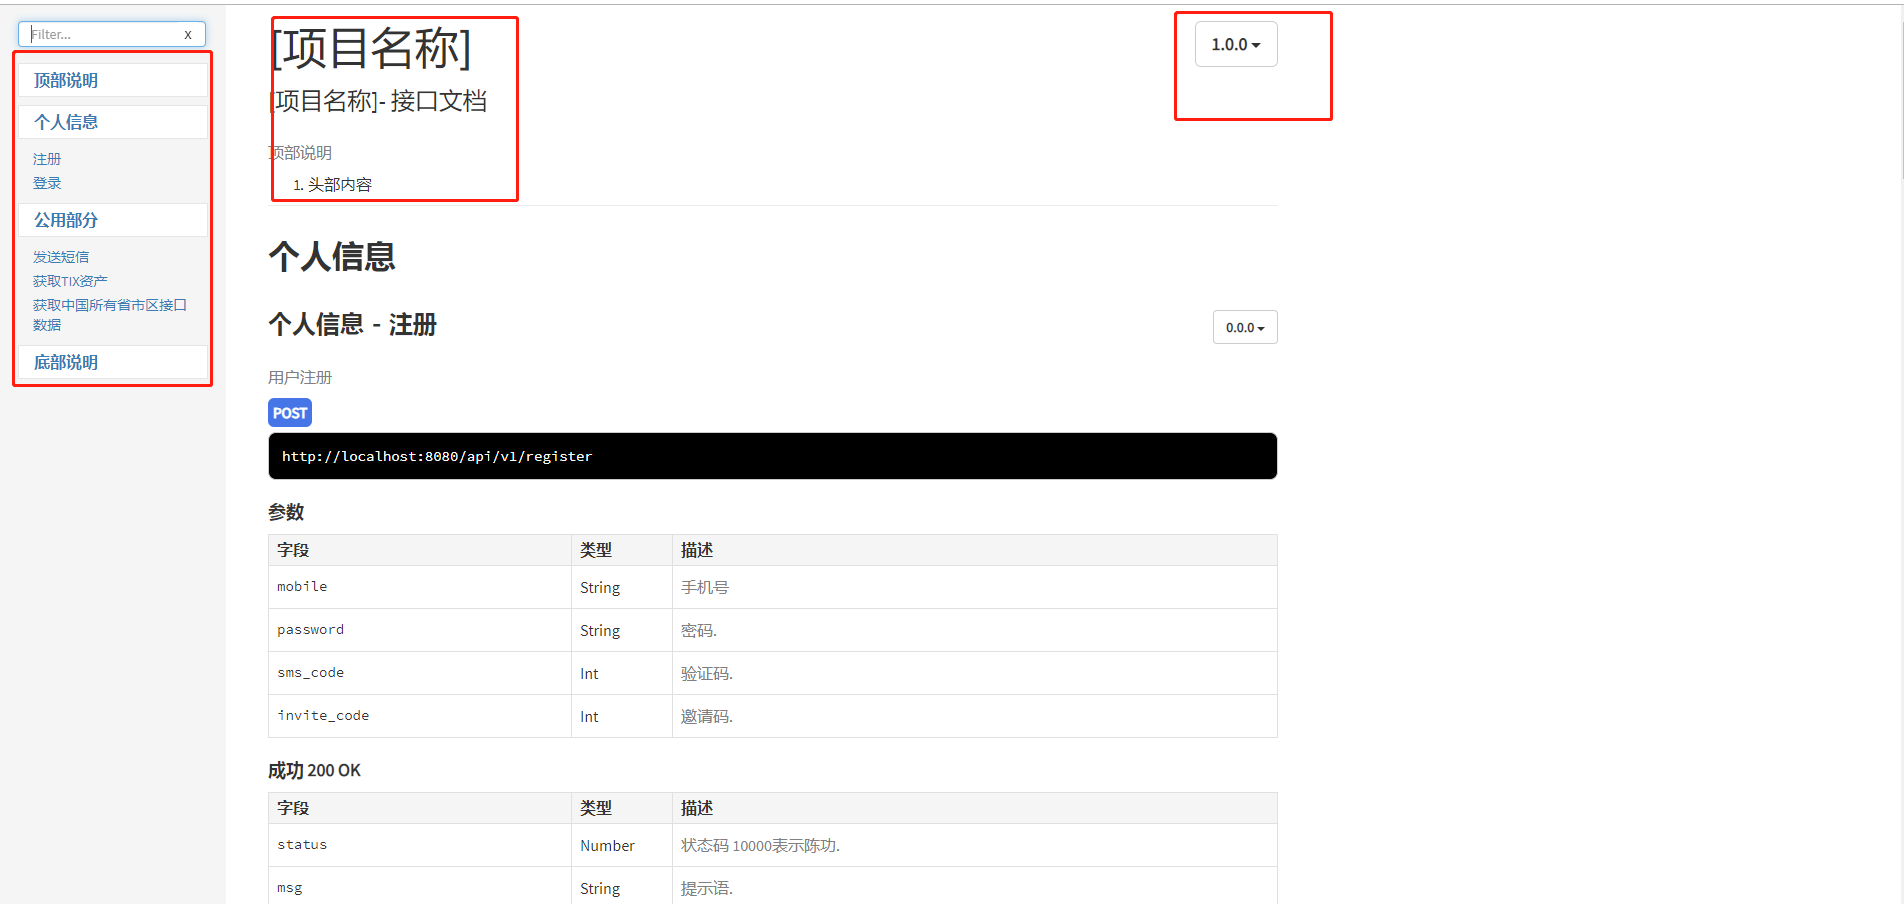
{ "name": "项目名称", "version": "1.0.0", "description": "项目名称- 接口文档", "title": "项目名称", "url" : "http://localhost:8080/api", "sampleUrl": "http://localhost:8080/api", "header": { "title": "顶部说明", "filename": "header.md" }, "footer": { "title": "底部说明", "filename": "footer.md" }, "order": [ "Error", "Define", "PostTitleAndError", "PostError" ] } - src下创建footer.md
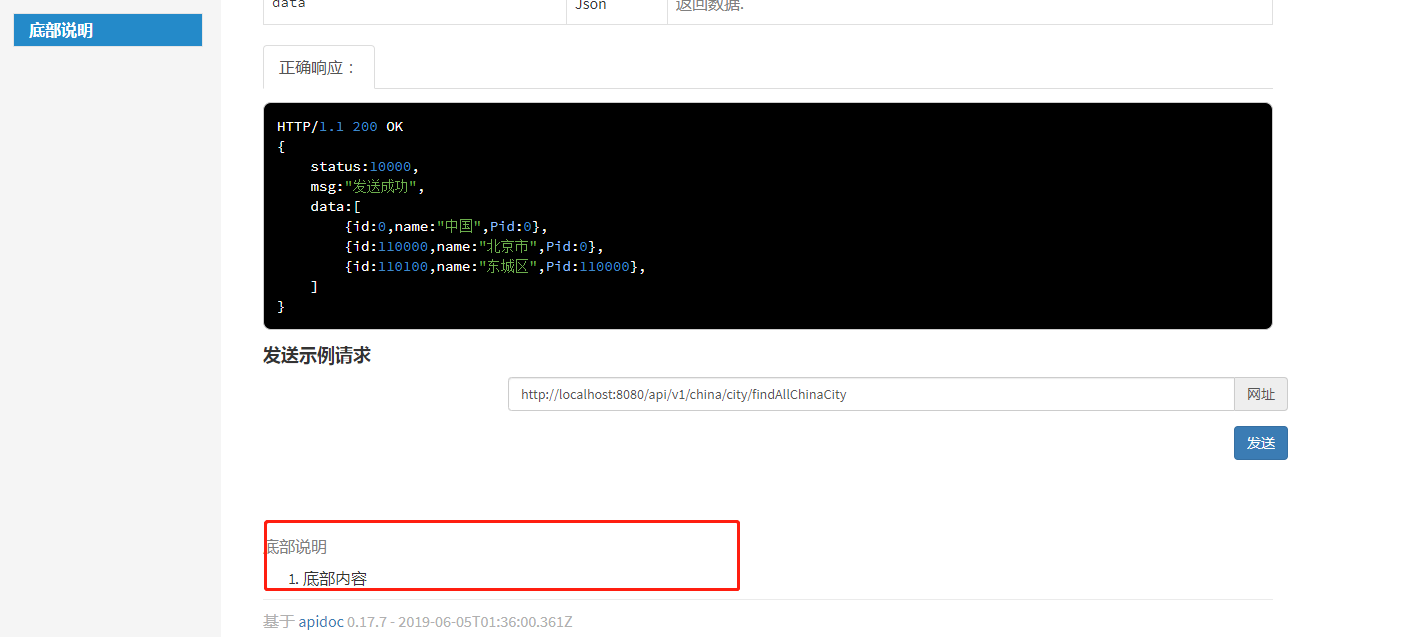
底部说明 1. 底部具体内容说明 - src下创建header.md

顶部说明 1. 顶部具体内容说明 - 创建public.js文件,用来描述接口的文档js,简单描述说明:
- @apiDefine 用来定义变量
- @apiGroup 归类接口组别
- @apiDescription 接口描述
- @apiName 接口名称
- @apiPermission 接口需要的权限(token)
- @apiParam 接口参数
- @apiHeaderExample 接口Headers请求参数实例
- @apiSuccess 成功响应
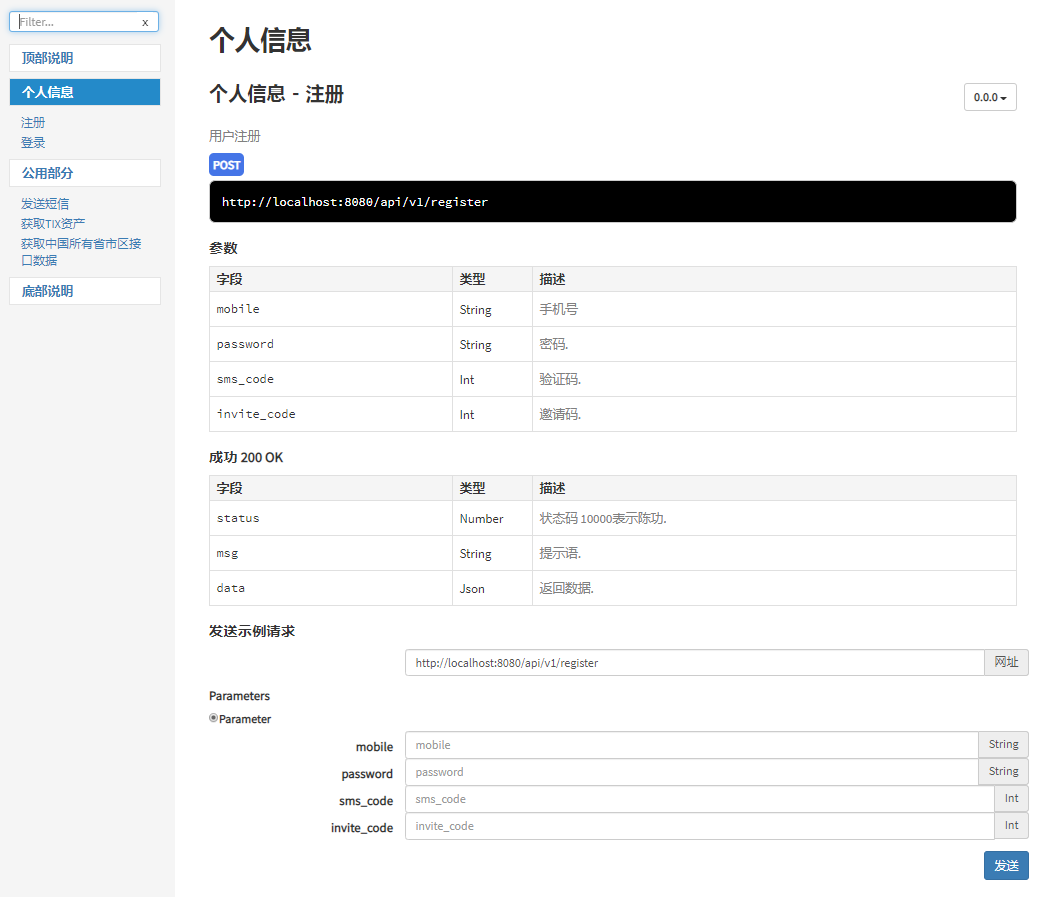
/**
 * @apiDefine personalGroup 个人信息
 */

/**
 * @api {post} /v1/register 注册
 * @apiName register
 * @apiGroup personalGroup
 * @apiDescription 用户注册
 *
 * @apiParam {String} mobile 手机号
 * @apiParam {String} password 密码.
 * @apiParam {Int} sms_code 验证码.
 * @apiParam {Int} invite_code 邀请码.
 *
 * @apiSuccess (200) {Number} status 状态码 10000表示陈功.
 * @apiSuccess (200) {String} msg  提示语.
 * @apiSuccess (200) {Json} data 返回数据.
 */

/**
 * @api {get} /v1/account 获取资产
 * @apiName getAccount
 * @apiGroup publicGroup
 * @apiPermission token
 *
 * @apiParam (headers参数) {String} token 在请求头headers中添加token信息
 *
 * @apiHeaderExample {json} Headers:
 *     {
 *       "Content-Type": "application/json;charset=UTF-8",
 *       "token":"sfdasd"
 *     }
 * @apiSuccessExample {json} 正确响应:
 * HTTP/1.1 200 OK
 * {
 *     status:10000,
 *     msg:"发送成功",
 *     data:{
 *         ...
 *     }
 * }
 * @apiSuccess (200) {number} status 状态码 10000表示陈功.
 * @apiSuccess (200) {String} msg  提示语.
 * @apiSuccess (200) {String} data 返回数据.
 */
运行
apidoc -i src/ -o apidoc/部署
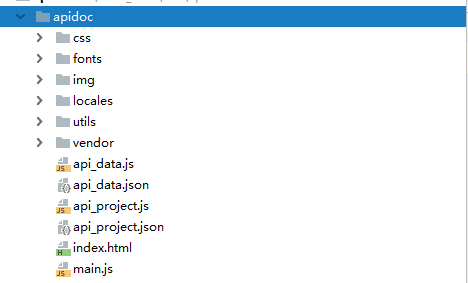
将apidoc中的目录文件部署到web服务器中即可访问,生成目录如下: