

此图与正文无关,只是为了好看
写在前面
上一篇文章写了如何通过 CustomPaint 实现一个浮动导航栏,阅读量不高,可能不是大家关心的东西。那么这篇文章来写一个常用功能————无限轮播图。
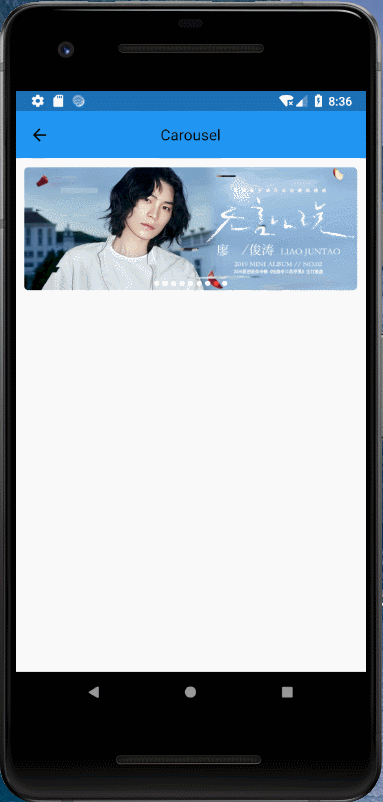
此轮播图的开发源于我的一个项目,文末可以看到,是因为 pub 上的插件不满足我的需求(或者说不适合我的需求),所以决定自己试着写一个,先看一下最终效果。
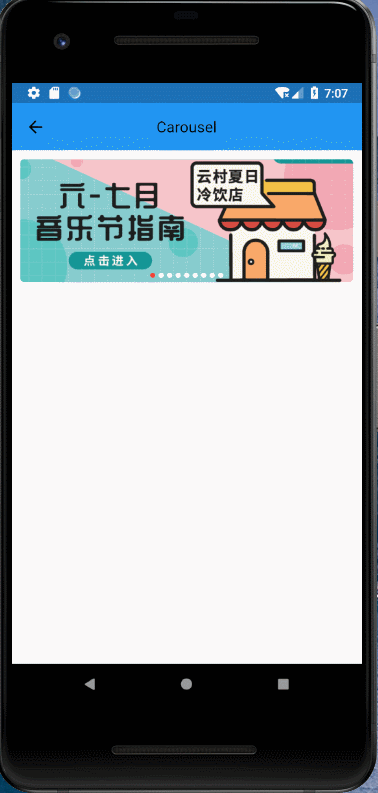
图片来源于网易云音乐,听歌时候顺手扒的,侵权即删
阅读重点
实现起来其实很简单,Flutter 提供了一个 PageView 组件,本身就可以做到这样的滑动切换效果,只是在实现无限轮播的时候有个小问题,什么问题呢?不着急,后面我会讲。
首先从前端的角度思考一下(为什么从前端的角度?因为我只是个前端)如何做无限轮播,通常我的做法(各位各显神通)是在数组图片的头部复制最后一张,在数组图片的尾部复制第一张,然后在轮播到最后一张后跳到第二张,轮播到第一张后跳到倒数第二张。所以,顺着这个思路(惯性思维),我们先来实现这个无限轮播。
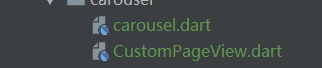
首先新建两个文件 carousel 和 CustomPageView,CustomPageView 中就是复制的 PageView 的代码:
在 carousel 中新建一个 StatefulWidget:
import 'dart:async';
import 'package:flutter/material.dart';
import 'package:flutter_samples/carousel/CustomPageView.dart';

class Carousel extends StatefulWidget {
  @override
  _State createState() => _State();
}

class _State extends State<Carousel> {
  PageController _pageController = PageController(initialPage: 1);//索引从0开始,因为有增补,所以这里设为1
  int _currentIndex = 1;
  List<String> _images = [
    'images/1.png',
    'images/2.png',
    'images/3.png',
    'images/4.png',
    'images/5.png',
    'images/6.png',
    'images/7.png',
    'images/8.png',
    'images/9.png',
  ];
  Timer _timer;//定时器
}
第一个 import 是的 Timer 需要用的,其他的没什么好说的。
接着,设一个定时器,因为我们要做的是自动轮播:
//设置定时器
_setTimer() {
    _timer = Timer.periodic(Duration(seconds: 4), (_) {
      _pageController.animateToPage(_currentIndex + 1,
          duration: Duration(milliseconds: 400), curve: Curves.easeOut);
    });
}
这里通过 periodic 方法设置一个定时器,每隔 4 秒执行一次,执行的内容就是滑动到下一张。
接着,处理图片数组:
  @override
  Widget build(BuildContext context) {
    List addedImages = [];
    if (_images.length > 0) {
      addedImages
        ..add(_images[_images.length - 1])
        ..addAll(_images)
        ..add(_images[0]);
    }
    return Scaffold(
      appBar: AppBar(
        elevation: 0.0,
        title: Text('Carousel'),
        centerTitle: true,
      ),
      body: AspectRatio(
        aspectRatio: 2.5,
        child:
      ),
    );
  }
这里定义一个 addedImages,表示是增补过后的图片数组(记得判断一下 _images 是否为空,虽然我们这里是写死了的,但是思维要有)。
aspectRatio 表示的是宽高比,AspectRatio 会自动根据传入的 aspectRatio 设置子组件的高度,而且高度会根据屏幕宽度的改变自动调整(后面给大家看效果),所以,要做适配的筒子们,记下笔记。
接着,编写图片部分的代码:
 NotificationListener(
      onNotification: (ScrollNotification notification) {
        if (notification.depth == 0 &&
            notification is ScrollStartNotification) {
          if (notification.dragDetails != null) {
            _timer.cancel();
          }
        } else if (notification is ScrollEndNotification) {
          _timer.cancel();
          _setTimer();
        }
      },
      child: _images.length > 0
          ? CustomPageView(
              physics: BouncingScrollPhysics(),
              controller: _pageController,
              onPageChanged: (page) {
                int newIndex;
                if (page == addedImages.length - 1) {
                  newIndex = 1;
                  _pageController.jumpToPage(newIndex);
                } else if (page == 0) {
                  newIndex = addedImages.length - 2;
                  _pageController.jumpToPage(newIndex);
                } else {
                  newIndex = page;
                }
                setState(() {
                  _currentIndex = newIndex;
                });
              },
              children: addedImages
                  .map((item) => Container(
                        margin: EdgeInsets.all(10.0),
                        child: ClipRRect(
                          borderRadius: BorderRadius.circular(5.0),
                          child: Image.asset(
                            item,
                            fit: BoxFit.cover,
                          ),
                        ),
                      ))
                  .toList(),
            )
          : Container(),
    ),
我们在 onNotification 中干了两件很重要的事,一个是在当用户用手(也可以用脚)滑动轮播的时候取消定时器,然后在轮播滑动结束后重设定时器。
notification.depth 表示的是事件此时处于哪一级,什么意思呢?在 Flutter 中,事件也是冒泡的,所以,源头(也就是事件最初发出的那一级)是 0,如果不明白,可以一边参考 web 的事件一边看文档。
notification.dragDetails 可以拿到滑动的位移,我们这里暂时不会用到,只是再确定一下用户滑动了轮播。
轮播每切换一次,我们就在 CustomPageView (也就是原有的 PageView)的 onPageChanged 回调中重新设置当期索引。
接下来是指示器部分:
 Positioned(
      bottom: 15.0,
      left: 0,
      right: 0,
      child: Row(
        mainAxisAlignment: MainAxisAlignment.center,
        crossAxisAlignment: CrossAxisAlignment.center,
        children: _images
            .asMap()
            .map((i, v) => MapEntry(
                i,
                Container(
                  width: 6.0,
                  height: 6.0,
                  margin: EdgeInsets.only(left: 2.0, right: 2.0),
                  decoration: ShapeDecoration(
                      color: _currentIndex == i + 1
                          ? Colors.red
                          : Colors.white,
                      shape: CircleBorder()),
                )))
            .values
            .toList(),
      ),
    )
重点来了,在 dart 中对 List 遍历的方法都没有提供索引(好像是,记不清了),因此如何实现当前项高亮就是一个小问题了。有两种方式,一是新建一个方法,在方法中通过 for 循环去处理(我不太喜欢);第二个就是文中的方式。
先将 List 通过 asMap 转换成 Map,此时 Map 中的 key 就是索引,value 就是值,接着通过 Map 的 map 方法就可以拿到索引了(不明白的筒子,记得看文档)。
接着在 initState 中调用定时器就可以了:
 @override
  void initState() {
    print(_images.asMap());
    if (_images.length > 0) {
      _setTimer();
    }
    super.initState();
  }
看下效果:

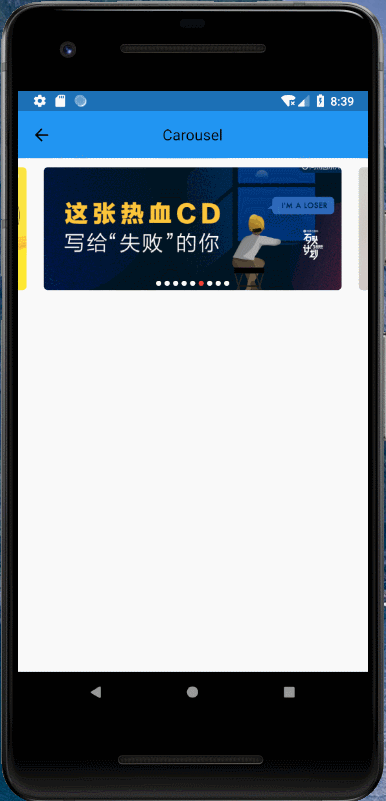
眼尖的筒子可能已经发现问题了,那就是在滑动到第一张或者最后一张的时候会有闪烁,甚至如果是用户去滑动的话,还会出现非理想切换:
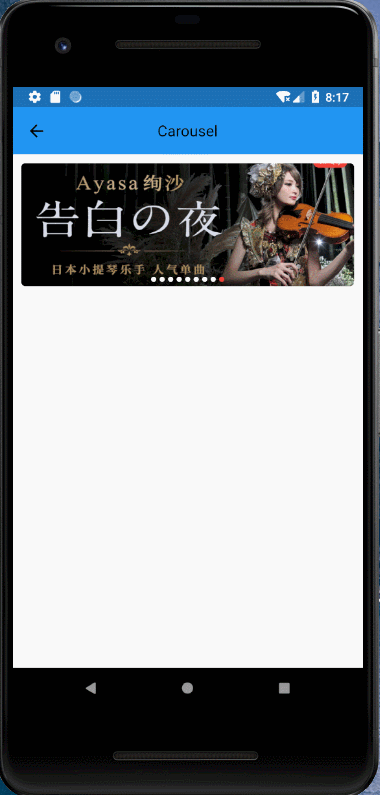
这个就是我上面说过的用原有 PageView 做无限轮播会出现的小问题,在第一张和最后一张(实际上对所有图片来说都是)滑动过半时,就会切换新页。
实际上无限轮播的效果已经实现了,只是有这个小问题不和谐,因此只要解决了这个问题,无限轮播就完美了。
那么如何解决这个问题呢?我们来看一下 PageView 的源码,其中有这样一段代码:
 onNotification: (ScrollNotification notification) {
    if (notification.depth == 0 && widget.onPageChanged != null && notification is ScrollUpdateNotification) {
      final PageMetrics metrics = notification.metrics;
      final int currentPage = metrics.page.round();
      if (currentPage != _lastReportedPage) {
        _lastReportedPage = currentPage;
        widget.onPageChanged(currentPage);
      }
    }
    return false;
  }
小问题就出现在这一句:
notification is ScrollUpdateNotification
这一句标识了 notification 的类型,让其在滑动过程中不断执行 if 内部的代码,一旦 metrics.page 的小数部分大于了 0.5,metrics.page.round() 就会得到新的 page,就会进行切换。
所以我们将这里的 ScrollUpdateNotification 改成 ScrollEndNotification 就可以了,就是在滑动结束后在执行内部判断,就这么简单。
当然还可以给 PageController 的 viewportFraction 传入一个值,比如 0.9,实现一个视差效果:
至此,我们的无限轮播就实现了,最后还有一个重要的东西,记得销毁定时器:
@override
void dispose() {
    _timer?.cancel();
    super.dispose();
}
说好的自适应效果:

最后叨叨
文中所述的这种方式配上动画足以实现大多数常规轮播效果,当然如果设计师能拿出更加犀利的效果图,大家可能就要去研究一下 Scrollable 了,但这不是本文的重点,源码点这里。
录制了一套 Flutter 实战教程,有兴趣的可以看一下
