Flutter动画的简单使用
Flutter的动画我们要记住三个点,AnimationController、 Thween、Forward(),一个简单的动画就是由这三个组成的
AnimationController:AnimationController用于控制动画,开始、反向播放、暂停等等都是由AnimationController来控制的,Controller会在每一帧都生成出一个新的值
AnimationController({
  double value,
  this.duration,
  this.reverseDuration,
  this.debugLabel,
  this.lowerBound = 0.0,
  this.upperBound = 1.0,
  this.animationBehavior = AnimationBehavior.normal,
  @required TickerProvider vsync,
})
value:每一帧生成出来的值
duration:动画持续的时间
lowerBound、upperBound:生成出来的数字区间,AnimationController在动画期间会线性的生成出数字区间
vsync:接收一个TickerProvider,用来防止屏幕外动画(指动画不在屏幕内时-锁屏这也算)消耗不必要的资源;Flutter在启动的时候会绑定一个SchedulerBinding,通过SchedulerBinding可以给每一次屏幕刷新一次回调,Ticker就是通过SchedulerBinding来添加屏幕刷新回调的,每次屏幕刷新都会调用到TickCallBack
简单的使用方法如下:我们设定了一个10秒的动画控制器,我对vsync传入this是因为我with了SingleTickerProviderStateMixin
AnimationController controller= AnimationController(vsync: this,duration: Duration(seconds: 10));
Tweed:我们使用AnimationController可以线性的生成出一段数字区间,但是如果我们要生成的是颜色呢?或者其他的呢?那我们可以使用Tweed来做到了,Thweed除了数字外还有其他的子类可以供我们使用,Tween如果要使用还需要调用animatie传入一个Animation
注意:color的就用ColorTween,要对应上,如果想要设置Color,却用Tween,会报错
Animation anmitiontween= ColorTween(begin:Colors.transparent,end:Colors.blue).animate(curved)..addListener((){
  setState(() {

  });
});
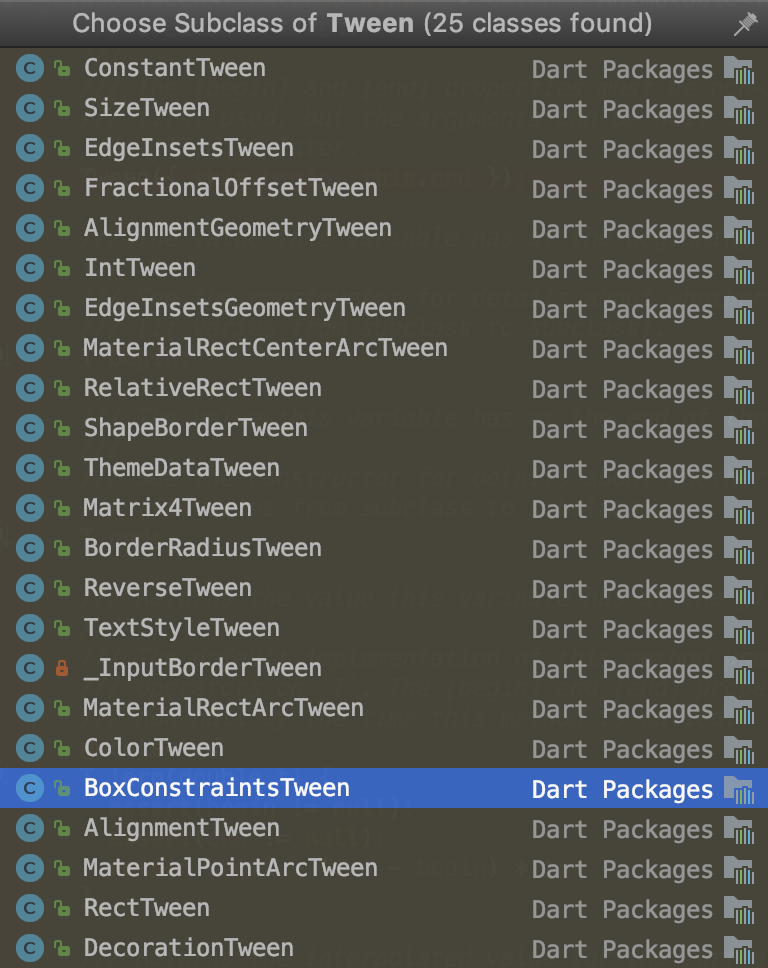
具体有哪些可以用Tweed如下:
Curve:动画的过程可以是匀速的,可以是加速,可以是减速,或者先加后减,或者先减后加等等,你想怎么玩就怎么玩,速度我们都是可以通过CurvedAnimation来去设置他的曲线,Curve类给我们提供了一些曲线,如果这其中不能满足我们,我们可以自己去自定义曲线,继承Curve,然后实现他的方法,返回一个double
- 使用Curve提供给我们的方法:
CurvedAnimation curved=CurvedAnimation(parent: controller, curve: Curves.bounceIn);
//使用CurvedAnimation可以将一个Controller与curve结合起来生成一个新的动画对象
- 自己去定义Curve方法:
class ShakeCurve extends Curve {
  @override
  double transform(double t) {
    return math.sin(t * math.PI * 2);
  }
}
我们在实际开发中,一些通用的动画最好抽取出来,做成AnimationUtils,避免写一些重复的动画代码
下面是一个颜色渐变的动画的核心代码
AnimationController controller;

  Animation anmitiontween;

  CurvedAnimation curved;

  @override
  void initState() {
    // TODO: implement initState
    super.initState();

   controller= AnimationController(vsync: this,duration: Duration(seconds: 5));

//   curved=CurvedAnimation(parent: controller, curve: Curves.bounceIn);

   anmitiontween= ColorTween(begin:Colors.transparent,end:Colors.red).animate(controller)..addListener((){
     setState(() {

     });
   });
   controller.forward();

  }

  @override
    Widget build(BuildContext context) {
    // TODO: implement build
    return Scaffold(
      appBar: AppBar(
        title: Text("CCCC"),
      ),
      body: Center(
        child: GestureDetector(
          child: Container(
            width: 100.0,
            height: 100.0,
            child: Text("111"),
            color: anmitiontween.value==null?Colors.transparent:anmitiontween.value,
          ),
        ),
      ),
    );
  }

  @override
  void dispose() {
    // TODO: implement dispose
    super.dispose();
    controller.dispose();
  }
效果如下: