

上一篇Spring Boot我们简单讲了如何快速创建一个SpringBoot项目。大家都知道SpringBoot非常强大,可以轻松与各种工具集成,但是我们知其然,也必须知其所以然。今天开始就和大家一起学习一下SpringBoot核心,核心由于过于重要,需要分成好几章,今天我们先来看看基本配置。
入口类和@SpringBootApplication
使用过或者瞄过一眼Spring Boot工程的小伙伴都知道,
SpringBoot有一个特别显著的特点,
就是每个SpringBoot工程都会有一个入口类,
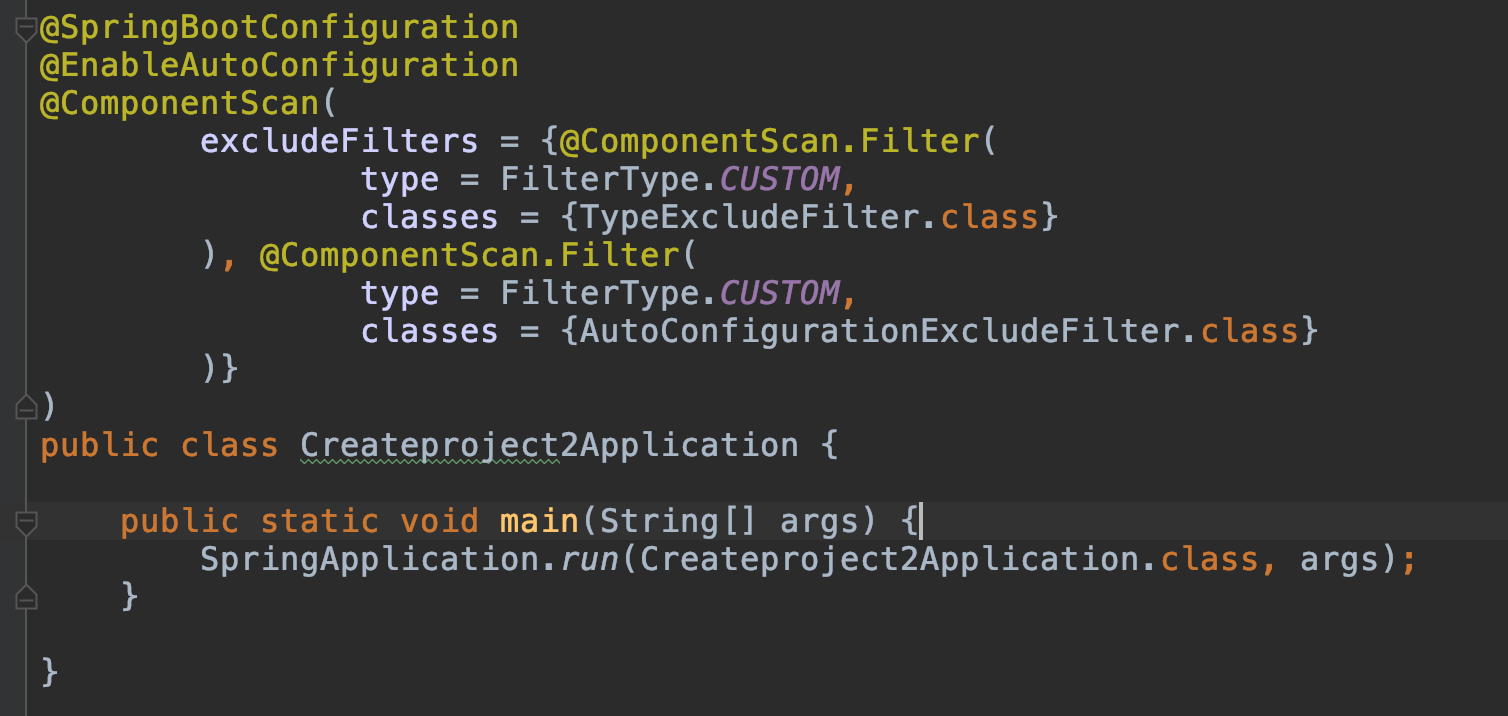
在这个入口类上都会有这么一个注解@SpringBootApplication。 这个类中有一个main方法,main方法中使用
SpringApplication.run(*Application.class,args),
用来启动SpringBoot项目。如下所示: public static void main(String[] args) {
SpringApplication.run(Createproject2Application.class, args);
}@SpringBootApplication
@SpringBootApplication是Spring Boot的核心注解,它是一个组合注解(通常我们称由多个注解组成的注解叫组合注解)。点进去瞧一眼
@Target({ElementType.TYPE})
@Retention(RetentionPolicy.RUNTIME)
@Documented
@Inherited
@SpringBootConfiguration
@EnableAutoConfiguration
@ComponentScan(
    excludeFilters = {@Filter(
    type = FilterType.CUSTOM,
    classes = {TypeExcludeFilter.class}
), @Filter(
    type = FilterType.CUSTOM,
    classes = {AutoConfigurationExcludeFilter.class}
)}
)
public @interface SpringBootApplication {
@SpringBootApplication注解主要(我这里说了主要喔)组合了
@Configuration,@EnableAutoConfiguration,@ComponentScan
言外之意就是可以将这三个注解直接替换@SpringBootApplication
1. @EnableAutoCOnfiguration让Spring Boot根据类路径中的jar包依赖为当前项目进行自动配置。例如添加了spring-boot-starter-web依赖,会自动添加Tomcat和Spring MVC的依赖,Spring Boot就会对Tomcat和Spring MVC进行自动配置。
2.@ComponentScan 让Spring Boot去扫描与入口类同级以及以下包的Bean(使用注解配置的),把他们添加到Spring容器,若为JPA项目还可以扫描标注@Entity的实体类。
3.@Configuration 表示当前是一个配置类,也会被Spring进行加载
关闭特定的自动配置
    SpringBoot为我们提供了自动化配置,但是在某些特定的场景下,
    我们可能不需要某个自动配置,
    这时可以在@SpringBootApplication中配置
@SpringBootApplication(exclude = {DataSourceAutoConfiguration.class})定制Banner
    什么是Banner呢,
    就是在Spring Boot项目启动的时候最开始显示的横幅。
    我记得我第一次启动Spring Boot项目的时候印象最深的就是这个横幅
    内心不断OS(wc这么酷炫的吗)。
下面我们看看怎么自定义横幅吧。如果不自定义,默认显示下面图案
修改Banner
- 我们在src/main/sources下新建一个banner.txt
- 登录http://patorjk.com/software/taag 生成我们自己想要的图案

- 复制图案到banner.txt中

- 启动项目验证

关闭banner
当然了,这个banner也不是必须要显示的,我们可以手动关闭它。- 修改启动类中的main方法
  SpringApplication app = new SpringApplication(Createproject2Application.class);
        app.setBannerMode(Banner.Mode.OFF);
        app.run(args);
Spring Boot的配置文件
    Spring Boot在src/main/resources下有一个全局的配置文件
    application.properties或application.yml
说到yml这种配置文件,是有点东西的。全称为yaml,是以数据为中心,
支持多种数据格式(如数组),在配置数据的时候具有面向对象的特征。简单示例
在两种配置文件中配置Tomcat的端口号和默认的访问路径- application.properties中可以如下配置:
server.port=8888
server.servlet.context-path=/xicent- application.yml中可以如下配置:
server:
  port: 8888
  servlet:
    context-path: /xicent
其实我们从简单的实例中可以看出,yaml的格式更加清晰,所有配置看过去一目了然。并且它是有序的。在以前idea中是不支持yml提示的,现在也都支持了。但是yaml却引来了另一个问题,yaml格式有严格的要求,稍有配错都有可能出现问题。因此在项目中看我们如何去取舍了,目前默认还是以properties为主。
使用xml配置
    Spring Boot提倡的是0配置,即无xml配置,但是在实际开发中,
    我们有时难免会需要加载xml配置,
    这时我们就可以通过Spring提供的@ImportResource来加载xml配置
例如:@ImportResource({"classpath:some-context.xml"})这样我们就成功加载xml配置啦。
命令行参数配置
    在Spring Boot中,我们大部分配置都写在了配置文件中,
    但是有些配置我们可能需要启动时才能确定,
    因此Spring Boot还提供了一种命令行配置方式
    下面演示如何在运行jar包的时候,配置Tomcat的端口号
```
    java -jar xx.jar --server.port=8888
```
# 常规属性配置
在常规的Spring环境中,如果我们想加载某个properties文件,
获取其中的配置。通常的做法是在类上加注解@PropertiesSource()
指定配置文件的位置。
然后在类中使用@Value()加载属性。 在Spring Boot中,
我们只需在application.properties中定义属性,
直接用@Value注入即可。1.application.properties增加属性
xicent.author=kris
xicent.age=1
2.修改入口类
@Value("${xicent.author}")
String name;

@Value("${xicent.age}")
int age;

@RequestMapping("/")
String index(){
    return "author is"+name+",age is"+age;
}
获取其他属性
    通用我们用@Value都是获取properties配置文件中配置的属性,
    但是@Value的功能可不远远不止这一点喔。
    通过@Value注解,
    我们还能获取系统属性,url,随机数,文字流等等。
// 普通字符串
@Value("xicent")
private String str;
// 操作系统名称
@Value("#{systemProperties['os.name']}")
private String osName;
// 随机数
@Value("#{T(java.lang.Math).random()*168.0}")
private double randomNumber;
// 其他bean的属性
@Value("#{demoService.another}")
private String fromAnother;
// 获取文件资源
@Value("classpath:banner.txt")
private Resource file;
// 获取地址资源
@Value("http://www.baidu.com")
private Resource url;
public void testValue() throws IOException {
System.out.println(getStr());
System.out.println(getOsName());
System.out.println(getRandomNumber());
System.out.println(getFromAnother());
System.out.println(IOUtils.toString(file.getInputStream(),"UTF-8"));
System.out.println(IOUtils.toString(url.getInputStream()));
}
//省略getter,setter方法访问接口
    @RequestMapping("/testvalue")
    void testValue() throws IOException {
        xicentBean.testValue();
    }
类型安全的配置(基于properties)
    上面的例子,我们每个属性都要使用@Value注解会显得格外的麻烦,
    我们配置的属性通常会是许多个。
    在Spring Boot中使用@ConfigurationProperties
    将配置与bean相关联,
    这就是所谓的类型安全的配置。
这里将配置配在一个专门的properties文件中,
当然也能直接配置在application.properties中1.resources文件夹下新增xicent.properties文件,添加如下属性
xicent.author=kris
xicent.age=1
2.创建一个类
@Component
@PropertySource("classpath:xicent.properties")
@ConfigurationProperties(prefix = "xicent")
public class XicentBean {
    private String author;
    private int age;
代码解释:@PropertySource可以指定我们需要加载的文件的路径。@ConfigurationProperties指定我们属性配置的前缀
3.创建接口访问
    @Autowired
    XicentBean xicentBean;

    @RequestMapping("/xicent")
    XicentBean getXicent(){
        return xicentBean;
    }
4.请求接口

Profile配置
    Profile是Spring用来针对不同环境使用不同的配置文件。
    一般命名为:application-{profile}.properties
    (如application-prod.properties)。
然后在application.properties中
设置spring.profiles.active=prod来指定活动的Profile。
下面演示生产环境(prod)使用8888端口,
开发环境(dev)使用9999端口1.创建application-prod.properties,配置生产环境的端口
server.port=88882.创建application-dev.properties,配置开发环境的端口
server.port=99993.application.properties中指定生效的profile
spring.profiles.active=prod
4.启动项目,可以看到prod配置文件生效了,绑定端口为8888

疑问:如果我application.properties和application-prod.properties都配了端口,哪个会生效呢? 答案是prod的会生效
ok,今天就暂时分享这么多啦,以上讲的是Spring Boot中的基本配置,其中有很多地方都是可以深挖单独拿出来讲的。今天这里只讲了一些基本的,比较常用的基本配置,后续我们还会再详细分享。
