

看了下很多文章,本地文件存储都只有存储txt文件,我们探索下存储二进制文件吧。
保存二进制文件到设备硬盘上。
我们保存一个图片到手机本地上,并读取展示图片到app上。
以百度logo图为例子
写入图片
逻辑如下: 获取本地路径 -> 根据图片url开始下载获取到二进制文件 -> 图片文件写入到本地路径
写入本地文件
写入文件有几种方式点我查看file文档 分别是字符串和二进制,而写入的时候分同步和异步,所以写入的有4种。\
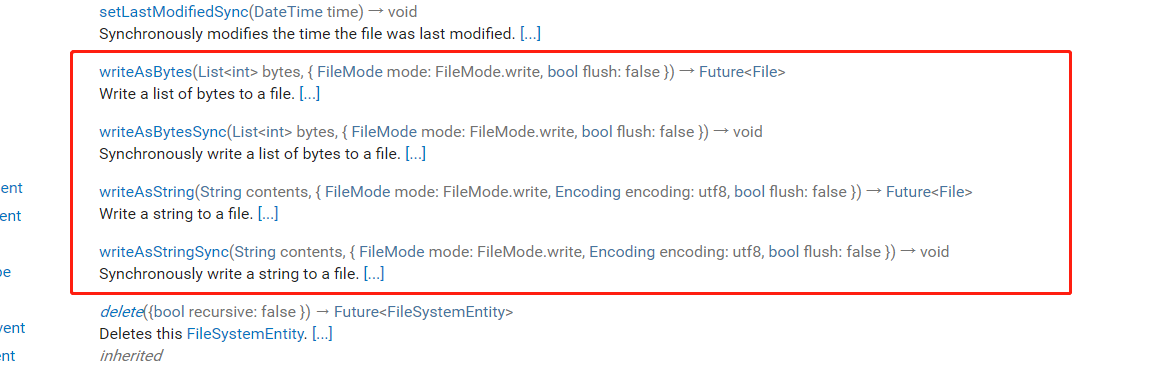
writeAsBytes这个函数名字,这厮需要bytes
代码
    writeFile(String filePath, String imgUrl){
      File file = new File(filePath);
      if(!file.existsSync()) {
        file.createSync();
      }
      getRemoteFileStream(imgUrl, (fileInfo){
        if(fileInfo["ok"]){
          file.writeAsBytes(fileInfo["bytes"]);
        }else{
          debugPrint("异常");
        }
      });
    }
获取远程文件流
新建一个http连接,使用dartimport 'dart:io';自带的哦。
使用Uri.parse解析完整的url
request.close()开始发送请求(小声bb:这个命名一言难尽)
获取到数据后,response是一个HttpClientResponse类型,而HttpClientResponse类型Stream的实现
abstract class HttpClientResponse implements Stream<List<int>>
关于Stream说起来比较复杂,推荐一个文章传送门
Stream最后会吐出List<int>,也就是我们需要的Bytes
代码
    // get文件流
    getRemoteFileStream(String url, cb) async{
      return new Future(() async{
        HttpClient httpClient = new HttpClient();
        HttpClientRequest request = await httpClient.getUrl(Uri.parse(url));
        HttpClientResponse response = await request.close();
        if (response.statusCode == HttpStatus.ok) {
          List<int> buffer = [];
          response.listen((data){
              data.forEach((e){
                buffer.add(e);
              });
            },
            onDone: (){
              cb({
                "ok": true,
                "bytes": buffer
              });
            },
            onError: (e){
              print(e);
            }
          );
        }else{
          debugPrint('HTTP request failed');
        }
      });
    }
写好了上面两个函数,我们现在可以获取本地文件路径来写入图片了
最后一步,执行写入
获取本地路径分为临时文件和文档路径
我们使用path_provider来获取本地路径
path_provider: ^1.4.0
import 'package:path_provider/path_provider.dart';
获取本地路径,执行读写本地文件
代码
getLocalhostBooks() async{
String imgUrl = 'https://p1-jj.byteimg.com/tos-cn-i-t2oaga2asx/gold-user-assets/2019/11/1/16e24dc995c95343~tplv-t2oaga2asx-image.image';
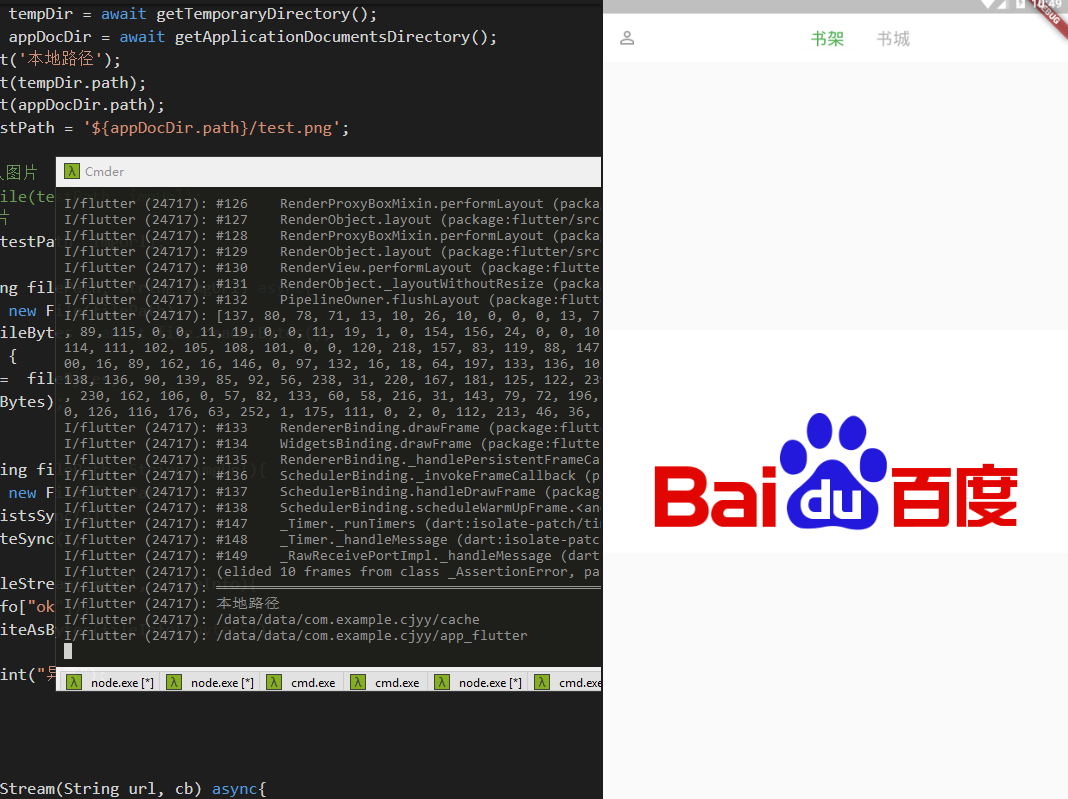
Directory tempDir = await getTemporaryDirectory();
Directory appDocDir = await getApplicationDocumentsDirectory();
debugPrint('本地路径');
debugPrint(tempDir.path);
debugPrint(appDocDir.path);
String testPath = '${appDocDir.path}/test.png';
// // 写入图片
// writeFile(testPath, imgUrl);
// 读取图片
readFile(testPath, imgUrl);
}
读取
读取本地文件
    readFile(String filePath, String imgUrl) async{
      File file = new File(filePath);
      Uint8List fileBytes = await file.readAsBytes();
      setState(() {
        imgBytes =  fileBytes;
        print(imgBytes);
      });
    }
读取比较简单一点,获取bytes,然后渲染就是了。
setState(() {
    imgBytes =  fileBytes;
    print(imgBytes);
});
Container(
    child: Image.memory(imgBytes, gaplessPlayback: true,),
)
效果
其他
嘻嘻,利用上面的知识,就可以手写一个图片缓存器了。
看懂了请点赞~~ 喵喵
下一篇,集合sqlite3实现本地书籍加入书架
