写在前面
关于redux,我们总是会觉得很难理解,但是当我们沉下心来,用心去理解,会发现也没有那么的困难。下面,这篇文章,将学习redux,带你能够从入门到手写实现redux~
入门
本文我们将使用
react和redux搭配完成
redux是什么
Redux是 JavaScript 状态容器,提供可预测化的状态管理。
可以让你构建一致化的应用,运行于不同的环境(客户端、服务器、原生应用),并且易于测试。
Redux 除了和React一起用外,还支持其它界面库。 它体小精悍(只有 2kB,包括依赖)。
什么时候使用redux
在我们的项目中,并不是一定需要redux,有一句话说:"如果你不知道是否需要使用redux,那就是不需要它",还有一句话是:"只有遇到react解决不了的问题,才需要使用redux"
| 需要使用redux | 不需要使用redux |
|---|---|
| 组件状态需要共享 | 用户的使用方式非常简单 |
| 某个状态需要在任何地方都可以拿到 | 用户之间没有协作 |
| 一个组件需要改变全局状态 | 不需要与服务器大量交互,也没有使用 WebSocket |
| 一个组件需要改变另一个组件的状态 | 视图层只从单一来源获取数据 |
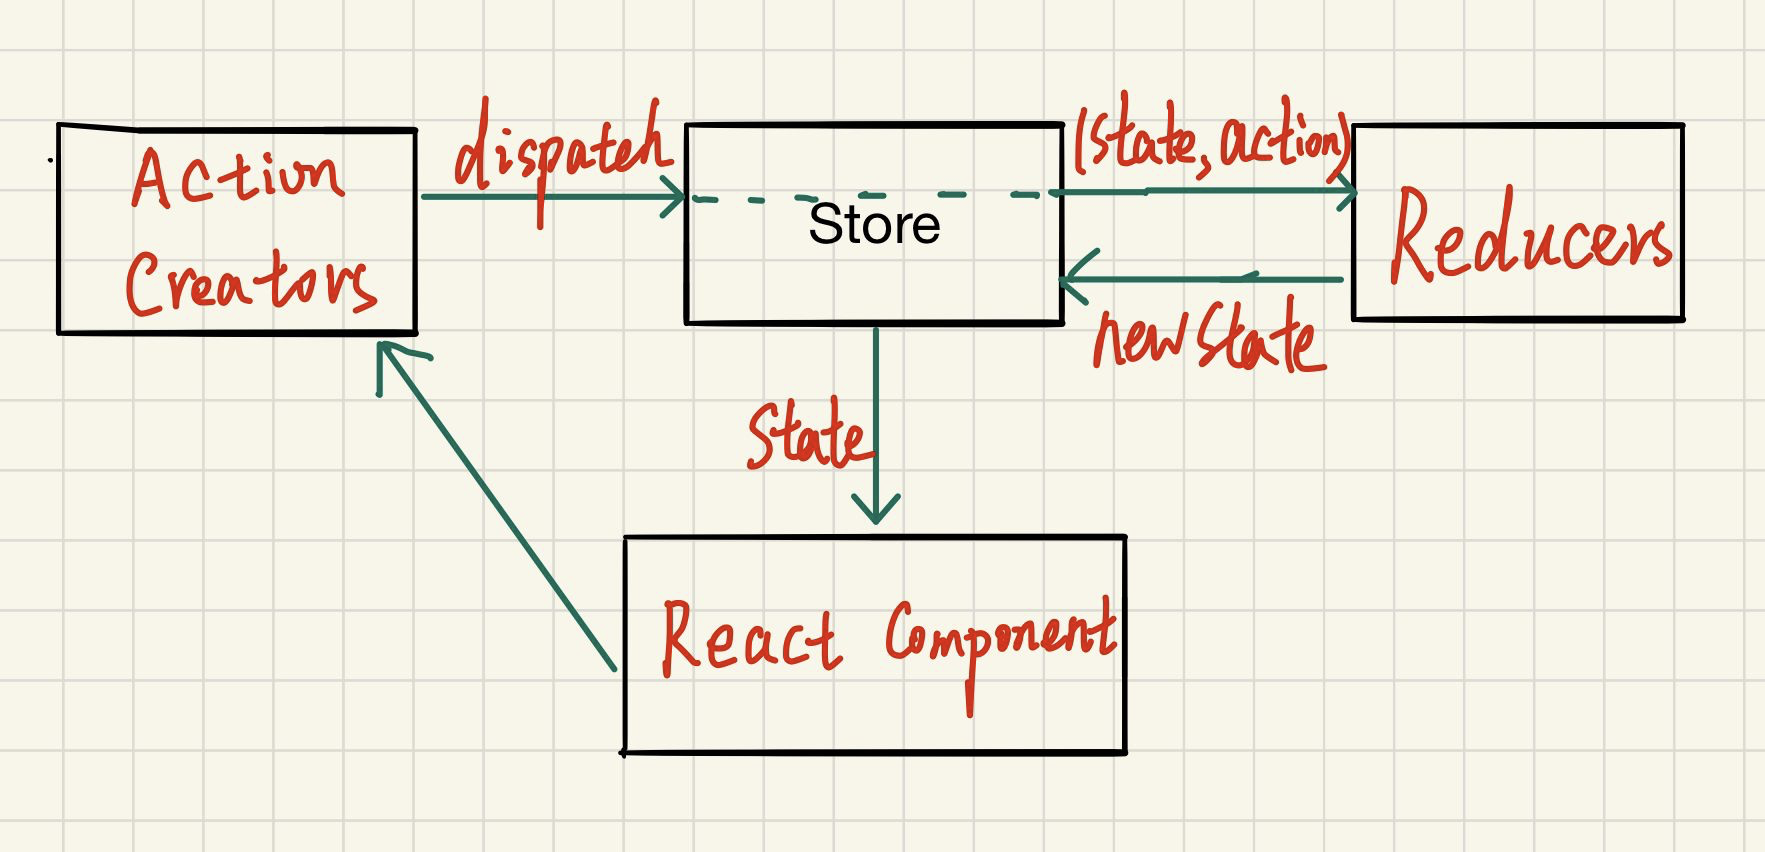
redux工作流程图
redux基础
下面我们以一个todoList为例,讲解这个知识点
首先,我们需要做一下工作的前序准备,先搭建项目,我们就用create-react-app
create-react-app redux-demo
然后安装所需依赖
npm install redux --save
store
store是一个保存数据的地方,整个应用只可以有一个store
1、创建store
下面我们来创建一个store
import { createStore } from 'redux';
import reducer from './reducer';

const store = createStore(reducer);

export default store;
2、store的几个方法
- getState():获取state
<TodoListUI
  dataSource={store?.getState()?.todoList}
  onAddClick={this.handleAddClick}
/>
- dispatch():将action作为参数,目的是更新state
 handleAddClick = () =>  {
   const { inputValue } = this.state;
   const addData = addTodoList(inputValue);
   store.dispatch(addData);
 }
- subscribe():注册一个监听器
constructor(props) {
  super(props);
  store.subscribe(this.changeData);  // 监听changeData函数
}

changeData = () => {
  this.setState(store.getState())    // 更新state
}
创建reducer
reducer指定了应用状态的变化如何响应action并发送到store,它实际上就是一个函数,state和action是两个参数,最后的结果返回一个新的state。reducer必须是一个纯函数
根据以上的描述,我们可以写出一个recuder
const defaultState = {
  todoList: []
};

export default (state = defaultState, action) => {
    if (action.type === "add") {
          let newState = JSON.parse(JSON.stringify(state));
        newState.todoList.push(action.text);
        return newState;
    } else if (action.type === "del") {
          let newState = JSON.parse(JSON.stringify(state));
        newState.todoList.pop();
        return newState;
    }
}
这样,其实我们就实现了一个reducer
创建action
action的作用是将数据从应用传到store,它是store数据的唯一来源
有时候,我们可能会在dispatch时将type写错,但这个时候,react并不会给我们报错,所以我们一般会将action分开来写,将type存成变量再引用~
// action.js
export const ADD = 'add';

export const DEL = 'del';
// actionCreator.js
import { ADD, DEL } from './action';

export const addTodoList = (value) => ({      // 简便写法返回一个对象的简便写法
    type: ADD,
    text: value,
})

export const delTodoList = () => ({
    type: DEL
})
经过上面的步骤,我们其实已经实现了一个简单的todoList,我们可以看一下效果:
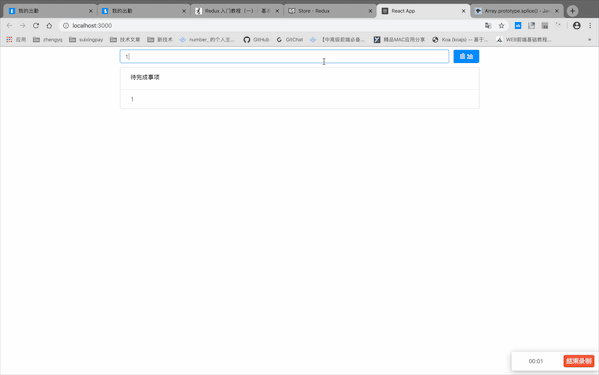
注意:上述代码不是很详细,只摘取了重点部分,如有需要,可移步至github:👉redux-demo
深入学习redux
我们继续深入学习redux
异步action
简单来说,异步的action就是在action中处理一个异步事件,下面我们来举一个例子:
在上面todoList例子的基础上,写一下:在增加的时候,我们用定时器对action进行处理:
export const addTodoList = (value) => setTimeout(() => {
    return {
        type: ADD,
        text: value,
    }
}, 1000)
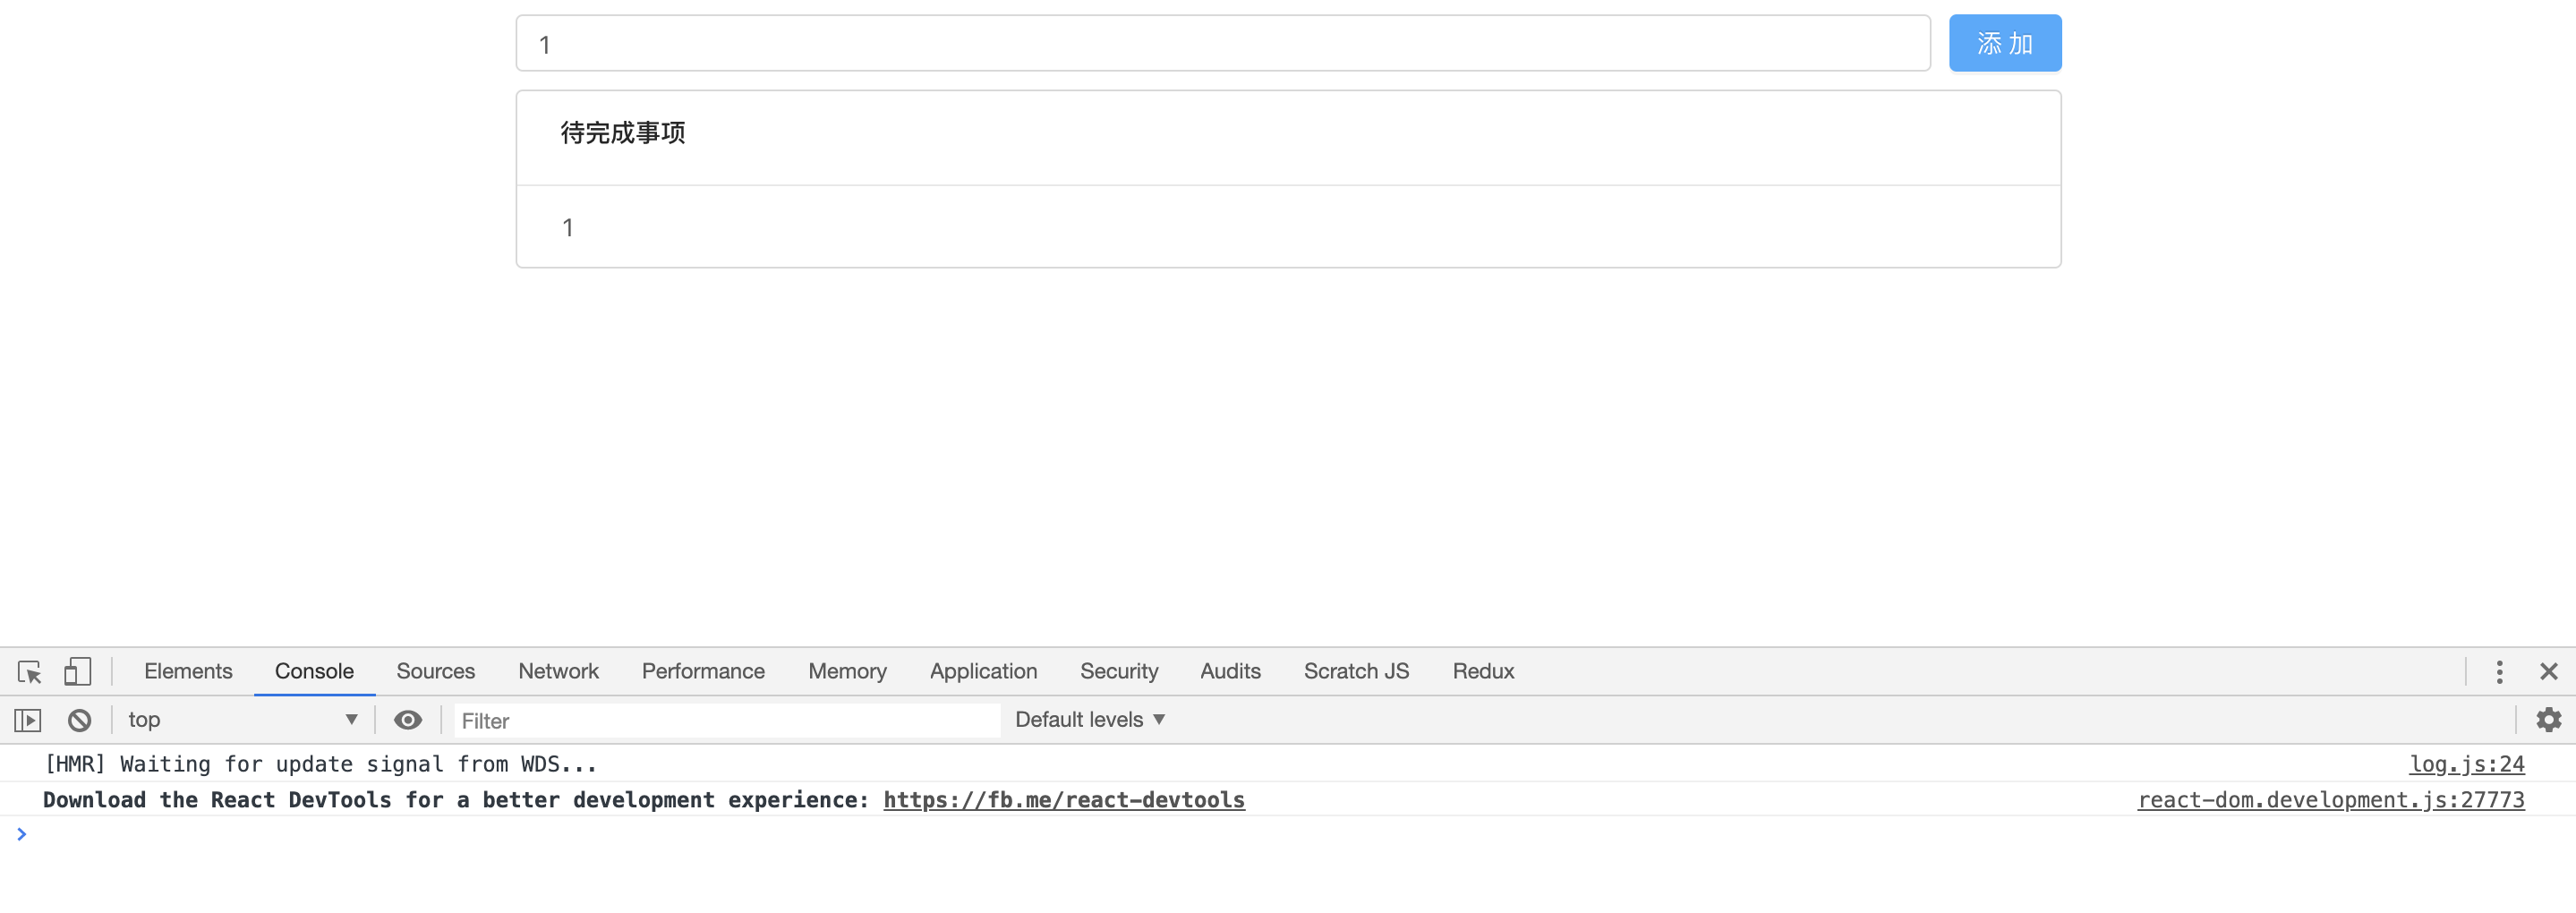
这个时候,当我们再点击添加的时候,浏览器就会报错

这个时候就用到了中间件redux-thunk解决问题
// store/index.js
import { createStore, applyMiddleware, compose } from 'redux';
import reducer from './reducer';
import thunk from 'redux-thunk';

// 声明增强函数
const composeHancer = window.__Redux_DEVTOOLS_EXTENSION_COMPOSE__ ?
                            window.__Redux_DEVTOOLS_EXTENSION_COMPOSE__({}) : compose;

const hancer = composeHancer(applyMiddleware(thunk));

const store = createStore(reducer, hancer);

export default store;

// actionCreater.js
export const addTodoList = (value) => (dispatch) => setTimeout(() => {
    dispatch({
        type: ADD,
        text: value,
    })
}, 1000)
这个时候再点击添加,就会按照我们的思路,1s后添加todoList列表,并且不会报错
因为我们在使用redux的数据并不都是我们自己存的数据,有的时候,需要我们从后台拿数据,这个时候我们就会使用请求,所以这个异步出现的情况还是很多的,需要我们在写redux的时候,将这些情况考虑进去
中间件的使用
在使用redux的过程中,我们会使用中间件,像解决上面的异步问题,我们使用了redux-thunk中间件。
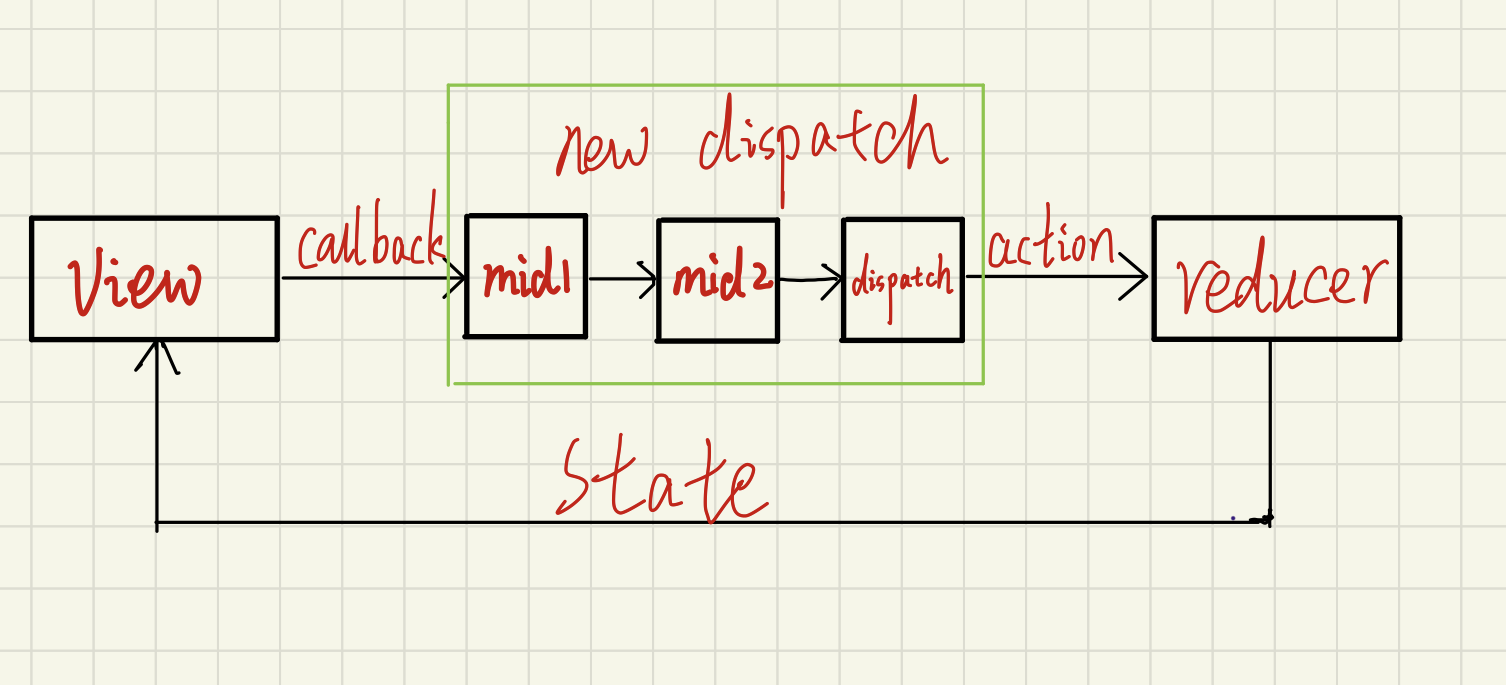
redux的middleware可以分类处理action,在middleware中,可以检查每一个流过的action,并且挑选出特定类型的action进行相应的操作,这样就做到了改变action的目的。
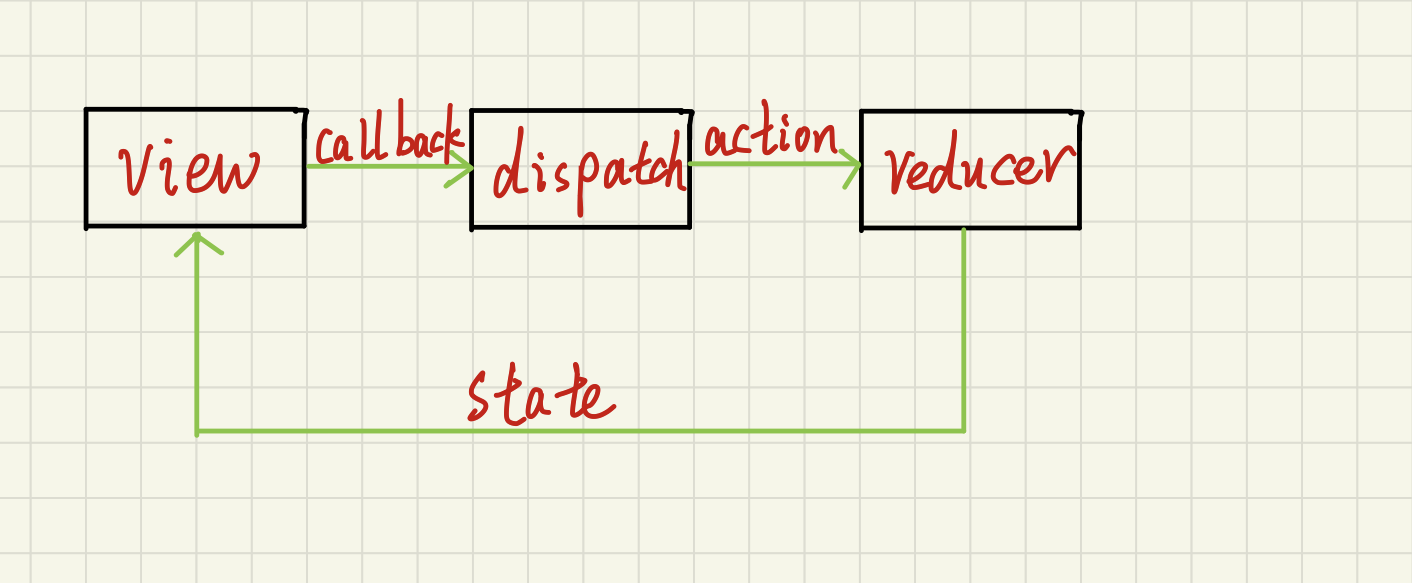
看一下下面两张图来深入理解redux middleware
- 没有
middleware时的redux流程图
- 有
middleware的redux流程图
reducer的拆分
在一个项目中,我们不可能只写一个reducer去控制我们所有想控制的部分,这个时候就需要我们将这整个的reducer拆分成几个来控制不同的部分。举个例子:我们要写一个管理系统,我们要向让这个管理系统变得可配置,更完善,我们需要让用户能配置菜单的位置(左侧/顶部)、是否显示面包屑等等等,那么很明显,对于这种情况,更好的做法就是写很多个reducer对应控制不同的部分~
combineReducer
上面我们说到了,我们可能在redux中会拆分多个reducer,那么combineReducer的作用就是将拆分好的reducer合并到一起
import { combineReducers } from 'redux';

export default combineReducers({
    reducer1: "xxx",
    reducer2: "xxx",
})
react-redux
为了方便在react中使用redux,redux的作者专门封装了react-redux,在react-redux中,有几个非常关键的API:
- Provider
- store
- connect
安装
npm install react-redux --save
cnpm install ...
yarn add ...
创建store、reducer、action
这个流程与redux创建流程一致,所以这里不再阐述,可以向上翻一下~
Provider
react-redux提供了Provider组件,它可以让容易拿到state,我们可以这样做
// App.js

import store from '...';

function App() {
    return (
        <Provider store={store}>
        </provider>
    )
}
connect
react-redux同样提供了connect方法,它的作用是将UI组件和容器组件连接起来。
在需要使用redux的页面,引入connect进行使用
import React, { Component } from 'react';
import { connect } from 'react-redux';

class TodoList extends Component {
    render() {
        <TodoList />
    }
}

export default connect(参数1, 参数2)(TodoList);
参数1:stateToProps
stateToProps是一个函数,它建立了state对象到UI组件的映射关系。
stateToProps函数接收state参数,返回一个对象
const stateToProps = state => {
    return {
        todoList: state.todoList
    }
}
参数2:dispatchToProps
dispatchToProps也是一个函数,它建立了UI组件参数到dispatch方法的映射关系。
dispatchToProps接收dispatch参数
const dispatchToProps = dispatch => {
    return {
        handleAddClick() {
            const addData = addTodoList(111);
            dispatch(addData);
        }
    }
}
接下来,将这两个connect的参数合到一起
import React, { Component } from 'react';
import { connect } from 'react-redux';

class TodoList extends Component {
    render() {
        <TodoList />
    }
}

export default connect(stateToProps, dispatchToProps)(TodoList);
这样,基本就实现了用react-redux搭建的小例子,文中代码不够详细,如有需要,可以去这里:👉redux-demo
手写实现redux
上面我们说了一些基础,对于redux的原理我们也是有必要学习的~
手写createStore
在创建store的时候,会引入createStore
import { createStore } from 'redux';
...

createStore(reducer);
那这个createStore内部是怎么个样子呢
createStore有三个方法:getState、dispatch、subscribe
const createStore = () => {
    let state = initialState;

    let listeners = [];

    function getState() {
        // ...
    }
    function dispatch() {
        // ...
    }
    function subscribe() {
        // ...
    }
    return { getState, dispatch, subscribe };
}
下面,我们来完善一下这三个函数
getState()
function getState() {
    return state;
}
dispatch
function dispatch(action) {
    state = reducer(state, action);
    for(let i = 0; i < listeners.length; i++) {
        const listener = listeners[i];
        listener();
    }
}
subscribe
function subscribe(listener) {
    listeners.push(listener)
}
最后,我们尝试一下我们写的createStore是否好用
const store = createStore();

store.subscribe(() => {
    console.log(store.getState());
})
store.dispatch({type: "add"})
store.dispatch({type: "add"})
store.dispatch({type: "add"})
store.dispatch({type: "add"})
输出

这样,我们就简单实现了createStore,其实,我们看上面的代码发现,这其实就是一个发布订阅模式~
我在我写的redux-demo里,写了这部分的源码,想看更详细的小伙伴,就去我的这个链接瞅瞅鸭~
参考文章
总结
感谢大家阅读此文,您的支持是我最大的动力🌹
这篇文章介绍了redux从入门到深入的过程,上面的几个流程图是自己第一次用手画,有点丑,请见谅😁如有不对之处或者遗漏的地方还请大家指出,我们一起进步~
最后,分享一下我的公众号「web前端日记」,需要的小伙伴快快关注呀~