

介绍
开发过移动 Web 页面的同学都知道,单个页面由客户端的 UI 所承载,页面间的跳转也 不再是使用 window 和 location,也不是使用 a 标签,而且调用 Native 写好的 bridge 进行跳转创建一个新的 WebView 来打开新页面。
这种行为我们定义为页面跳转,也可以称为导航(Navigation)
JS 端
新增页面
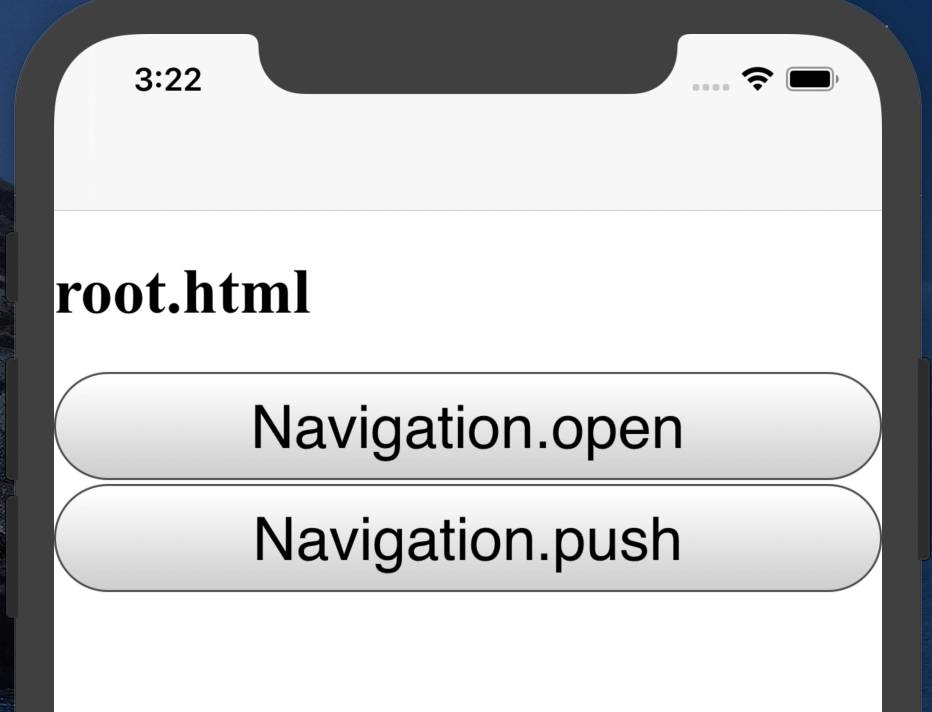
- root.html:app 打开的第一个页面
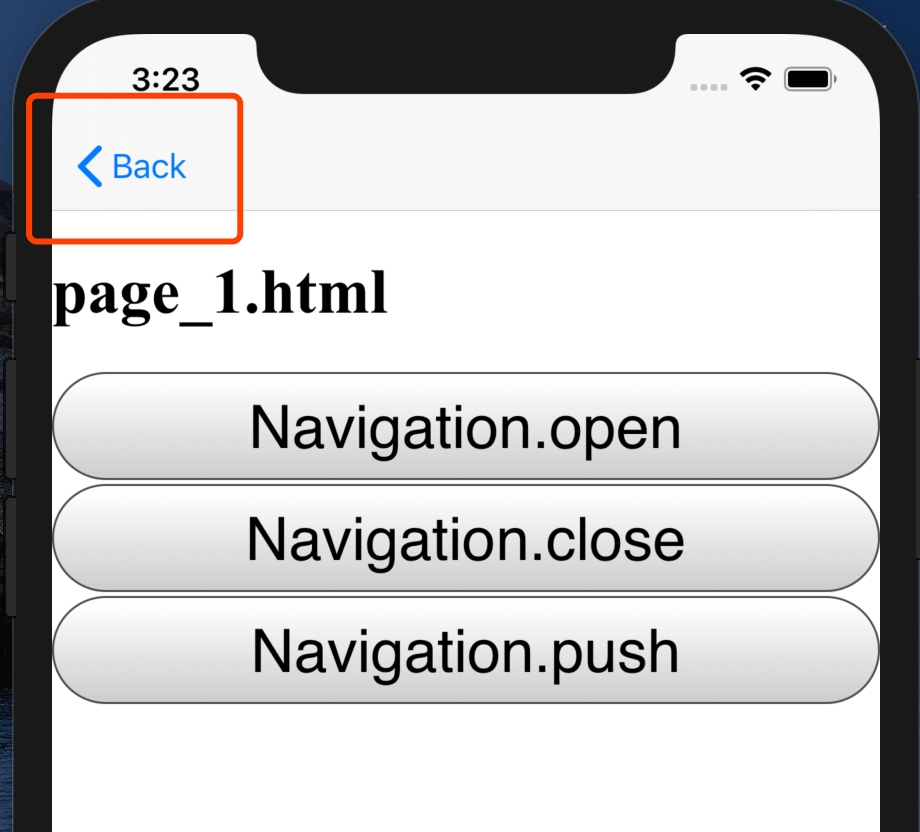
- page_1.html: 从 root 跳转到的页面
- page_2.html:从 page_1 跳转到的页面
三个页面的主要代码分别为:
root.html
<script type="text/javascript">
  function onClickButton(button) {
    switch (button.innerText) {
      case "Navigation.open":
        JSBridge.Navigation.open({
          page: "page_1.html"
        });
        break;
    }
  }
</script>
<h1>root.html</h1>
<button onclick="onClickButton(this)">Navigation.open</button>
page_1.html
<script type="text/javascript">
  function onClickButton(button) {
    switch (button.innerText) {
      case "Navigation.open":
        JSBridge.Navigation.open({
          page: "page_2.html"
        });
        break;
      case "Navigation.close":
        JSBridge.Navigation.close();
    }
  }
</script>
<h1>page_1.html</h1>
<button onclick="onClickButton(this)">Navigation.open</button>
<button onclick="onClickButton(this)">Navigation.close</button>
page_2.html
<script type="text/javascript">
  function onClickButton(button) {
    switch (button.innerText) {
      case "Navigation.close":
        JSBridge.Navigation.close();
    }
  }
</script>
<h1>page_2.html</h1>
<button onclick="onClickButton(this)">Navigation.close</button>
JS 接口
定义我们页面之间,跳转的接口为:
JSBridge.Navigation.open({
  page: "page_1.html"
});
关闭当前页面,回到上一个页面:
JSBridge.Navigation.close();
jsbridge.js 实现
JSBridge.Navigation = {};
JSBridge.Navigation.open = function(params, callback) {
  // 复制一份参数用于修改
  params = JSON.parse(JSON.stringify(params));
  let path = location.pathname;

  // 如果是当前页面是根路径
  if (!path) {
    params.url = location.protocol + "//" + location.host + "/" + params.page;
  }
  // 否则拼成相对路径
  else {
    params.url =
      location.protocol +
      "//" +
      location.host +
      path.substr(0, path.lastIndexOf("/") + 1) +
      params.page;
  }
  callNative("Navigation.open", params, callback);
};
JSBridge.Navigation.close = function(callback) {
  callNative("Navigation.close", {}, callback);
};
iOS跳转 - present和dismiss实现
WebViewController添加url变量
class WebViewController ... {

    var url: String? = nil

    func getLoadUrl() -> String {
        return url ?? "about:blank"
    }
}
如果外部创建WebViewController时传递了url参数,则WebView加载这个url
JSBridgeNavigation
class JSBridgeNavigation : BridgeModuelBase {

    weak var viewController: WebViewController?

    init(viewController: WebViewController) {
        self.viewController = viewController
    }

    override func callFunc(_ funcName: String, callbackId: String, arg: [String : Any?]) {
        switch funcName {
        case "open": open(callbackId: callbackId, arg: arg)
        case "close": close(callbackId: callbackId, arg: arg)
        default: break
        }
    }

    private func open(callbackId: String, arg: [String : Any?]) {
        guard let vc = self.viewController else { return }
        guard let url = arg["url"] as? String else { return }
        let newVC = WebViewController()
        newVC.url = url
        vc.present(newVC, animated: true, completion: nil)
    }

    private func close(callbackId: String, arg: [String : Any?]) {
        viewController?.dismiss(animated: true, completion: nil)
    }

}
WebViewBridge
func initModules() {
    ...
    moduleDict["Navigation"] = JSBridgeNavigation(viewController: viewController!)
}
ViewController
将链接改为root
class ViewController : WebViewController {

    override func getLoadUrl() -> String {
        return "http://192.168.31.101:8000/root.html"
    }
}
Android 跳转 - WebActivity 实现
实现页面跳转,我们可以利用 Intent 调到 WebActivity,向 WebActivity 传递参数 url
WebActivity
- 将 WebActivity 改为 open 而不是 abstract
- 将 abstract 的 getLoadUrl 改为从 Intent 获取 url
open class WebActivity ... {
    ...
    open fun getLoadUrl(): String {
        // 从intent中获取url
        return intent.getStringExtra("url") ?: "about:blank"
    }
    ...
}
注册 WebActivity
<application ...>
    ...
    <activity android:name=".jsbridge.WebActivity" />
</application>
JSBridgeNavigation
class JSBridgeNavigation(val activity: WebActivity, webView: WebView) : BridgeModuleBase(webView) {

    override fun callFunc(func: String, callbackId: String, arg: JSONObject) {
        when (func) {
            "open" -> open(callbackId, arg)
            "close" -> close(callbackId, arg)
        }
    }

    private fun open(callbackId: String, arg: JSONObject) {
        val intent = Intent(activity, WebActivity::class.java)
        intent.putExtra("url", arg.getString("url"))
        activity.startActivity(intent)
    }

    private fun close(callbackId: String, arg: JSONObject) {
        activity.finish()
    }

}
WebViewBridge
init {
    ...
    bridgeModuleMap["Navigation"] = JSBridgeNavigation(activity, webView)
}
MainActivity
将链接改为 root
class MainActivity : WebActivity() {

    override fun getLoadUrl(): String {
        return "http://192.168.31.101:8000/root.html"
    }
}
iOS - UINavigationController 实现跳转
iOS 系统除了 present 和 dismiss 可以实现页面跳转,还可以使用 UINavigationController 实现,这种 实现方式会为页面增加顶部的导航条
自定义启动的 RootViewController
1. 删除 Scene 相关的代码和配置
- SceneDelegate.swift
- Main.storyboard
- 删除 Info.plist 中的 Application Scene Manifest
2. 收到初始化 Window 和 RootViewController
AppDelegate.swift
@UIApplicationMain
class AppDelegate: UIResponder, UIApplicationDelegate {

    // 定义window变量
    @objc open var window: UIWindow?

    func application(
        _ application: UIApplication,
        didFinishLaunchingWithOptions launchOptions: [UIApplication.LaunchOptionsKey: Any]?
    ) -> Bool {
        // 初始化话window
        self.window = UIWindow(frame: UIScreen.main.bounds)
        // 1. 初始化一个导航控制器
        // 2. rootViewController设置为ViewController
        // 3. 给window赋值rootViewController
        self.window?.rootViewController = UINavigationController(rootViewController: ViewController())
        // 显示window
        self.window?.makeKeyAndVisible()

        return true
    }


}
JSBridgeNavigation 修改
class JSBridgeNavigation : BridgeModuelBase {

    weak var viewController: WebViewController?

    init(viewController: WebViewController) {
        self.viewController = viewController
    }

    override func callFunc(_ funcName: String, callbackId: String, arg: [String : Any?]) {
        switch funcName {
        case "open": open(callbackId: callbackId, arg: arg)
        case "close": close(callbackId: callbackId, arg: arg)
        case "push": push(callbackId: callbackId, arg: arg)
        default: break
        }
    }

    private func open(callbackId: String, arg: [String : Any?]) {
        guard let vc = self.viewController else { return }
        guard let url = arg["url"] as? String else { return }
        let newVC = WebViewController()
        newVC.url = url
        vc.present(newVC, animated: true, completion: nil)
    }

    private func close(callbackId: String, arg: [String : Any?]) {
        guard let vc = self.viewController else { return }

        // 关闭时兼容两种打开方式

        // 1. 如果是push过来的
        if vc.navigationController != nil && vc.navigationController!.viewControllers.count > 1 {
            vc.navigationController?.popViewController(animated: true)
        }
        // 2. 如果是present过来的
        else if vc.isBeingPresented || vc.presentingViewController != nil {
            vc.dismiss(animated: true, completion: nil)
        }
    }

    // push的实现
    private func push(callbackId: String, arg: [String : Any?]) {
        guard let vc = self.viewController else { return }
        guard let navVC = vc.navigationController else { return }
        guard let url = arg["url"] as? String else { return }
        let newVC = WebViewController()
        newVC.url = url
        navVC.pushViewController(newVC, animated: true)
    }

}
运行效果
运行前先完善 JS 端的代码:JS 端为 iOS 添加 Navigation.push 跳转
运行后多了导航条,点击 Navigation.push 跳转到页面可以看出和之前 open 打开的不一样,有返回按钮
JS端为iOS添加Navigation.push跳转
function resolveNavParams(params) {
  params = JSON.parse(JSON.stringify(params));
  let path = location.pathname;
  if (!path) {
    params.url = location.protocol + "//" + location.host + "/" + params.page;
  } else {
    params.url =
      location.protocol +
      "//" +
      location.host +
      path.substr(0, path.lastIndexOf("/") + 1) +
      params.page;
  }
  return params;
}

JSBridge.Navigation = {};
JSBridge.Navigation.open = function(params, callback) {
  callNative("Navigation.open", resolveNavParams(params), callback);
};
JSBridge.Navigation.close = function(callback) {
  callNative("Navigation.close", {}, callback);
};
JSBridge.Navigation.push = function(params, callback) {
  // 如果是android还是走open,因为安卓的跳转没有push类型
  // 当然如果想实现push这样从左到右的动画也可以,这里暂不实现
  if (window.androidBridge) {
    JSBridge.Navigation.open(params, callback)
  } else {
    callNative("Navigation.push", resolveNavParams(params), callback);
  }
};
结语
到这里,我们完成的 H5 页面直接的跳转功能
