

开源项目分析(SwiftHub)Rxswift + MVVM + Moya 架构分析(一)第三方框架使用 (上)
开源项目分析(SwiftHub)Rxswift + MVVM + Moya 架构分析(二)第三方框架使用 (中)
@[TOC]
2. SwiftHub使用的第三方库
这篇博客是上篇博客“开源项目分析(SwiftHub)Rxswift + MVVM + Moya 架构分析(一)第三方框架使用” 的续集,由于篇幅过程,拆成几部分了。
先回顾一下第三方框架图:
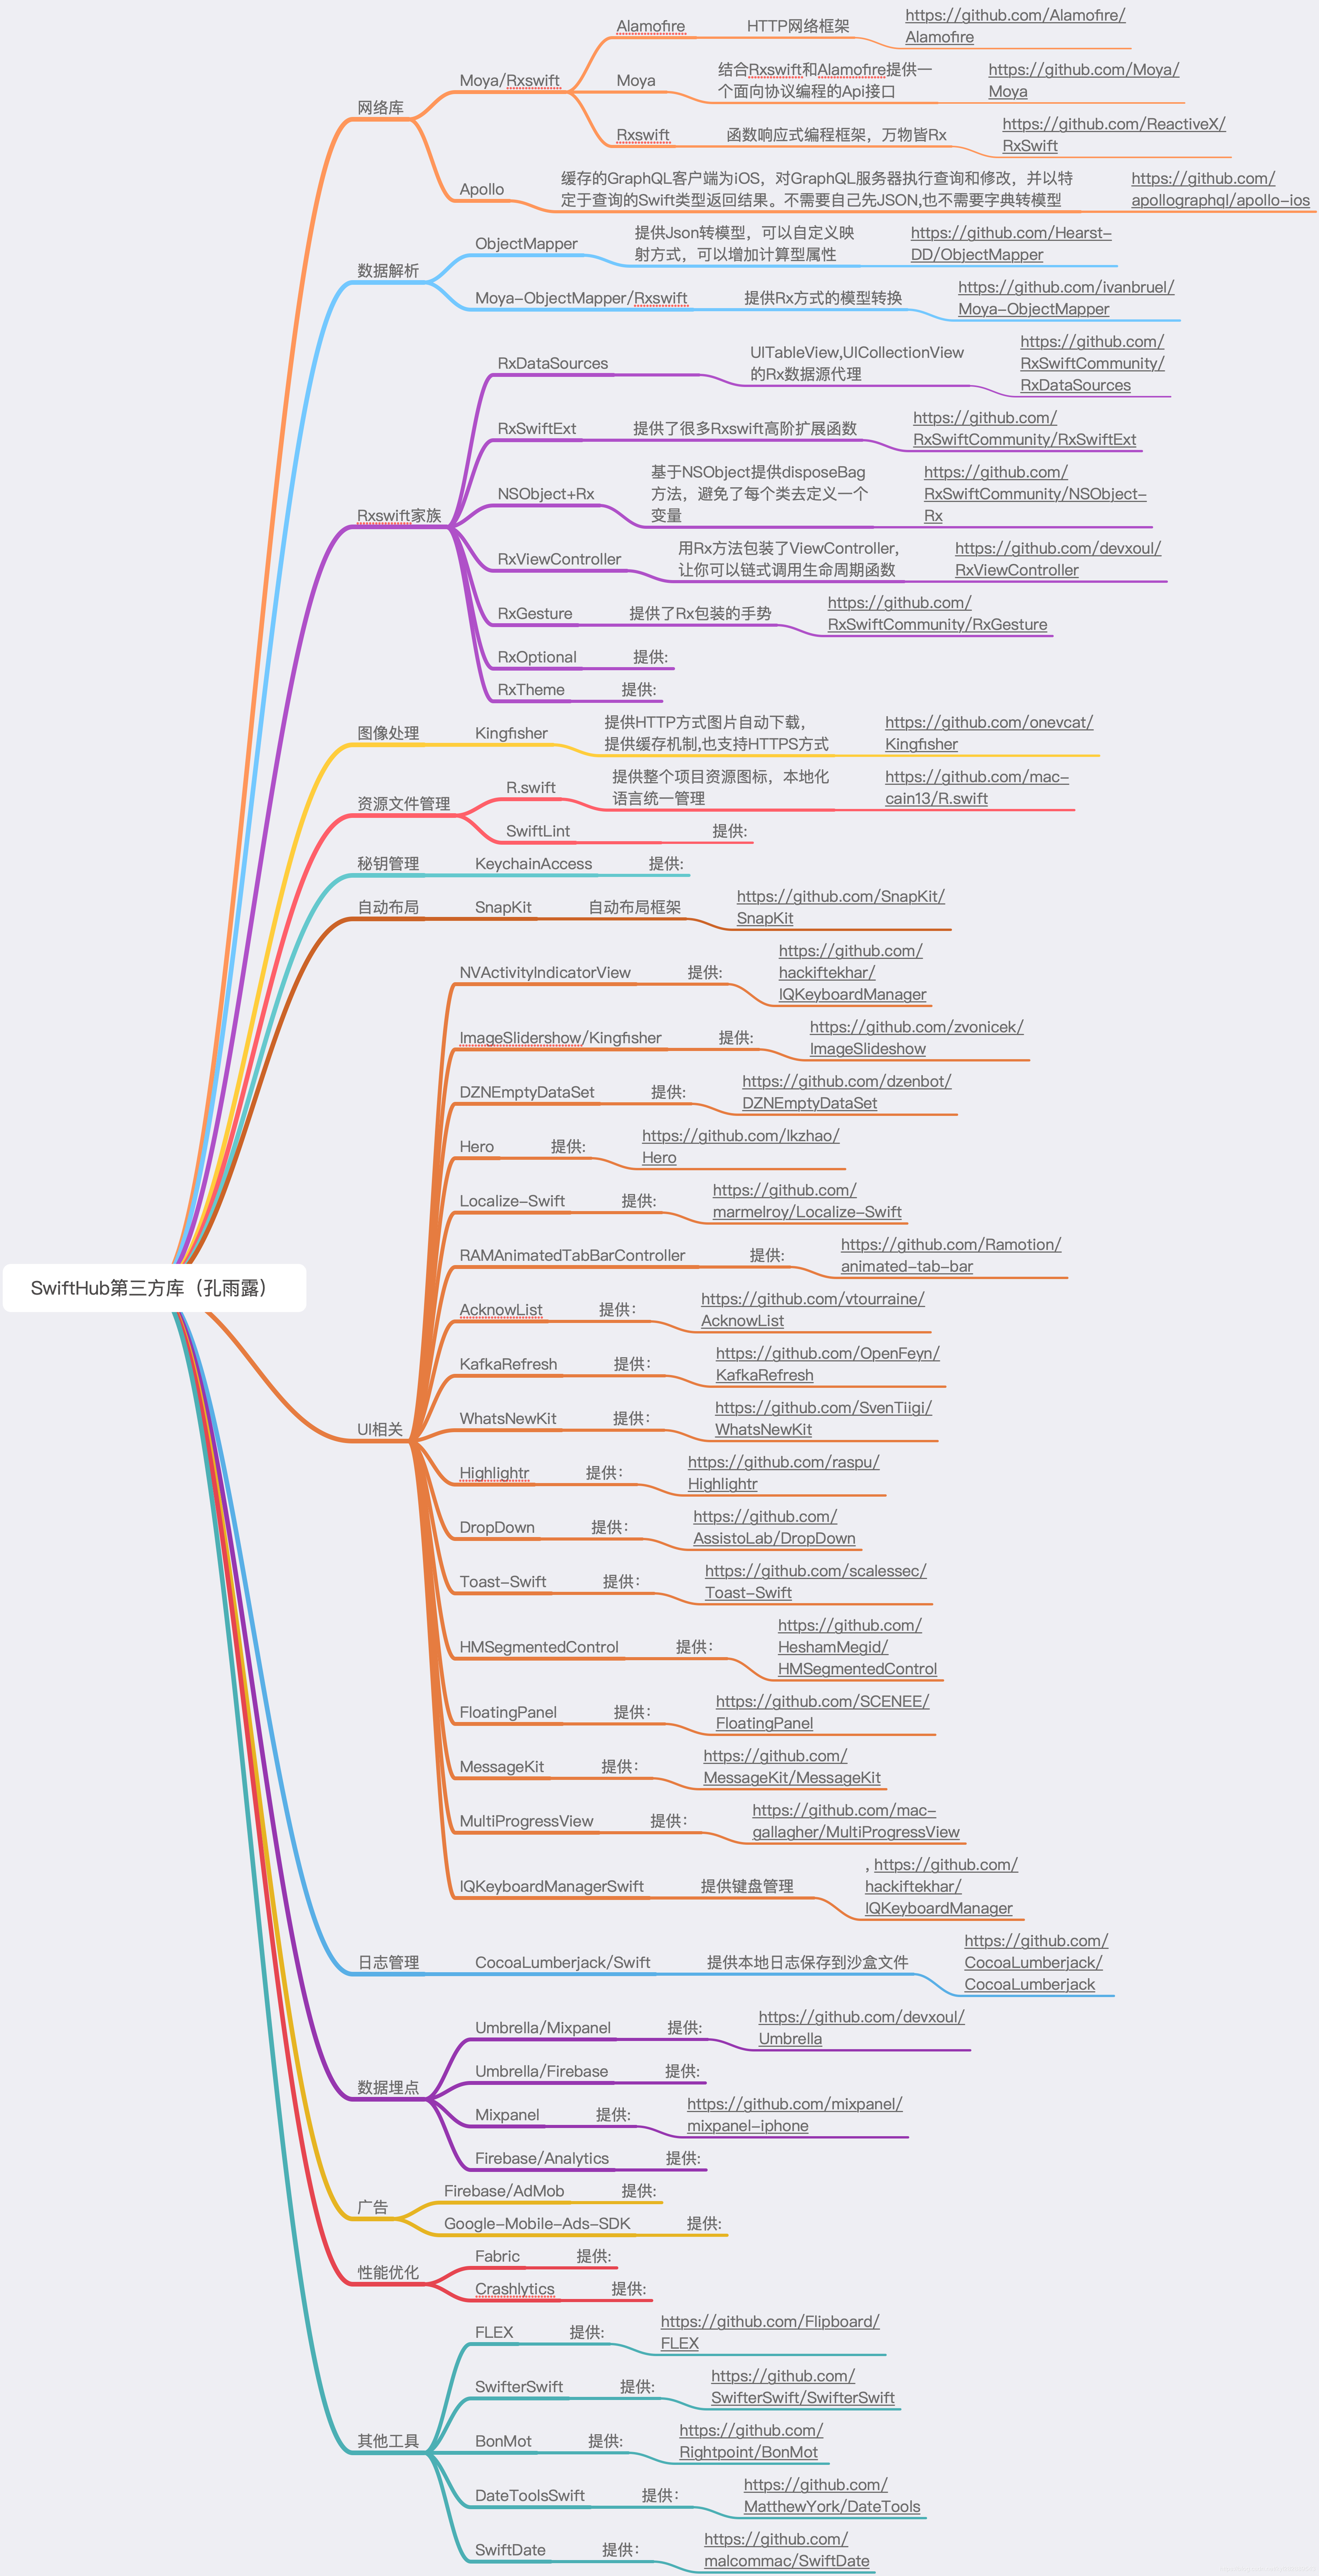
2.1 Rxswift 家族库
2.1.1 RxAnimated
- 源码下载: RxAnimated
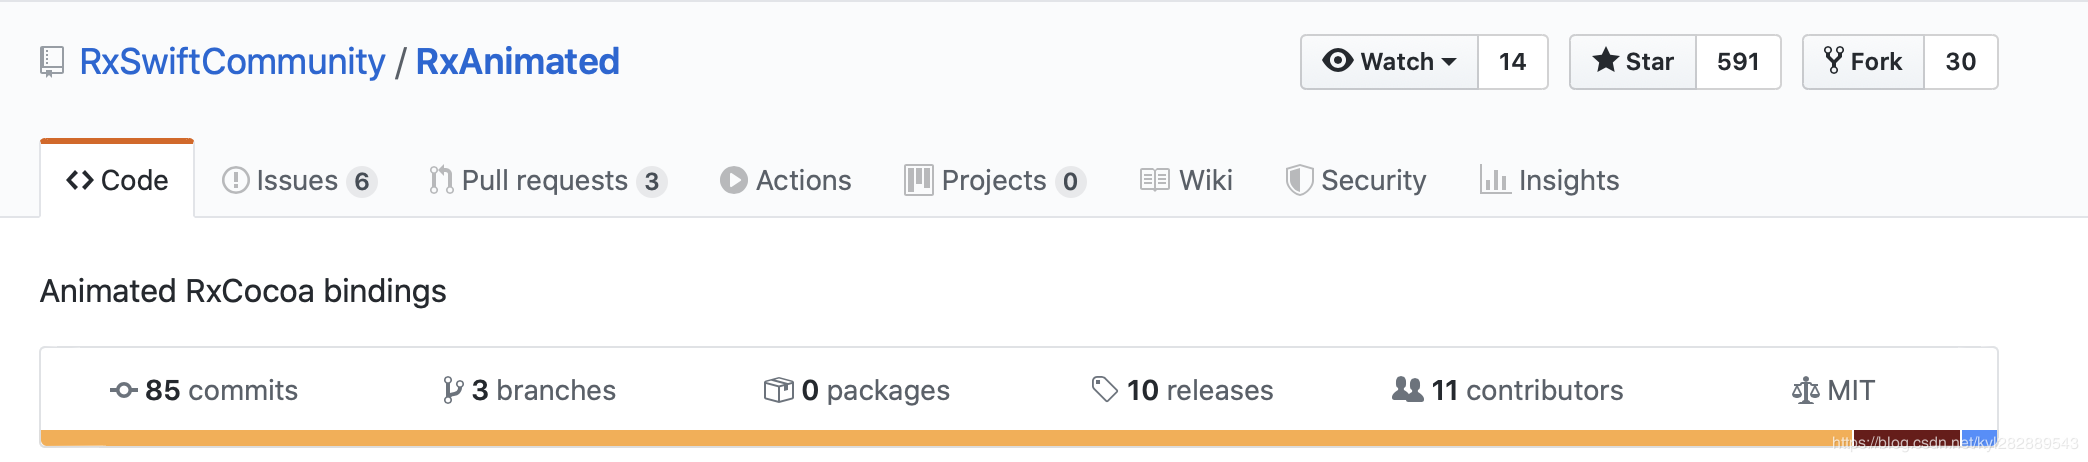
它提供了一些预定义的动画绑定,并提供了一种灵活的机制,让您可以添加自己的预定义动画,并在与RxCocoa绑定时使用它们。
2.1.1.1 RxAnimated基本动画使用
- RxAnimated提供的内置动画:
当与RxCocoa绑定值时,你可以这样写:
textObservable
  .bind(to: labelFlip.rx.text)
每当observable发出一个新的字符串值时,它都会更新标签的文本。但这是突然发生的,没有任何过渡。使用RxAnimated,你可以使用animated扩展来绑定值和动画,就像这样:
textObservable
  .bind(animated: labelFlip.rx.animated.flip(.top, duration: 0.33).text)
“不同之处在于”您使用bind(animated:)而不是bind(to:),然后您插入animated.flip(.top, duration: 0.33)(或其他提供或自定义动画方法之一)之间的rx和属性接收器你想使用。
2.1.1.2 RxAnimated基本动画列表
- 内置动画类型列表:
UIView.rx.animated...isHidden
UIView.rx.animated...alpha
UILabel.rx.animated...text
UILabel.rx.animated...attributedText
UIControl.rx.animated...isEnabled
UIControl.rx.animated...isSelected
UIButton.rx.animated...title
UIButton.rx.animated...image
UIButton.rx.animated...backgroundImage
UIImageView.rx.animated...image
NSLayoutConstraint.rx.animated...constant
NSLayoutConstraint.rx.animated...isActive
- 内置动画列表:
UIView.rx.animated.fade(duration: TimeInterval)
UIView.rx.animated.flip(FlipDirection, duration: TimeInterval)
UIView.rx.animated.tick(FlipDirection, duration: TimeInterval)
UIView.rx.animated.animation(duration: TimeInterval, animations: ()->Void)
NSLayoutConstraint.rx.animated.layout(duration: TimeInterval)
2.1.1.2 RxAnimated自定义动画
您可以轻松地添加自定义绑定动画来匹配应用程序的视觉风格。
- 第一步:(可选)如果你正在激活一个没有动态绑定的新绑定接收器(例如UIImageView.rx)。形象,UILabel.rx。文本和更多的已经包括在内,但你需要另一个属性)
// This is your class `UILabel`
extension AnimatedSink where Base: UILabel {
    // This is your property name `text` and value type `String`
    public var text: Binder<String> {
        let animation = self.type!
        return Binder(self.base) { label, text in
            animation.animate(view: label, block: {
                guard let label = label as? UILabel else { return }
                // Here you update the property
                label.text = text
            })
        }
    }
}
- 第二步:添加新的动画方法
// This is your class `UIView`
extension AnimatedSink where Base: UIView {
    // This is your animation name `tick`
    public func tick(_ direction: FlipDirection = .right, duration: TimeInterval) -> AnimatedSink<Base> {
        // use one of the animation types and provide `setup` and `animation` blocks
        let type = AnimationType<Base>(type: RxAnimationType.spring(damping: 0.33, velocity: 0), duration: duration, setup: { view in
            view.alpha = 0
            view.transform = CGAffineTransform(rotationAngle: direction == .right ?  -0.3 : 0.3)
        }, animations: { view in
            view.alpha = 1
            view.transform = CGAffineTransform.identity
        })

        //return AnimatedSink
        return AnimatedSink<Base>(base: self.base, type: type)
    }
}
- 第三步:现在可以使用新的动画绑定订阅了。通常是这样绑定
UIImageView.rx.image如下
imageObservable
    .bind(to: imageView.rx.image)
结果是非动画绑定的效果:

如果你使用你的新自定义动画绑定像这样:
imageObservable
    .bind(to: imageView.rx.animated.tick(.right, duration: 0.33).image)
修改后的效果是这样的:

如果你在UILabel上使用相同的动画:
textObservable
    .bind(to: labelCustom.rx.animated.tick(.left, duration: 0.75).text)
效果如下:

2.1.1.2 RxAnimated 安装
- RxAnimated依赖于RxSwift 5+。
- RxAnimated可以通过CocoaPods获得。要安装它,只需添加以下行到您的Podfile:
pod "RxAnimated"
2.2 图像处理库
2.2.1 Kingfisher
- Kingfisher源码下载
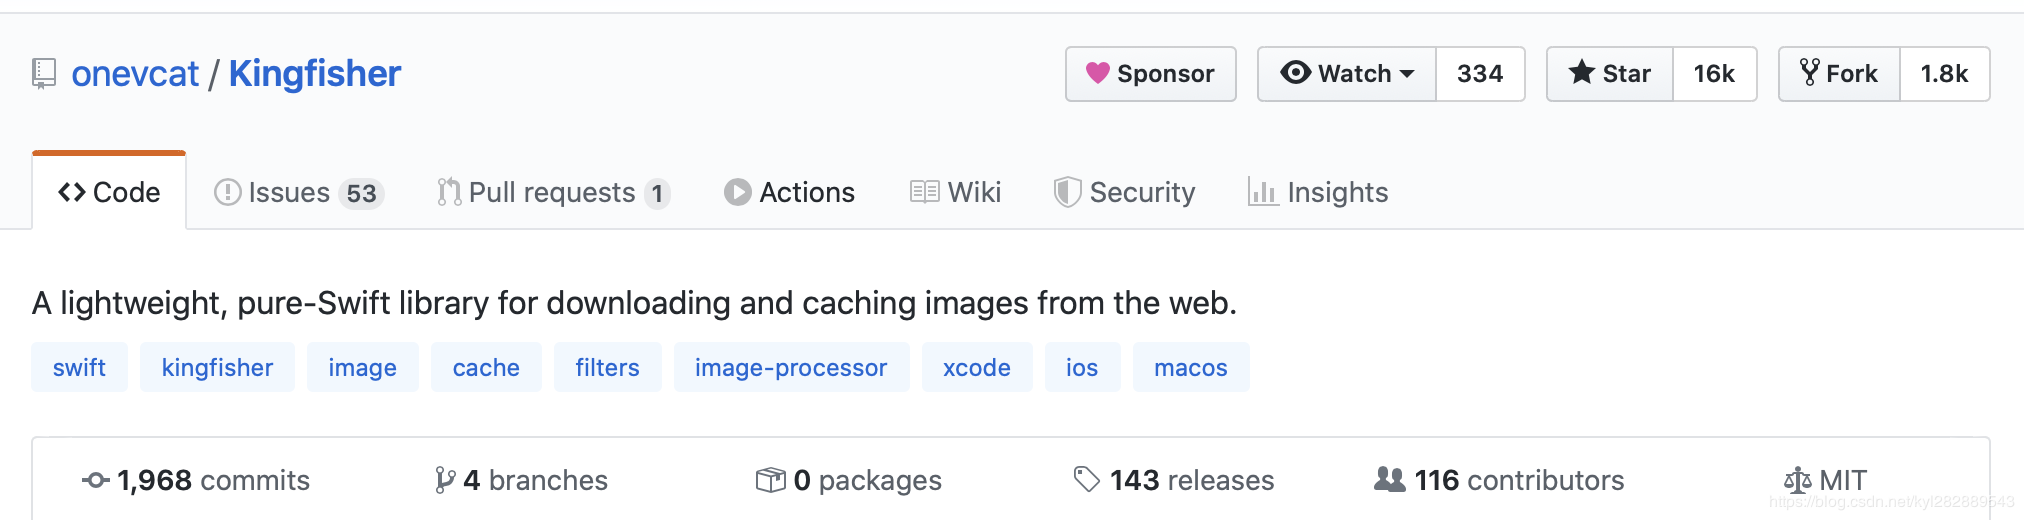
2.2.1.1 Kingfisher特点
- 异步图像下载和缓存。
- 从基于
url会话的网络或本地提供的数据加载图像。 - 提供了有用的图像处理器和过滤器。
- 用于内存和磁盘的多层混合缓存。
- 对缓存行为的精细控制。可自定义的过期日期和大小限制。
- 可取消的下载和自动重用以前下载的内容,以提高性能。
- 独立的组件。根据需要分别使用下载器、缓存系统和图像处理器。
- 预抓取图片并从缓存中显示,以提升你的应用程序。
UIImageView,NSImageView,NSButton和UIButton的视图扩展来直接从URL设置图像。- 内置过渡动画时,设置图像。
- 加载图像时可自定义的占位符和指示器。
- 易于扩展的图像处理和图像格式。
SwiftUI支持。
2.2.1.2 Kingfisher简单使用
2.2.1.2.1 基本用法
- 最简单的用例是使用UIImageView扩展将图像设置为图像视图:
let url = URL(string: "https://example.com/image.png")
imageView.kf.setImage(with: url)
Kingfisher将从url下载图像,将其发送到内存缓存和磁盘缓存,并在imageView中显示。当您稍后使用相同的URL设置时,图像将从缓存中检索并立即显示。
如果你使用SwiftUI也可以这样写:
import KingfisherSwiftUI

var body: some View {
    KFImage(URL(string: "https://example.com/image.png")!)
}
此外,Kingfisher还提供了一些高阶用法,用于解决复杂的问题,有了这些强大的选项,您可以用简单的方式用Kingfisher完成困难的任务。 例如,下面的代码:
let url = URL(string: "https://example.com/high_resolution_image.png")
let processor = DownsamplingImageProcessor(size: imageView.bounds.size)
             >> RoundCornerImageProcessor(cornerRadius: 20)
imageView.kf.indicatorType = .activity
imageView.kf.setImage(
    with: url,
    placeholder: UIImage(named: "placeholderImage"),
    options: [
        .processor(processor),
        .scaleFactor(UIScreen.main.scale),
        .transition(.fade(1)),
        .cacheOriginalImage
    ])
{
    result in
    switch result {
    case .success(let value):
        print("Task done for: \(value.source.url?.absoluteString ?? "")")
    case .failure(let error):
        print("Job failed: \(error.localizedDescription)")
    }
}
上面代码做了这些操作:
- 下载高分辨率图像。
- 向下采样以匹配图像视图的大小。
- 使它在给定的半径内成为一个圆角。
- 下载时显示系统指示符和占位符图像。
- 准备好后,它会用“渐入淡出”效果使小的缩略图产生动画效果。
- 原始的大图也被缓存到磁盘供以后使用,以避免在详细视图中再次下载它。
- 当任务完成时,无论是成功还是失败,都会打印控制台日志。
2.2.1.2.2 清除缓存
func clearCache() {
        KingfisherManager.shared.cache.clearMemoryCache()
        KingfisherManager.shared.cache.clearDiskCache()
    }
2.2.1.2.3 下载图片增加UI显示
- 加载图片显示进度
//显示菊花
imageView.kf.indicatorType = .activity
 imageView.kf.setImage(with: url, placeholder: nil, options: [.transition(ImageTransition.fade(1))], progressBlock: { (receviveeSize, totalSize) in
            print("\(receviveeSize)/\(totalSize)")
        }) { (image, error, cacheType, imageURL) in
            print("Finished")
            // 加载完成的回调
            // image: Image? `nil` means failed
            // error: NSError? non-`nil` means failed
            // cacheType: CacheType
            //            .none - Just downloaded
            //            .memory - Got from memory cache
            //            .disk - Got from disk cache
            // imageUrl: URL of the image
        }
- 下载过程中 设置菊花样式
imageView.kf.indicatorType = .activity
imageView.kf.setImage(with: url)

//使用自己的gif图片作为下载指示器
let path = Bundle.main.path(forResource: "loader", ofType: "gif")!
let data = try! Data(contentsOf: URL(fileURLWithPath: path)) imageView.kf.indicatorType = .image(imageData: data)
imageView.kf.setImage(with: url)
- 订制指示器view
struct KYLIndicator: Indicator {
    let view: UIView = UIView()

    func startAnimatingView() {
        view.isHidden = false
    }
    func stopAnimatingView() {
        view.isHidden = true
    }

    init() {
        view.backgroundColor = .red
    }
}

let indicator = KYLIndicator()
imageView.kf.indicatorType = .custom(indicator: indicator)
- 图片下载完成后,设置过度效果,淡入效果
imageView.kf.setImage(with: url, options: [.transition(.fade(0.2))])
- 在显示和缓存之前将下载的图像转换成圆角
let processor = RoundCornerImageProcessor(cornerRadius: 20)
imageView.kf.setImage(with: url, placeholder: nil, options: [.processor(processor)])
- 对Button添加图片
        let uiButton: UIButton = UIButton()
        uiButton.kf.setImage(with: url, for: .normal, placeholder: nil, options: nil, progressBlock: nil, completionHandler: nil)
        uiButton.kf.setBackgroundImage(with: url, for: .normal, placeholder: nil, options: nil, progressBlock: nil, completionHandler: nil)
2.2.1.3 Kingfisher高级设置
2.2.1.3.1 设置自定义缓存参数
- 设置磁盘缓存大小(默认是50MB)
// 设置磁盘缓存大小
        // Default value is 0, which means no limit.
        // 50 MB
        ImageCache.default.maxDiskCacheSize = 50 * 1024 * 1024
- 设置缓存过期时间(默认是3天)
        // 设置缓存过期时间
        // Default value is 60 * 60 * 24 * 7, which means 1 week.
        // 3 days
        ImageCache.default.maxCachePeriodInSecond = 60 * 60 * 24 * 3
- 设置超时时间(默认是15秒)
// Default value is 15.
        // 30 second
        ImageDownloader.default.downloadTimeout = 30.0
其他设置相关
// 设置磁盘缓存大小
        // Default value is 0, which means no limit.
        // 50 MB
        ImageCache.default.maxDiskCacheSize = 50 * 1024 * 1024

        // 获取缓存磁盘使用大小
        ImageCache.default.calculateDiskCacheSize { size in
            print("Used disk size by bytes: \(size)")
        }

        // 设置缓存过期时间
        // Default value is 60 * 60 * 24 * 7, which means 1 week.
        // 3 days
        ImageCache.default.maxCachePeriodInSecond = 60 * 60 * 24 * 3

        // 设置超时时间
        // Default value is 15.
        // 30 second
        ImageDownloader.default.downloadTimeout = 30.0

    // Clear cache manually
     // Clear memory cache right away.
     cache.clearMemoryCache()

     // Clear disk cache. This is an async operation.
     cache.clearDiskCache()

     // Clean expired or size exceeded disk cache. This is an async operation.
     cache.cleanExpiredDiskCache()
2.2.1.3.2 自定义用法
- 跳过缓存,强制重新下载:
imageView.kf.setImage(with: url, options: [.forceRefresh])
- 使用自定义key缓存,而不是用url
let resource = ImageResource(downloadURL: url!, cacheKey: "kyl_cache_key")
 imageView.kf.setImage(with: resource)
- 缓存和下载分开使用:
Kingfisher 主要由两部分组成,
ImageDownloader用于管理下载;ImageCache用于管理缓存,你可以单独使用其中一个.
//使用ImageDownloader下载图片
        ImageDownloader.default.downloadImage(with: url!, options: [], progressBlock: nil) { (image, error, url, data) in
            print("Downloaded Image: \(image)")
        }

       // 使用ImageCache缓存图片
        let image: UIImage = UIImage(named: "xx.png")!
        ImageCache.default.store(image, forKey: "key_for_image")

        // Remove a cached image
        // From both memory and disk
        ImageCache.default.removeImage(forKey: "key_for_image")

        // Only from memory
        ImageCache.default.removeImage(forKey: "key_for_image",fromDisk: false)
- 使用自定义的
Downloader和cache代替默认的
        let kyldownloader = ImageDownloader(name: "kongyulu_image_downloader")
        kyldownloader.downloadTimeout = 150.0
        let cache = ImageCache(name: "kyl_longer_cache")
        cache.maxDiskCacheSize = 60 * 60 * 24 * 30

        imageView.kf.setImage(with: url, options: [.downloader(kyldownloader), .targetCache(cache)])

       // 取消下载
        imageView.kf.cancelDownloadTask()
- 使用自定义的缓存路径:
            // MARK:- 下载图片
            imageView.kf.indicatorType = .activity
            let cachePath =  ImageCache.default.cachePath(forKey: PhotoConfig.init().cachePath)
            guard let path = (try? ImageCache.init(name: "cameraPath", cacheDirectoryURL: URL(fileURLWithPath: cachePath))) ?? nil else { return  }

            imageView.kf.setImage(with: URL(string: smallUrlStr), placeholder:UIImage(named: "PhotoRectangle") , options: [.targetCache(path)], progressBlock: { (receivedData, totolData) in
                // 这里用进度条或者绘制view都可以,然后根据 percentage% 表示进度就行了
                //let percentage = (Float(receivedData) / Float(totolData)) * 100.0
                //print("downloading progress is: \(percentage)%")


            }) { result in

//                switch result {
//
//                case .success(let imageResult):
//                    print(imageResult)
//
//                case .failure(let aError):
//                    print(aError)
//                }

            }
- 预先获取要显示的图片,需要显示时在直接添加
        let urls = ["http://www.baidu.com/image1.jpg", "http://www.baidu.com/image2.jpg"]
            .map { URL(string: $0)! }
        let prefetcher = ImagePrefetcher(urls: urls) {
            skippedResources, failedResources, completedResources in
            print("These resources are prefetched: \(completedResources)")
        }
        prefetcher.start()

        // Later when you need to display these images:
        imageView.kf.setImage(with: urls[0])
        anotherImageView.kf.setImage(with: urls[1])
2.2.1.3 Kingfisher HTTPS 图片下载,证书信任,自签名证书信任
- 开发中,我们可能服务器用的是HTTPS的方式,这个时候如果服务器端是使用的证书颁发机构的证书,我们下载图片不需要特殊处理,就可以下载到图片。但是,如果服务器使用的不是认证机构认证的证书,而是使用自签名证书,使用Kingfisher 下载图片需要做一下证书认证处理。
可能有些朋友不太熟悉HTTPS握手的过程,要理解证书认证机制,有必要理解一下HTTPS握手过程:
发送HTTPS请求首先要进行SSL/TLS握手,握手过程大致如下:
- 客户端发起握手请求,携带随机数、支持算法列表等参数。
- 服务端收到请求,选择合适的算法,下发公钥证书和随机数。
- 客户端对服务端证书进行校验,并发送随机数信息,该信息使用公钥加密。
- 服务端通过私钥获取随机数信息。
- 双方根据以上交互的信息生成session ticket,用作该连接后续数据传输的加密密钥。
第3步中,客户端需要验证服务端下发的证书,验证过程有以下两个要点:
- 客户端用本地保存的根证书解开证书链,确认服务端下发的证书是由可信任的机构颁发的。
- 客户端需要检查证书的domain域和扩展域,看是否包含本次请求的host。 如果上述两点都校验通过,就证明当前的服务端是可信任的,否则就是不可信任,应当中断当前连接。
当客户端直接使用IP地址发起请求时,请求URL中的host会被替换成HTTP DNS解析出来的IP,所以在证书验证的第2步,会出现domain不匹配的情况,导致SSL/TLS握手不成功。
更多详情请参考我之前写的一篇关于HTTPS自签名证书上传下载文件的博客:
IOS 网络协议(一) 自签名证书HTTPS文件上传下载(上)
- HTTPS SSL加密建立连接过程
如下图:
过程详解:
- ①客户端的浏览器向服务器发送请求,并传送客户端SSL 协议的版本号,加密算法的种类,产生的随机数,以及其他服务器和客户端之间通讯所需要的各种信息。
- ②服务器向客户端传送SSL 协议的版本号,加密算法的种类,随机数以及其他相关信息,同时服务器还将向客户端传送自己的证书。
- ③客户端利用服务器传过来的信息验证服务器的合法性,服务器的合法性包括:证书是否过期,发行服务器证书的CA 是否可靠,发行者证书的公钥能否正确解开服务器证书的“发行者的数字签名”,服务器证书上的域名是否和服务器的实际域名相匹配。如果合法性验证没有通过,通讯将断开;如果合法性验证通过,将继续进行第四步。
- ④用户端随机产生一个用于通讯的“对称密码”,然后用服务器的公钥(服务器的公钥从步骤②中的服务器的证书中获得)对其加密,然后将加密后的“预主密码”传给服务器。
- ⑤如果服务器要求客户的身份认证(在握手过程中为可选),用户可以建立一个随机数然后对其进行数据签名,将这个含有签名的随机数和客户自己的证书以及加密过的“预主密码”一起传给服务器。
- ⑥如果服务器要求客户的身份认证,服务器必须检验客户证书和签名随机数的合法性,具体的合法性验证过程包括:客户的证书使用日期是否有效,为客户提供证书的CA 是否可靠,发行CA 的公钥能否正确解开客户证书的发行CA 的数字签名,检查客户的证书是否在证书废止列表(CRL)中。检验如果没有通过,通讯立刻中断;如果验证通过,服务器将用自己的私钥解开加密的“预主密码”,然后执行一系列步骤来产生主通讯密码(客户端也将通过同样的方法产生相同的主通讯密码)。
- ⑦服务器和客户端用相同的主密码即“通话密码”,一个对称密钥用于SSL 协议的安全数据通讯的加解密通讯。同时在SSL 通讯过程中还要完成数据通讯的完整性,防止数据通讯中的任何变化。
- ⑧客户端向服务器端发出信息,指明后面的数据通讯将使用的步骤. ⑦中的主密码为对称密钥,同时通知服务器客户端的握手过程结束。
- ⑨服务器向客户端发出信息,指明后面的数据通讯将使用的步骤⑦中的主密码为对称密钥,同时通知客户端服务器端的握手过程结束。
- ⑩SSL 的握手部分结束,SSL 安全通道的数据通讯开始,客户和服务器开始使用相同的对称密钥进行数据通讯,同时进行通讯完整性的检验。

- Kingfisher 的认证其实很简单,几行代码就可以了:
//取出downloader单例
let downloader = KingfisherManager.shared.downloader

//信任ip为106的Server,这里传入的是一个数组,可以信任多个IP
downloader.trustedHosts = Set(["192.168.1.106"])

//使用KingFisher给ImageView赋网络图片
iconView.kf.setImage(with: iconUrl)
2.2.1.3 Kingfisher安装
安装环境要求: iOS 10.0+ / macOS 10.12+ / tvOS 10.0+ / watchOS 3.0+ Swift 4.0+
Pod install
pod 'Kingfisher'
2.2.1.4 Kingfisher核心类介绍
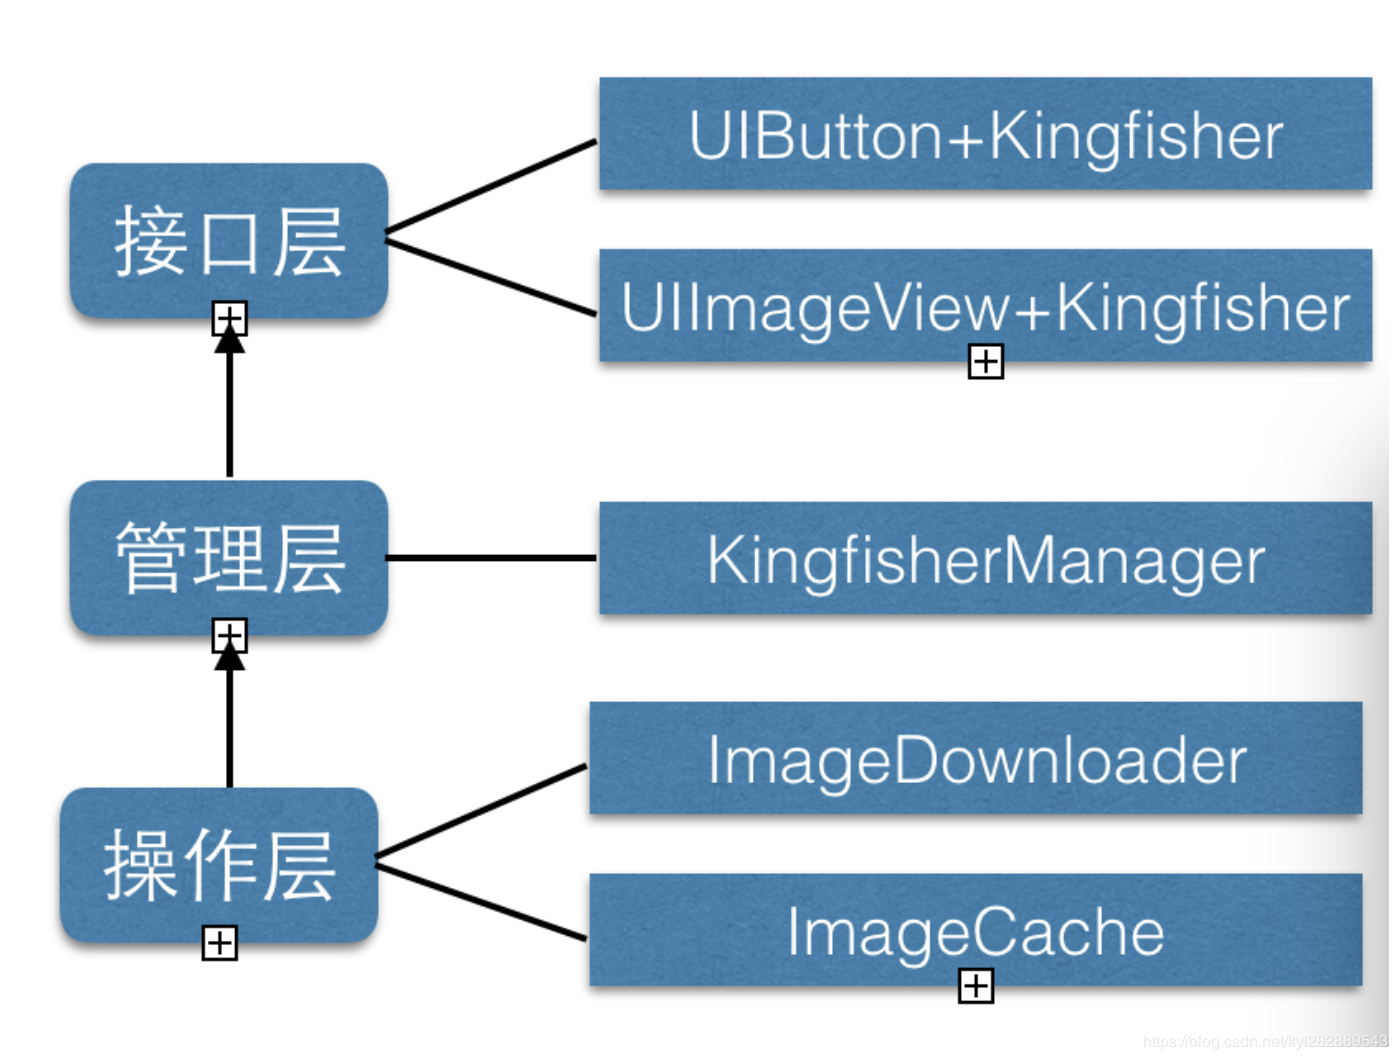
后续补充...
2.3 资源文件管理库
2.3.1 R.swift
- 源码下载:R.swift
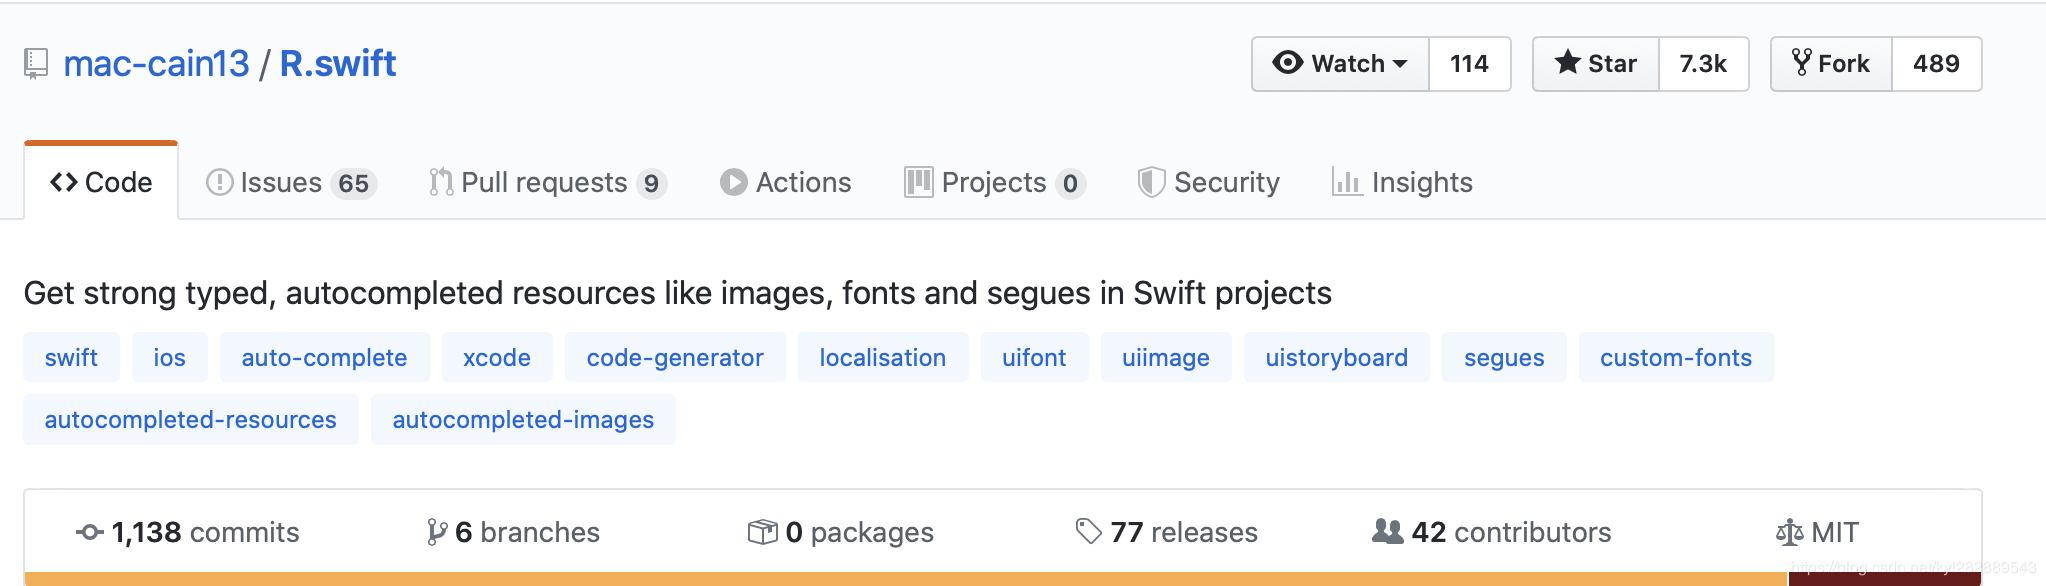
2.3.1.1 R.swift 简介
- R.swift 能帮助我们把项目里面的所有图标资源和本地化语言统一管理,你不在需要每次从资源文件里面去查找图标的名称,也不要去多语言文件里面去查找key了,直接能用函数的方式调用,而且还能有帮助提示。
R.swift 在Swift项目中获得强类型、自动完成的资源,如图像、字体和segue。
R.swift 使你的代码使用资源具有如下特性:
- 全类型,较少类型转换和猜测方法将返回什么
- 编译时检查,没有更多的不正确的字符串,使您的应用程序崩溃在运行时
- 自动完成,永远不必再猜图像的名字
例如,使用R.swift 之前你可能会这样写你的代码:
let icon = UIImage(named: "settings-icon")
let font = UIFont(name: "San Francisco", size: 42)
let color = UIColor(named: "indicator highlight")
let viewController = CustomViewController(nibName: "CustomView", bundle: nil)
let string = String(format: NSLocalizedString("welcome.withName", comment: ""), locale: NSLocale.current, "Arthur Dent")
使用R.swift 之后,你可以这样写代码:
let icon = R.image.settingsIcon()
let font = R.font.sanFrancisco(size: 42)
let color = R.color.indicatorHighlight()
let viewController = CustomViewController(nib: R.nib.customView)
let string = R.string.localizable.welcomeWithName("Arthur Dent")
这里有官方提供的Demo:Examples , 在realm中使用
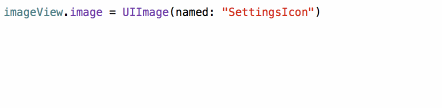
看看自动填充的效果多酷:
自动完成图片:

2.3.1.1.1 R.swift 特点:
安装R.swift 到您的项目后,您可以使用R-struct访问资源。如果结构是过时的,只是建立和R.swift 将纠正任何失踪/改变/增加的资源。
R.swift 目前支持这些类型的资源:
2.3.1.2 R.swift 使用
没有使用R.swift 这样访问图片
let settingsIcon = UIImage(named: "settings-icon")
let gradientBackground = UIImage(named: "gradient.jpg")
使用R.swift 后这样访问:
let settingsIcon = R.image.settingsIcon()
let gradientBackground = R.image.gradientJpg()
此外R.swift 还支持文件夹中分组的方式:
选择“提供名称空间”分组资产结果:

let image = R.image.menu.icons.first()
没有使用R.swift 这样访问:
let lightFontTitle = UIFont(name: "Acme-Light", size: 22)
使用R.swift 后这样访问:
let lightFontTitle = R.font.acmeLight(size: 22)
提示:系统字体也需要这个吗? 看一下UIFontComplete库,它有一个类似的解决方案,用于苹果公司发布的iOS字体。
没有使用R.swift 这样访问:
let jsonURL = Bundle.main.url(forResource: "seed-data", withExtension: "json")
let jsonPath = Bundle.main.path(forResource: "seed-data", ofType: "json")
使用R.swift 后这样访问:
let jsonURL = R.file.seedDataJson()
let jsonPath = R.file.seedDataJson.path()
没有使用R.swift 这样访问:
view.backgroundColor = UIColor(named: "primary background")
使用R.swift 后这样访问:
view.backgroundColor = R.color.primaryBackground()
没有使用R.swift 这样访问:
let welcomeMessage = NSLocalizedString("welcome.message", comment: "")
let settingsTitle = NSLocalizedString("title", tableName: "Settings", comment: "")

// Formatted strings
let welcomeName = String(format: NSLocalizedString("welcome.withName", comment: ""), locale: NSLocale.current, "Alice")

// Stringsdict files
let progress = String(format: NSLocalizedString("copy.progress", comment: ""), locale: NSLocale.current, 4, 23)
使用R.swift 后这样访问:
// Localized strings are grouped per table (.strings file)
let welcomeMessage = R.string.localizable.welcomeMessage()
let settingsTitle = R.string.settings.title()

// Functions with parameters are generated for format strings
let welcomeName = R.string.localizable.welcomeWithName("Alice")

// Functions with named argument labels are generated for stringsdict keys
let progress = R.string.localizable.copyProgress(completed: 4, total: 23)
没有使用R.swift 这样访问:
let storyboard = UIStoryboard(name: "Main", bundle: nil)
let initialTabBarController = storyboard.instantiateInitialViewController() as? UITabBarController
let settingsController = storyboard.instantiateViewController(withIdentifier: "settingsController") as? SettingsController
使用R.swift 后这样访问:
let storyboard = R.storyboard.main()
let initialTabBarController = R.storyboard.main.initialViewController()
let settingsController = R.storyboard.main.settingsController()
没有使用R.swift 这样访问:
// Trigger segue with:
performSegue(withIdentifier: "openSettings", sender: self)

// And then prepare it:
override func prepare(for segue: UIStoryboardSegue, sender: Any?) {
    if let settingsController = segue.destination as? SettingsController,
       let segue = segue as? CustomSettingsSegue, segue.identifier == "openSettings" {
      segue.animationType = .LockAnimation
      settingsController.lockSettings = true
    }
  }
使用R.swift 后这样访问:
// Trigger segue with:
performSegue(withIdentifier: R.segue.overviewController.openSettings, sender: self)

// And then prepare it:
override func prepare(for segue: UIStoryboardSegue, sender: Any?) {
  if let typedInfo = R.segue.overviewController.openSettings(segue: segue) {
    typedInfo.segue.animationType = .LockAnimation
    typedInfo.destinationViewController.lockSettings = true
  }
}
提示:看看SegueManager库,它使segues块为基础,并与r.s ft兼容。
没有使用R.swift 这样访问:
let nameOfNib = "CustomView"
let customViewNib = UINib(nibName: "CustomView", bundle: nil)
let rootViews = customViewNib.instantiate(withOwner: nil, options: nil)
let customView = rootViews[0] as? CustomView

let viewControllerWithNib = CustomViewController(nibName: "CustomView", bundle: nil)
使用R.swift 后这样访问:
let nameOfNib = R.nib.customView.name
let customViewNib = R.nib.customView()
let rootViews = R.nib.customView.instantiate(withOwner: nil)
let customView = R.nib.customView.firstView(owner: nil)

let viewControllerWithNib = CustomViewController(nib: R.nib.customView)
(1) 重用TableViewCell
没有使用R.swift 这样访问:
class FaqAnswerController: UITableViewController {
  override func viewDidLoad() {
    super.viewDidLoad()
    let textCellNib = UINib(nibName: "TextCell", bundle: nil)
    tableView.register(textCellNib, forCellReuseIdentifier: "TextCellIdentifier")
  }

  override func tableView(_ tableView: UITableView, cellForRowAt indexPath: IndexPath) -> UITableViewCell {
    let textCell = tableView.dequeueReusableCell(withIdentifier: "TextCellIdentifier", for: indexPath) as! TextCell
    textCell.mainLabel.text = "Hello World"
    return textCell
  }
}
使用R.swift 后这样访问:
在可重用单元格界面生成器“属性”检查面板上,将单元格“标识符”字段设置为要注册和退出队列的相同值。
class FaqAnswerController: UITableViewController {
  override func viewDidLoad() {
    super.viewDidLoad()
    tableView.register(R.nib.textCell)
  }

  override func tableView(_ tableView: UITableView, cellForRowAt indexPath: IndexPath) -> UITableViewCell {
    let textCell = tableView.dequeueReusableCell(withIdentifier: R.reuseIdentifier.textCell, for: indexPath)!
    textCell.mainLabel.text = "Hello World"
    return textCell
  }
}
(2) 重用CollectionViewCell
没有使用R.swift 这样访问:
class RecentsController: UICollectionViewController {
  override func viewDidLoad() {
    super.viewDidLoad()
    let talkCellNib = UINib(nibName: "TalkCell", bundle: nil)
    collectionView?.register(talkCellNib, forCellWithReuseIdentifier: "TalkCellIdentifier")
  }

  override func collectionView(_ collectionView: UICollectionView, cellForItemAt indexPath: IndexPath) -> UICollectionViewCell {
    let cell = collectionView.dequeueReusableCell(withReuseIdentifier: "TalkCellIdentifier", for: indexPath) as! TalkCell
    cell.configureCell("Item \(indexPath.item)")
    return cell
  }
}
使用R.swift 后这样访问:
在可重用单元格界面生成器“属性”检查面板上,将单元格“标识符”字段设置为要注册和退出队列的相同值。
class RecentsController: UICollectionViewController {
  override func viewDidLoad() {
    super.viewDidLoad()
    collectionView?.register(R.nib.talkCell)
  }

  override func collectionView(_ collectionView: UICollectionView, cellForItemAt indexPath: IndexPath) -> UICollectionViewCell {
    let cell = collectionView.dequeueReusableCell(withReuseIdentifier: R.reuseIdentifier.talkCell, for: indexPath)!
    cell.configureCell("Item \(indexPath.item)")
    return cell
  }
}
2.3.1.2 R.swift 安装
CocoaPods是推荐的安装方式,因为这样可以避免在项目中包含任何二进制文件。
注意:R.swift 是一个用于构建步骤的工具,它不是一个动态库。因此,它不可能安装Carthage。
CocoaPods(推荐) 安装步骤:
- 添加
pod 'R.swift'到您的Podfile和运行pod install- 在Xcode中:单击文件列表中的项目,在“目标”下选择目标,单击“构建阶段”选项卡,通过单击左上角的小加号图标添加新的运行脚本阶段
- 将新的运行脚本阶段拖动到编译源阶段之上,并在检查pod清单之下。锁定,展开并粘贴以下脚本:
"$PODS_ROOT/R.swift/rswift" generate "$SRCROOT/R.generated.swift"- 将
$TEMP_DIR/rswift-lastrun添加到“输入文件”中,将$SRCROOT/R.generated.swift添加到构建阶段的“输出文件”中- 建立你的项目,在Finder中你会看到一个
R.generated.swift在$SRCROOT文件夹中,拖动R.generated.swift文件到你的项目中,如果需要,取消勾选Copy项
2.3.2 SwiftLint
- 源码下载: SwiftLint
2.4 秘钥管理库
2.4.1 KeychainAccess
- 源码下载: KeychainAccess
2.5 自动布局库
2.5.1 SnapKit
- 源码下载: SnapKit
2.6 UI相关库
2.6.1 NVActivityIndicatorView
2.6.2 ImageSlidershow/Kingfisher
2.6.3 DZNEmptyDataSet
- 源码下载: DZNEmptyDataSet
2.6.4 Hero
- 源码下载:Hero
2.6.5 Localize-Swift
- 源码下载: Localize-Swift
2.6.6 RAMAnimatedTabBarController
2.6.7 AcknowList
- 源码下载: AcknowList
2.6.8 KafkaRefresh
- 源码下载:KafkaRefresh
2.6.9 WhatsNewKit
- 源码下载: WhatsNewKit
2.6.10 Highlightr
- 源码下载: Highlightr
2.6.11 DropDown
- 源码下载:DropDown
2.6.12 Toast-Swift
- 源码下载:Toast-Swift
2.6.13 HMSegmentedControl
- 源码下载: HMSegmentedControl
2.6.14 FloatingPanel
- 源码下载: FloatingPanel
2.6.15 MessageKit
- 源码下载: MessageKit
2.6.16 MultiProgressView
- 源码下载: MultiProgressView
2.6.17 IQKeyboardManagerSwift
2.7 日志管理库
2.7.1 CocoaLumberjack/Swift
2.8 数据埋点库
2.8.1 Umbrella
- 源码下载: Umbrella
2.8.2 Umbrella/Mixpanel
2.8.3 Umbrella/Firebase
2.8.4 Mixpanel
- 源码下载:Mixpanel
2.8.5 Firebace/Analytics
2.9 广告工具点库
2.9.1 Firebase/AdMob
2.9.2 Google-Mobile-Ads-SDK
2.10 性能优化相关库
2.10.1 Fabric
2.10.2 Crashlytics
2.11 其他工具类库
2.11.1 FLEX
- 源码下载: FLEX
2.11.2 SwifterSwift
- 源码下载: SwifterSwift
2.11.3 BonMot
- 源码下载:BonMot
2.11.4 DateToolsSwift
- 源码下载:DateToolsSwift
2.11.5 SwiftDate
- 源码下载: SwiftDate
