

什么是项目化
一个大型 App 是由多个业务线组成的
案例
比如以微信举例:
- 通讯
- 发现
- 朋友圈
- 我
- 钱包
- 表情商店
假设朋友圈、支付、钱包是由 H5 业务组负责,并且分别出来 3 个项目,这三个业务线会有独立的研发闭环:
- 产品需求宣讲(这里省略产品需求各项环节)
- 研发排期
- 研发
- 测试
- 修复 bug
- 部署上线
这三个业务线因为需求和团队结构不一样,研发进度也会不一样,因此,将成立 3 个技术项目,也可以理解为 建立三份项目代码,分别管理
那么这里所讲的项目化,就是分别管理三个业务线的代码,会分别建立开发环境,管理项目的代码,这样
也有很多益处,和我们接下来将的离线包技术也关系密切,三个项目会分成三个离线包进行版本管理和更新
实践项目化
我们这里将使用一个多功能的工具 App 来实践,下面是 App 内容简述
业务线划分
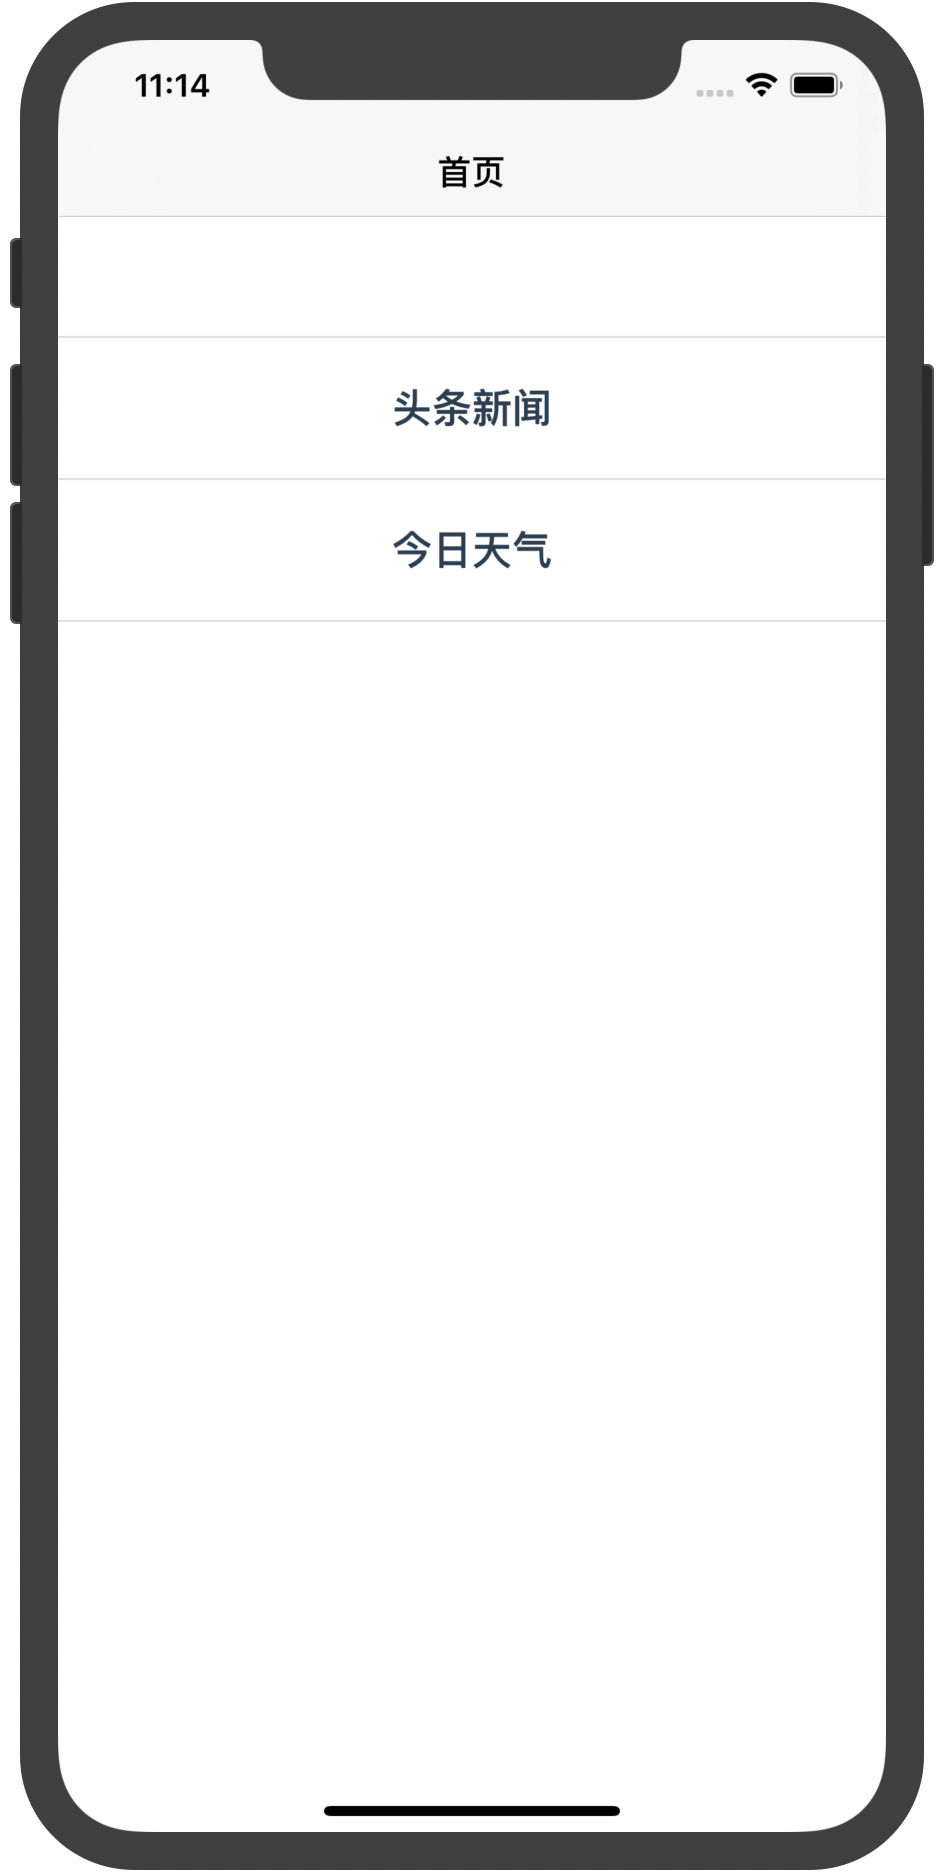
首页
首页是个列表,展示 App 能提供的功能,点击可进入不同的业务功能
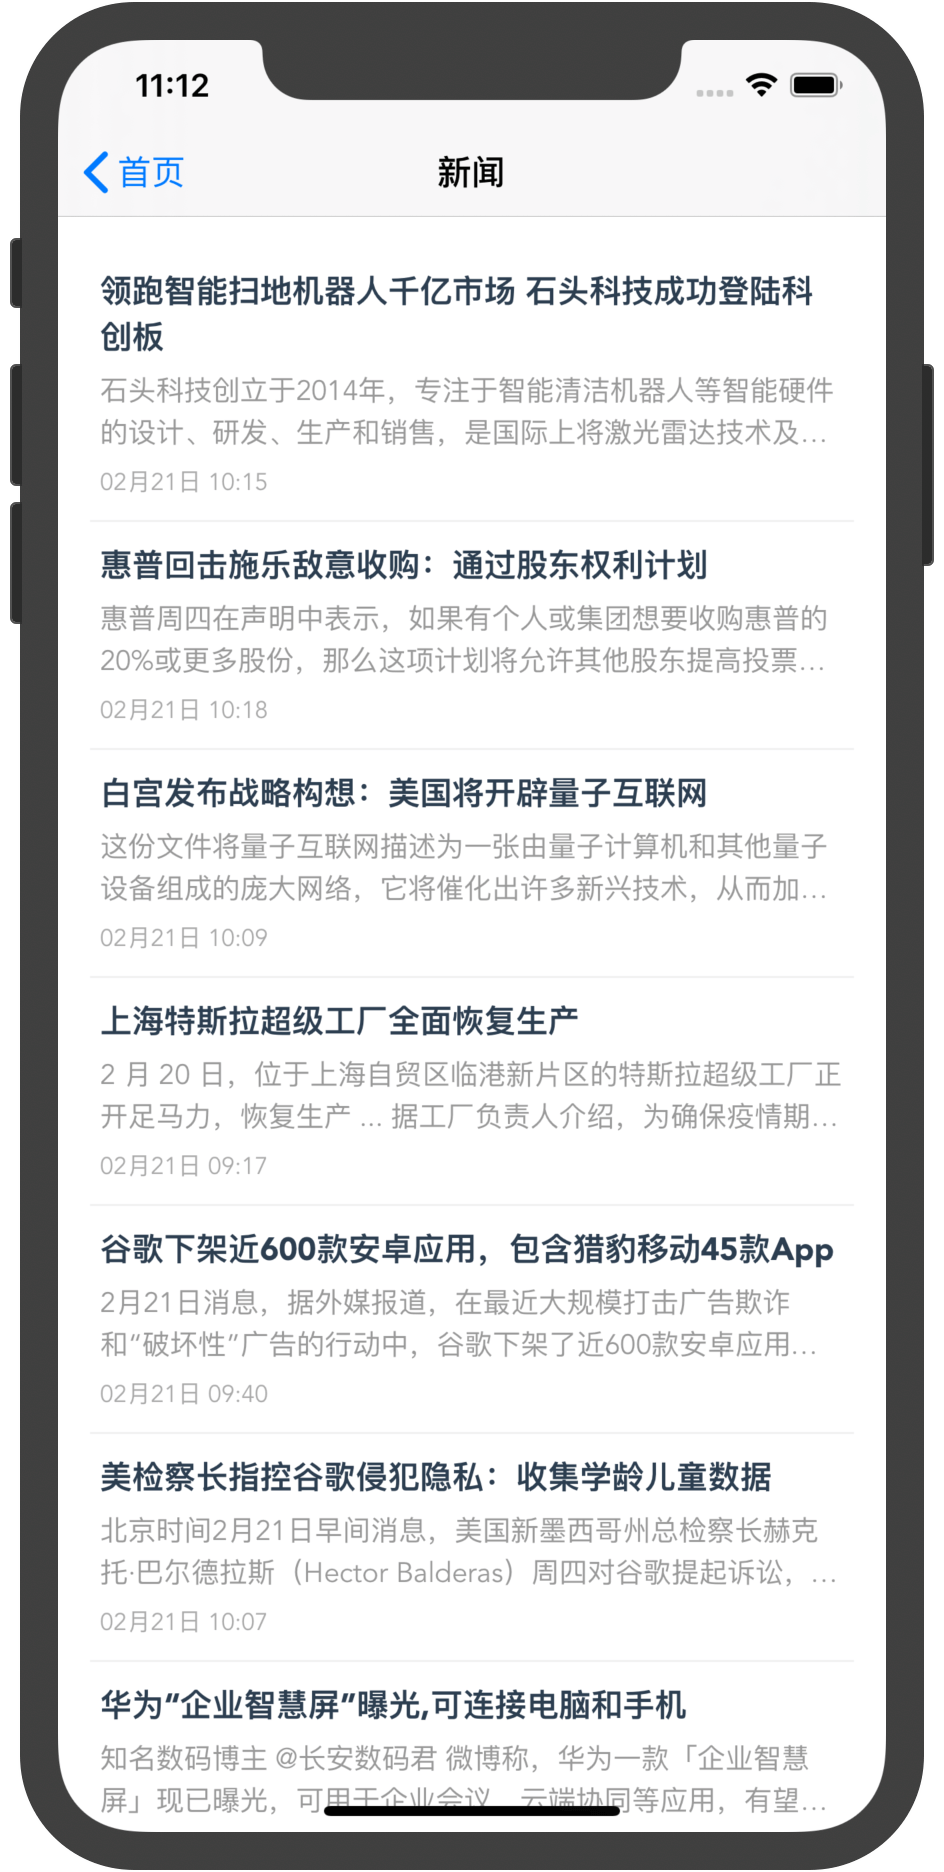
新闻头条
新闻业务是提供当前最新的新闻资讯
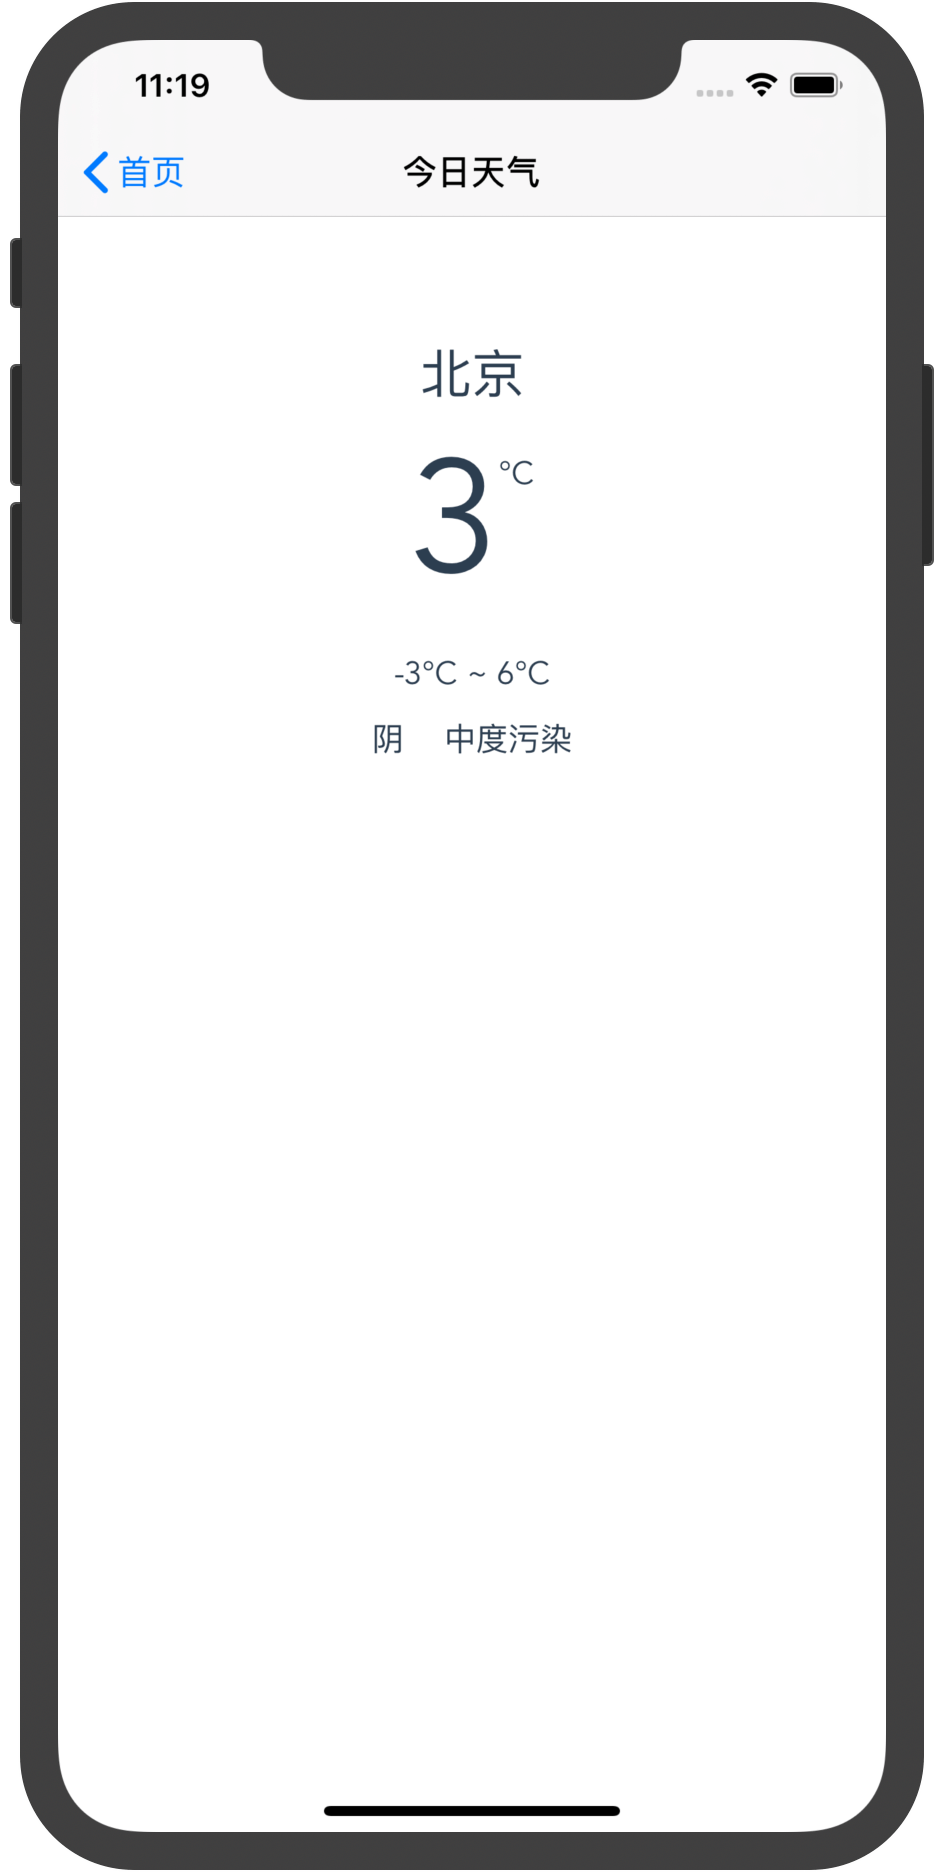
今日天气
提供今天的天气查看
调整前端目录结构
web/
  common/             // 通用代码
    jsbridge.js     // 原来的jsbridge.js
使用 @vue/cli 创建项目
下面将使用vue和@vue/cli创建项目,如果对 vue 不熟悉,考虑一下阅读参考:
全局安装 @vue/cli
npm install -g @vue/cli
cd path/to/web
vue create home
vue create news
vue create weather
完成后目录结构:
web/
  common/             // 通用代码
    jsbridge.js     // 原来的jsbridge.js
  home/
  news/
  weather/
这里为了方便,所有源码都放到了 web 目录下,实际开发是会有多个 git 库,每个目录会有一个 git 库
开发配置修改
我们需要修改一下 vue 项目中的开发配置以方便进行多项目开发,在每个项目里增加vue.config.js:
- host 修改为 0.0.0.0
- 每个项目指定不同的 port
module.exports = {
  devServer: {
    host: '0.0.0.0',
    // 以下分别在不同项目中修改
    port: 8081,  // home
    port: 8082,  // news
    port: 8083,  // weahter
  }
}
这样使得项目启动的port是稳定的,方便开发时编写固定的跳转 url
调整 common/jsbridge.js 的代码
- 增加忽略eslint
- 增加module.exports导出
- 最后返回JSBridge
/* eslint-disable */

module.exports = (function() {
  ...

  // 最后一行
  return JSBridge
})()
增加 common/package.json
这是为了避免启动开发服务器出错,内容如下:
{
  "eslintConfig": {
    "root": true,
    "env": {
      "node": true
    },
    "extends": [
      "plugin:vue/essential",
      "eslint:recommended"
    ],
    "parserOptions": {
      "parser": "babel-eslint"
    },
    "rules": {}
  }
}
项目都初始化后的结果参考:源码
项目“首页”开发
App.vue
<template>
  <div id="app">
    <div class="item news" @click="onClickNews">头条新闻</div>
    <div class="item weather" @click="onClickWeather">今日天气</div>
  </div>
</template>

<script>
import JSBridge from '../../common/jsbridge'

export default {
  name: 'App',
  components: {
  },
  methods: {
    onClickNews() {
      JSBridge.Navigation.push({
        url: 'http://192.168.31.101:8082'
      })
    },
    onClickWeather() {
      JSBridge.Navigation.push({
        url: 'http://192.168.31.101:8083'
      })
    },
  }
}
</script>

<style>
body {
  margin: 0;
  padding: 0;
}

#app {
  font-family: 'Avenir', Helvetica, Arial, sans-serif;
  -webkit-font-smoothing: antialiased;
  -moz-osx-font-smoothing: grayscale;
  text-align: center;
  color: #2c3e50;
  margin-top: 60px;
}

.item {
  font-size: 20px;
  font-weight: bold;
  border-top: 1px solid #ddd;
  padding: 20px;
}
.item:last-child {
  border-bottom: 1px solid #ddd;
}
</style>
注意:
JSBridgeNavigation.push 传递的是 url 参数,而不是 page 参数, 因此我们修改一下 jsbridge.js 兼容这种情况.
function resolveNavParams(params) {
  params = JSON.parse(JSON.stringify(params));

  // 如果有url参数,不用分析和拼接
  if (!params.url) {
    let path = location.pathname;
    if (!path) {
      params.url = location.protocol + "//" + location.host + "/" + params.page;
    } else {
      params.url =
        location.protocol +
        "//" +
        location.host +
        path.substr(0, path.lastIndexOf("/") + 1) +
        params.page;
    }
  }
  return params;
}
运行开发服务器
npm run serve
// 运行后
App running at:
- Local:   http://localhost:8081/
- Network: http://192.168.31.101:8081/
iOS 代码修改
ViewController.swift
class ViewController : WebViewController {

    override func getLoadUrl() -> String {
        return "http://192.168.31.101:8081" // 改为home的开发url
    }
}
运行结果
关于顶部导航显示了 html title 标签的内容
首先是 home/public/index.html 修改 title 为 "首页"
其次,小修改 WebViewController 的代码
override func viewDidLoad() {
    ...
    webView.uiDelegate = self
    webView.navigationDelegate = self // 加一行
    ...
}

// 实现这个delegate方法
func webView(_ webView: WKWebView, didFinish navigation: WKNavigation!) {
    self.title = webView.title
}
接下来开发跳转的页面
项目“头条新闻”开发
头条新闻 项目目前实现两个页面即可:
- 新闻列表页:index.html
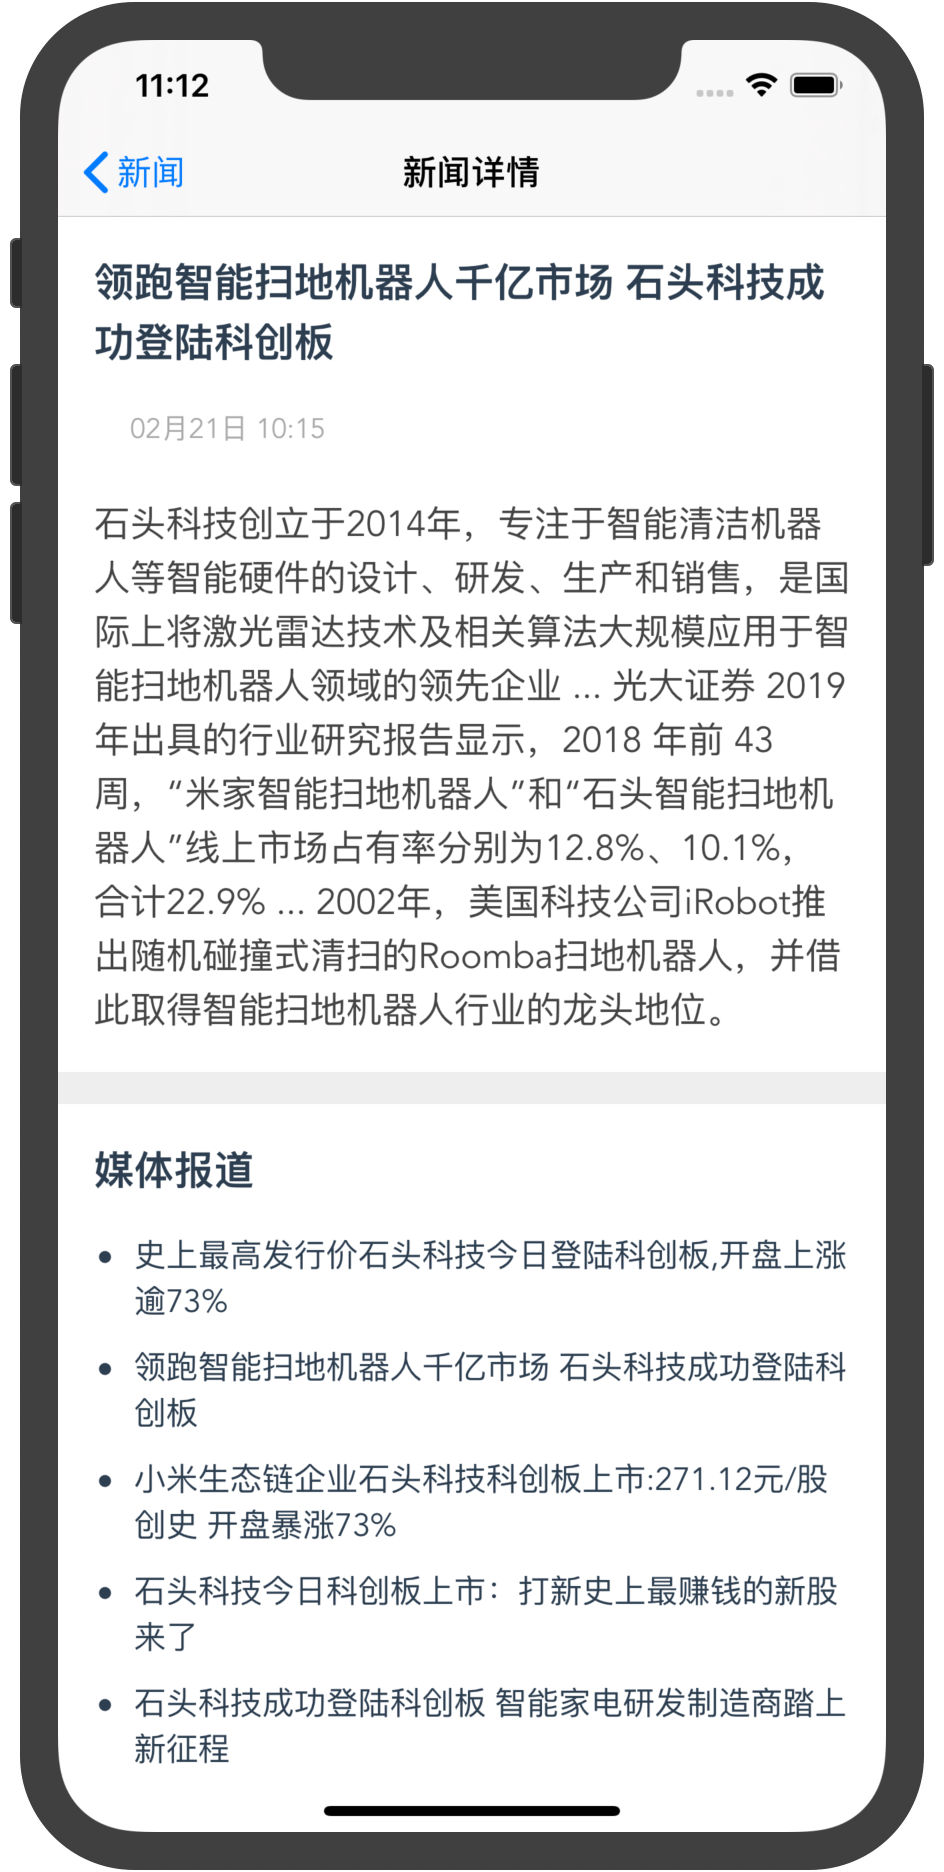
- 新闻详情页:detail.html
配置多页面项目
vue.config.js:
module.exports = {
  devServer: {
    host: '0.0.0.0',
    port: 8082,
  },

  // 这里配置了两个页面
  pages: {
    index: {
      entry: 'src/index/index.js',
      template: 'public/index.html',
      filename: 'index.html',
      title: '新闻',
      chunks: ['chunk-vendors', 'chunk-common', 'index']
    },
    detail: {
      entry: 'src/detail/detail.js',
      template: 'public/index.html',
      filename: 'detail.html',
      title: '新闻详情',
      chunks: ['chunk-vendors', 'chunk-common', 'detail']
    }
  }
}
项目结构:
public/
  favicon.ico
  index.html
src/
  detail/
    detail.js
    Detail.vue
  index/
    index.js
    Index.vue
  news.json
...
新闻列表页
index.js
import Vue from 'vue'
import Index from './Index.vue'

Vue.config.productionTip = false

new Vue({
  render: h => h(Index),
}).$mount('#app')
Index.vue
<template>
  <div id="app">
    <div v-for="item in news" :key="item.id" class="news-item" @click="onClickNewsItem(item)">
      <div class="title">{{ item.title }}</div>
      <div class="summary">{{ item.summary }}</div>
      <div class="info">
        <div class="time">{{ formatTime(item.updatedAt) }}</div>
      </div>
    </div>
  </div>
</template>

<script>
import JSBridge from '../../../common/jsbridge'
import news from '../news.json'
import dayjs from 'dayjs'

export default {
  name: 'App',
  components: {
  },
  data() {
    return {
      news: [],
    }
  },
  created() {
    // 真实情况这里是通过ajax请求获取
    this.news = news.data
  },
  methods: {
    formatTime(time) {
      return dayjs(time).format('MM月DD日 HH:mm')
    },
    onClickNewsItem() {
      JSBridge.Navigation.push({
        page: 'detail.html'
      })
    }
  }
}
</script>

<style>
#app {
  font-family: 'Avenir', Helvetica, Arial, sans-serif;
  -webkit-font-smoothing: antialiased;
  -moz-osx-font-smoothing: grayscale;
  text-align: center;
  color: #2c3e50;
}

.title {
  font-weight: bold;
  font-size: 16px;
  text-align: left;
  color: #2c3e50;
}

.news-item {
  padding: 5px;
  border-bottom: 1px solid #f1f1f1;
  margin-top: 5px;
}

.summary {
  margin-top: 5px;
  color: #999;
  font-size: 14px;
  text-align: left;
  text-overflow: -o-ellipsis-lastline;
  overflow: hidden;
  text-overflow: ellipsis;
  display: -webkit-box;
  -webkit-line-clamp: 2;
  line-clamp: 2;
  -webkit-box-orient: vertical;
}

.info {
  padding: 5px 0px;
}

.info .time {
  text-align: left;
  font-size: 12px;
  color: #aaa;
}
</style>
新闻详情页
detail.js
import Vue from 'vue'
import Detail from './Detail.vue'

Vue.config.productionTip = false

new Vue({
  render: h => h(Detail),
}).$mount('#app')
Detail.vue
<template>
  <div id="app">
    <div class="info">
      <div class="title">{{ news.title }}</div>
      <div class="info">
        <div class="time">{{ formatTime(news.updatedAt) }}</div>
      </div>
      <div class="summary">{{ news.summary }}</div>
    </div>
    <div class="media">
      <h2>媒体报道</h2>
      <ol class="source">
        <li v-for="item in news.newsArray" :key="item.id" class="source-item">
          <div>{{item.title}}</div>
        </li>
      </ol>
    </div>
  </div>
</template>

<script>
import dayjs from 'dayjs'
import news from '../news.json'

export default {
  name: 'App',
  components: {
  },
  data() {
    return {
      news: {},
    }
  },
  created() {
    this.news = news.data[0]
  },
  methods: {
    formatTime(time) {
      return dayjs(time).format('MM月DD日 HH:mm')
    }
  }
}
</script>

<style>
body {
  padding: 0;
  margin: 0;
}

#app {
  font-family: 'Avenir', Helvetica, Arial, sans-serif;
  -webkit-font-smoothing: antialiased;
  -moz-osx-font-smoothing: grayscale;
  text-align: center;
  color: #2c3e50;
  background: #eee;
  padding-bottom: 20px;
}

.info {
  padding: 18px;
  background-color: white;
}

.info .title {
  font-weight: bold;
  font-size: 20px;
  text-align: left;
  color: #2c3e50;
}

.info .summary {
  margin-top: 5px;
  color: #444;
  font-size: 18px;
  text-align: left;
}

.info .time {
  text-align: left;
  font-size: 14px;
  color: #aaa;
}

.media {
  margin-top: 16px;
  padding: 18px;
  background-color: white;
}

.media h2 {
  font-size: 20px;
  text-align: left;
  padding: 0;
  margin: 0;
}

.source {
  padding-left: 20px;
}

.source .source-item {
  text-align: left;
  margin-bottom: 10px;
  list-style-type: disc;
}

</style>
数据文件
运行效果
从列表页跳转到详情
项目“今日天气”开发
App.vue
<template>
  <div id="app">
    <div class="weather">
      <div class="city">{{ weather.city }}</div>
      <div class="temperature"><span class="num">{{ weather.temperature }}</span><span class="unit">°C</span></div>
      <div class="range">
        <span>{{ weather.range }}</span>
      </div>
      <div><span class="sky">{{ weather.sky }}</span><span class="air">{{ weather.air }}</span></div>
    </div>
  </div>
</template>

<script>

export default {
  name: 'App',
  components: {
  },
  data() {
    return {
      weather: {
        city: '北京',
        temperature: 3,
        range: '-3°C ~ 6°C',
        sky: '阴',
        air: '中度污染'
      }
    }
  }
}
</script>

<style>
#app {
  font-family: 'Avenir', Helvetica, Arial, sans-serif;
  -webkit-font-smoothing: antialiased;
  -moz-osx-font-smoothing: grayscale;
  text-align: center;
  color: #2c3e50;
  margin-top: 60px;
}

.weather .city {
  font-size: 26px;
}
.temperature {
  vertical-align: top;
}
.temperature .num {
  font-size: 80px;
}
.temperature .unit {
  display: inline-block;
  padding-top: 20px;
  vertical-align: top;
}
.range {
  padding: 10px;
}
.sky {
  margin-right: 10px;
}
.air {
  margin-left: 10px;
}

</style>
运行结果
页面之间参数传递
前面我们开发新闻页时,从列表页跳转到详情页时,详情页只是显示了 news.json 中的第一个内容,
而实际情况我们应该从列表页传递一个新闻id到详情页,再去获取具体的内容,接下来我们完成
这个参数传递的过程
参数传递
列表页点击一个新闻时,给 Native 传递参数
onClickNewsItem(item) {
  JSBridge.Navigation.push({
    page: 'detail.html',
    params: {
        id: item.id
    }
  })
}
iOS Native
WebViewController 增加 params 成员变量
class WebViewController ... {

    var webView: WKWebView!
    var url: String? = nil

    // 增加一个接收参数
    var params: [String:Any?] = [:]

...
Navigation.push 和 Navigation.open
private func open(callbackId: String, arg: [String : Any?]) {
    guard let vc = self.viewController else { return }
    guard let url = arg["url"] as? String else { return }
    let newVC = WebViewController()
    newVC.url = url
    // 判断是否传递了params
    if let params = arg["params"] as? [String:Any?] {
        newVC.params = params
    }
    vc.present(newVC, animated: true, completion: nil)
}

private func push(callbackId: String, arg: [String : Any?]) {
    guard let vc = self.viewController else { return }
    guard let navVC = vc.navigationController else { return }
    guard let url = arg["url"] as? String else { return }
    let newVC = WebViewController()
    newVC.url = url
    // 判断是否传递了params
    if let params = arg["params"] as? [String:Any?] {
        newVC.params = params
    }
    navVC.pushViewController(newVC, animated: true)
}
新增 Navigation.getParams
override func callFunc(_ funcName: String, callbackId: String, arg: [String : Any?]) {
    switch funcName {
    ...
    case "getParams": getParams(callbackId: callbackId, arg: arg)
    ...
    }
}

private func getParams(callbackId: String, arg: [String: Any?]) {
    guard let vc = self.viewController else { return }
    callback(callbackId: callbackId, json: vc.params)
}
Android Native
Android相对简单一些
JSBridgeNavigation
class JSBridgeNavigation(val activity: WebActivity, webView: WebView) : BridgeModuleBase(webView) {

    override fun callFunc(func: String, callbackId: String, arg: JSONObject) {
        when (func) {
            ...
            "getParams" -> getParams(callbackId, arg)
        }
    }

    private fun open(callbackId: String, arg: JSONObject) {
        val intent = Intent(activity, WebActivity::class.java)
        intent.putExtra("url", arg.getString("url"))

        // 判断是否传递了params
        if (arg.has("params")) {
            val params = arg.get("params") as JSONObject?
            params?.let {
                intent.putExtra("params", it.toString())
            }
        }
        activity.startActivity(intent)
    }

    private fun close(callbackId: String, arg: JSONObject) {
        activity.finish()
    }

    //  新增getParams
    private fun getParams(callbackId: String, arg: JSONObject) {
        val paramsStr = activity.intent.getStringExtra("params")
        if (paramsStr == null) {
            callback(callbackId, JSONObject())
            return
        }
        paramsStr?.let {
            val params = JSONObject(it)
            callback(callbackId, params)
        }
    }

}
JSBridge 增加 getParams
JSBridge.Navigation.getParams = function(callback) {
  callNative("Navigation.getParams", {}, callback);
};
新闻详情页
import JSBridge from '../../../common/jsbridge'
import dayjs from 'dayjs'
import news from '../news.json'

export default {
  name: 'App',
  components: {
  },
  data() {
    return {
      news: {},
    }
  },
  created() {
    // 获取与id对应的新闻内容,实际项目是从服务端ajax查询
    JSBridge.Navigation.getParams((params) => {
      this.news = news.data.find(item => item.id === params.id)
    })
  },
  methods: {
    formatTime(time) {
      return dayjs(time).format('MM月DD日 HH:mm')
    }
  }
}
运行后,成功传递了id参数,新闻详情是和点击对应的内容
