

前言
通用性的提升,往往伴随着个性化的减弱。Vue Cli 的开箱即用,简单到几乎看不到配置,但对于想要去“把玩” webpack 的开发者来说无疑很不友好。虽然你可以通过 vue.config.js 来调整 webpack 配置,但这种“玩法”中存在黑箱。
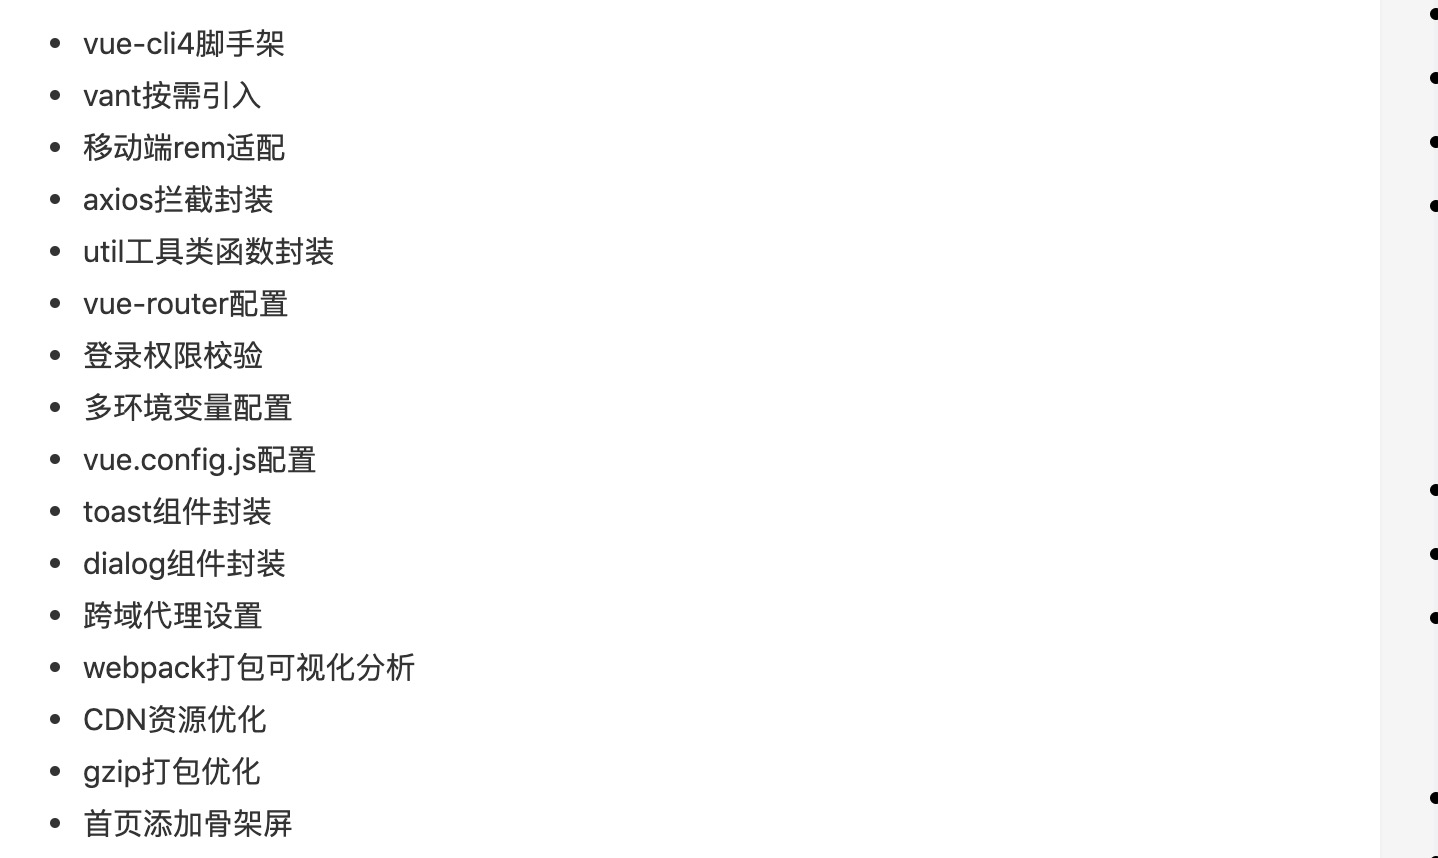
这里说的“玩法”是指的是比如对 webpack loader 的探究、babel plugin 的探究、eslint plugin 的探究、一个项目中同时运行 Vue 和 React 的探究,乃至对于跨端框架用 AST 编译的探究等等。由于 github 上存在很多“烂大街”的脚手架,比如这种:
基本骨架:Webpack@4.43.0、babel-loader@7.1.5、postcss-loader@3.0.0
业务技术栈:、Vue@2.6.11(可以切换为React)
初始化
先新建一个文件 pure-vue:
mkdir pure-vue && cd pure-vue
然后初始化 package.json,(一路回车即可):
npm init
然后我们在项目中创建几个文件夹:
mkdir src build dist
src 存放业务代码,build 存放打包配置、dist 存放打包后的文件。 然后在 src 下创建入口
touch ./src/index.js
根目录下创建入口 index.html:
<!DOCTYPE html>
<html lang="en">
<head>
    <meta charset="UTF-8">
    <meta name="viewport" content="width=device-width, initial-scale=1.0">
    <title>Document</title>
</head>
<body>
    <div id="app"></div>
</body>
</html>
后面 js 会在打包时将静态资源 bundles 文件插入html中,打包后打入 dist 文件中。
一、项目工程配置 webpack 4.x
1、build 中配置各环境下 webpack 配置
在 build 文件夹下创建以下文件,终端输入:
cd build/ && touch build.js webpack.base.conf.js webpack.dev.conf.js webpack.prod.conf.js
我们将获得以下文件:
.
├── build.js
├── webpack.base.conf.js
├── webpack.dev.conf.js
└── webpack.prod.conf.js
安装 webpack 4.x 相关第三方包:
npm install webpack-merge clean-webpack-plugin webpack-dev-server html-webpack-plugin -D
其中:
- webpack-merge 用于合并webpack配置
- clean-webpack-plugin用于移除所有 webpack 中
output.path directory目录中的文件 - webpack-dev-server用于开发环境下文件的实时更新
- html-webpack-plugin用于生成html
2、公共配置 webpack.base.conf.js
webpack.base.conf.js 是用于项目中开发环境和生成环境 共用 的 webpack 配置,里面包含了最基本的配置内容:
const path = require('path');
const HtmlWebpackPlugin = require('html-webpack-plugin');

module.exports = {
 entry: {
   bundle: path.resolve(__dirname, '../src/index.js')
 },
 output: {
   path: path.resolve(__dirname, '../dist'),
   filename: '[name].[hash].js'
 },
 module: {
   rules: [

   ]
 },
 plugins: [
   new HtmlWebpackPlugin({
     template: path.resolve(__dirname, '../index.html')
   })
 ]
};
以上配置仅仅包含了打包入口、打包出口、html 模板。
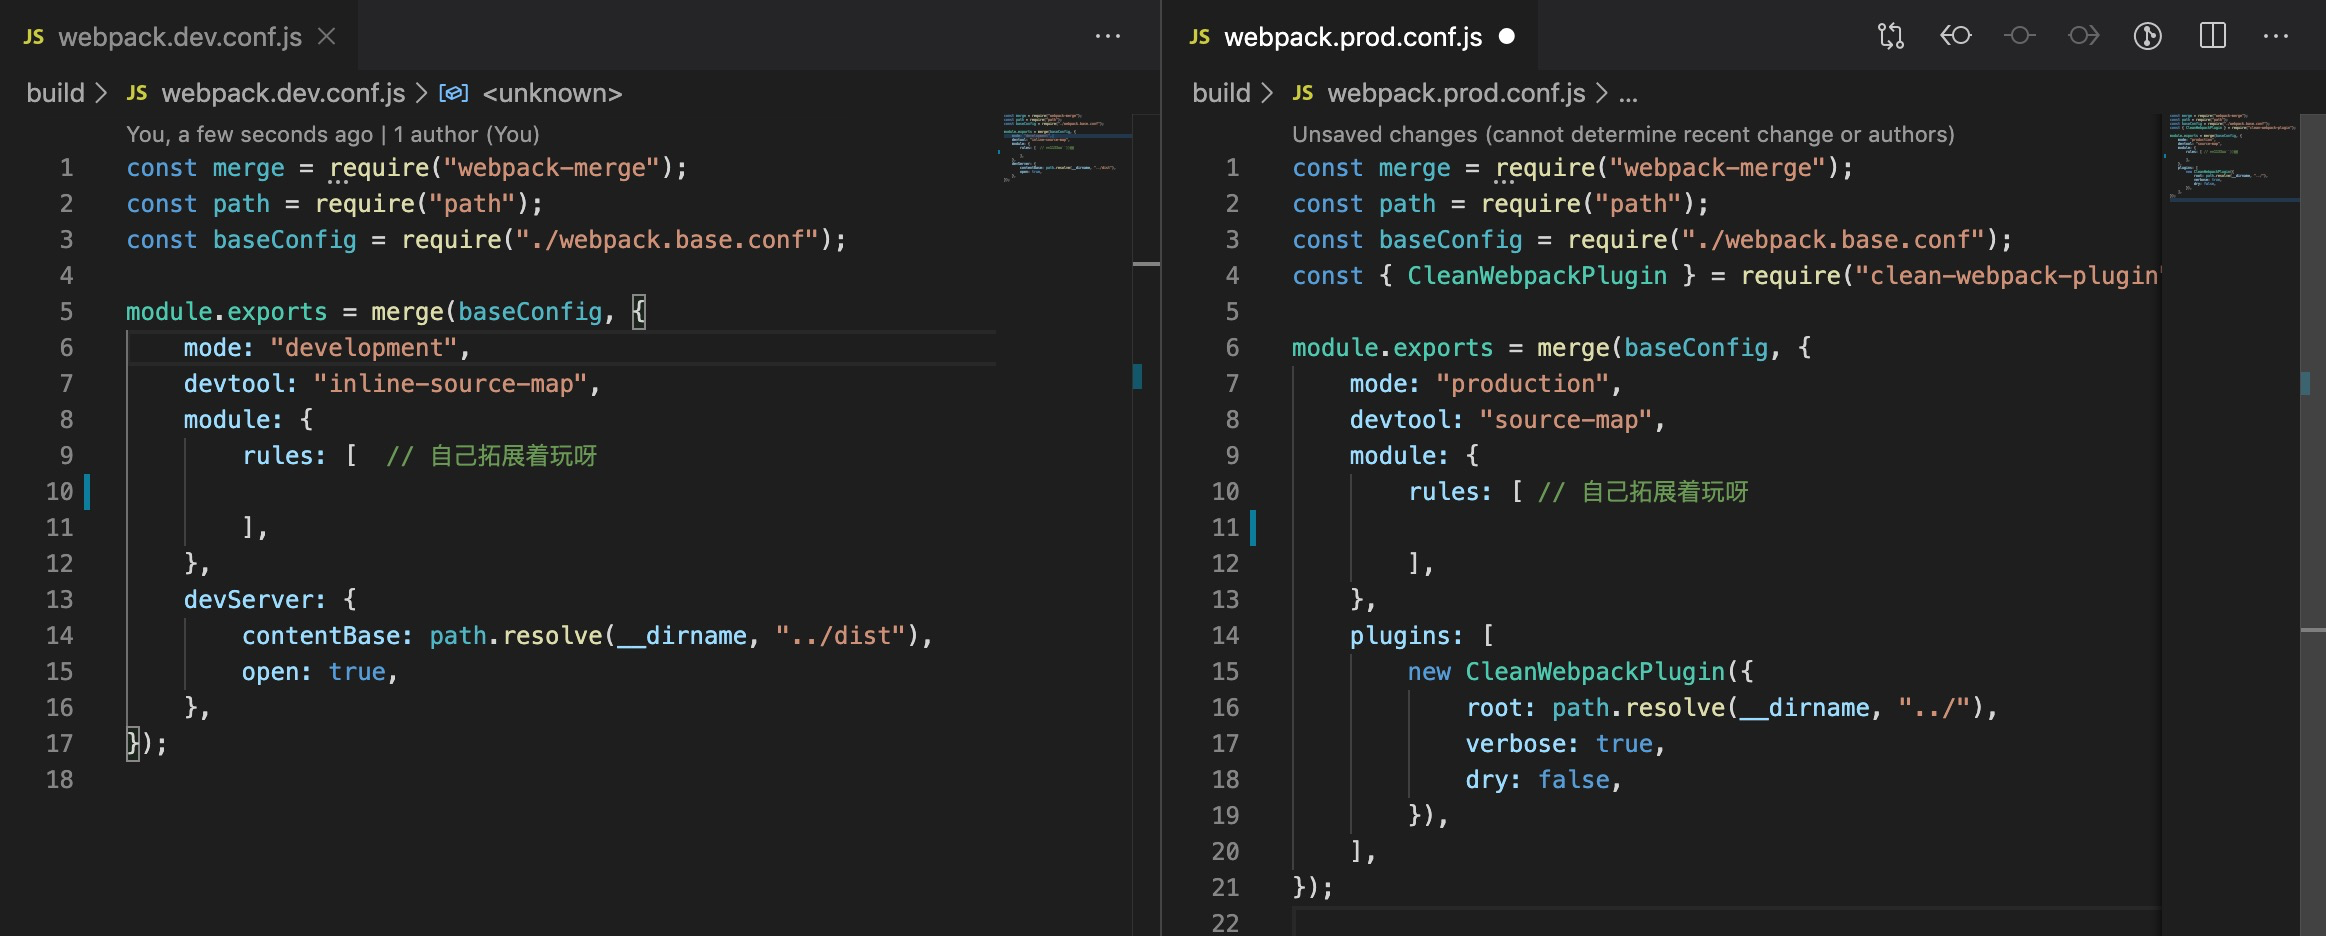
3、开发环境下 webpack.dev.conf.js
const merge = require("webpack-merge");
const path = require("path");
const baseConfig = require("./webpack.base.conf");

module.exports = merge(baseConfig, {
   mode: "development",
   devtool: "inline-source-map",
   module: {
   	rules: [ // 自己拓展着玩呀

   	],
   },
   devServer: {
   	contentBase: path.resolve(__dirname, "../dist"),
   	open: true,
   },
});
以上配置包含开发环境的 mode、是否生成 source-map等。
4、生产环境下 webpack.dev.conf.js
const merge = require("webpack-merge");
const path = require("path");
const baseConfig = require("./webpack.base.conf");
const { CleanWebpackPlugin } = require("clean-webpack-plugin");

module.exports = merge(baseConfig, {
   mode: "production",
   devtool: "source-map",
   module: {
   	rules: [ // 自己拓展着玩呀

   	],
   },
   plugins: [
   	new CleanWebpackPlugin({
   		root: path.resolve(__dirname, "../"),
   		verbose: true,
   		dry: false,
   	}),
   ],
});
以上配置包含开发环境的 mode、是否生成 source-map等、打包前需要清理的打包文件夹等。
5、生产环境下 build.js
const webpack = require('webpack');
const config = require('./webpack.prod.conf');

webpack(config, (err, stats) => {
if (err || stats.hasErrors()) {
  console.error(err); // 错误打印
  return;
}
});
以上配置仅用于生成环境下的错误打印。
6、配置执行命令
  "scripts": {
   "dev": "webpack-dev-server --inline --progress --config build/webpack.dev.conf.js",
   "build": "node build/build.js"
 },
7、测试以上配置
为了配置以上测试的有效性,我们可以在业务目录 src/idnex.js 中写如代码:
const a = 1;
console.log(a);
然后执行:
npm run dev
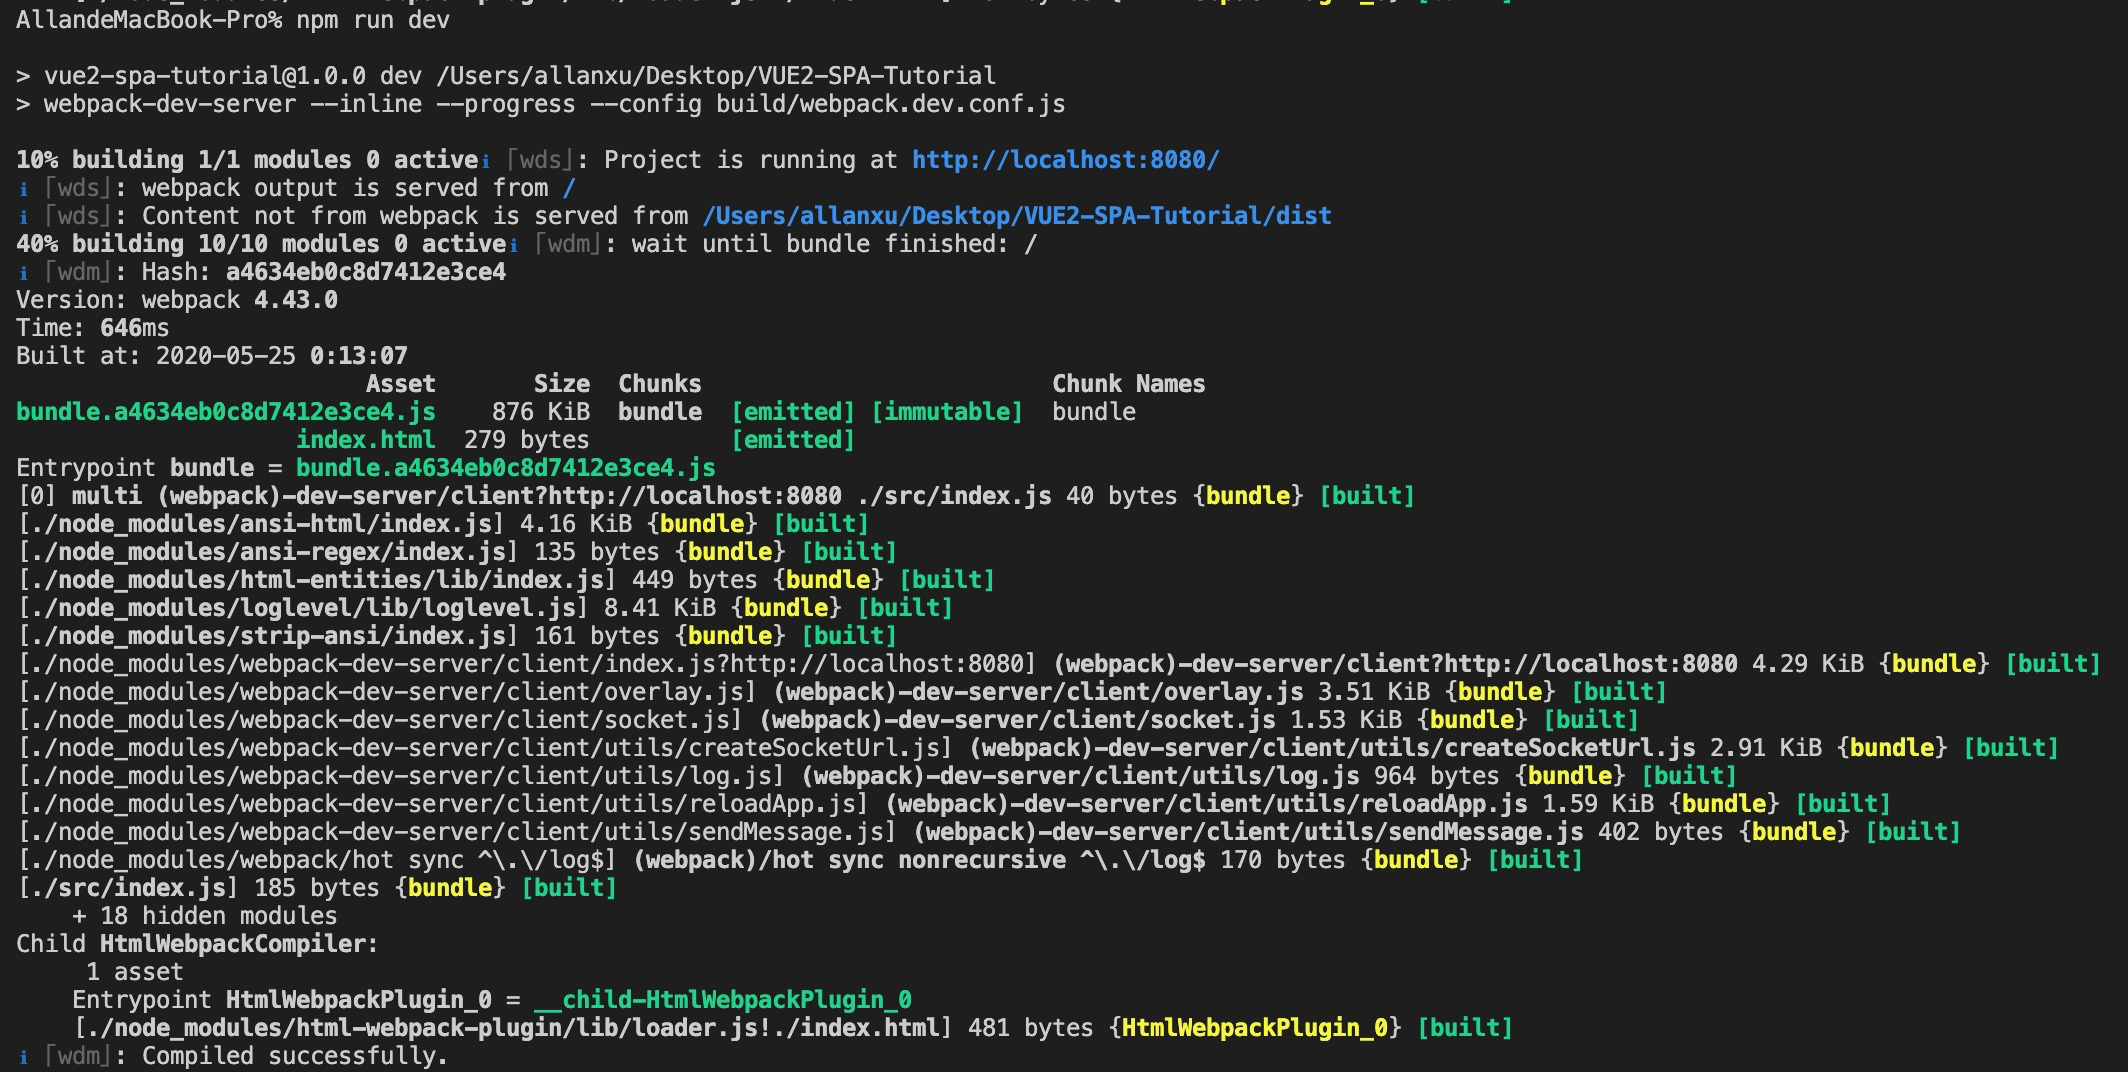
这就表示你的脚手架基本工作已经完成,在此基础上,你可以选择用 Vue 或 React,对应只需要安装不同的 loader 就行。(本文我们以 vue 为示例)
二、业务工程配置 Vue@2.x
1、配置 js、vue
安装 vue 相关 npm 包:
npm i vue -S
业务工程目录是 src,我们在业务工程中写入 vue 入口配置:
./src/index.js
// 项目启动
import Vue from "vue";
import App from "./App";

new Vue({
    render: (h) => h(App),
}).$mount("#app"); // 渲染挂载
然后在 ./src/App.vue 写入一个最简单的 Hello world:
<template>
    <div>
        Hello {{msg}}!
    </div>
</template>
<script>
    export default{
        data: () => ({
            msg: 'Vue',
        })
    }
</script>
此时终端会出现:
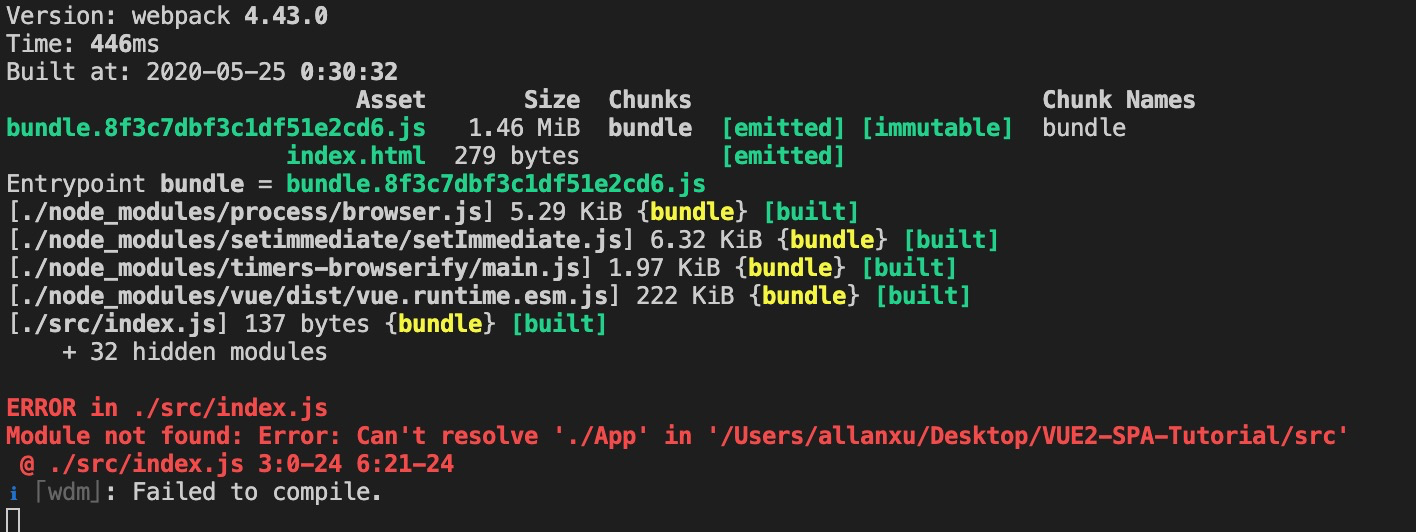
细心的同学可能会观察到,这是由于我们之前配置的 webpack 配置中没有加入任何 loader,所以我们需要对这个 vue 的工程配置 vue 专用的 loader。不然无法正常解析它的语法。
npm install vue-loader vue-template-compiler -D
还需要将代码中可能出现的ES6语法转为ES5,所以还需要安装 babel:
npm install babel-loader babel-core babel-preset-env -D
根目录新建文件 .babelrc,配置:
{
  "presets": [
    ["env", {
      "modules": false,
      "targets": {
        "browsers": ["> 1%", "last 2 versions", "not ie <= 8"]
      }
    }]
  ]
}
上述代码用于告诉babel我需要你帮我转为需要兼容哪些环境所对应的代码。
webpack.base.conf.js 中配置:
  resolve: {
    extensions: ['*', '.js', '.json', '.vue'],
  },
  module: {
    rules: [
	{
    	  test: /\.vue$/,
    	  loader: 'vue-loader'
	},
	{
	  test: /\.js$/,
	  use: 'babel-loader',
	  exclude: /node_modules/
	},
    ]
  },
在 webpack.base.conf.js 中配置
const VueLoaderPlugin = require('vue-loader/lib/plugin');

  plugins: [
    new HtmlWebpackPlugin({
      template: path.resolve(__dirname, '../index.html')
    }),
+    new VueLoaderPlugin(),
  ]
此时,浏览器将显示:

2、配置 css
此时我们需要将文字添加样式,同样的,我们需要去设置对应的 loader:
npm install postcss-loader autoprefixer -D
在 webpack.base.conf.js 中配置:
{
  test: /\.css$/,
  use: ['vue-style-loader', 'css-loader']
}
在根目录新建 postcss.config.js,自动添加前缀:
module.exports = {
    plugins: [
      require('autoprefixer')
    ]
}
至此,我们完成了这个最为“纯净”vue的脚手架,其他东西我们可以根据自己需要去“添砖加瓦”!
结语
为什么说它干净?
1、没有多余的第三方 npm 包,每个包的作用你都一清二楚(package.json),缺一不可:
  "dependencies": {
    "vue": "^2.6.11" // vue
  },
  "devDependencies": {
    "autoprefixer": "^6.7.7", // css 自动添加前缀
    "babel-core": "^6.26.3", // babel 核心库
    "babel-loader": "^7.1.5", // webapck 对js编译loader
    "babel-preset-env": "^1.7.0", // js 编译需要的环境
    "clean-webpack-plugin": "^3.0.0",  // 打包前清除dist目录
    "css-loader": "^3.5.3", // css 的loader
    "html-webpack-plugin": "^4.0.0-beta.14", // 生成 html
    "postcss-loader": "^3.0.0", // css loader
    "vue-loader": "^15.9.2", // vue 对应loader
    "vue-style-loader": "^4.1.2", // vue 样式对应loader
    "vue-template-compiler": "^2.6.11", // vue template 对应loader
    "webpack": "^4.43.0", // webpack
    "webpack-cli": "^3.3.11", // webapck cli
    "webpack-dev-server": "^3.11.0" // webpack 服务
  },
2、webpack 配置透明: 除了公共配置,开发环境和生成环境等你自己去配置“玩”,此处可以自己手写一些 loader 玩玩:
分支是:dev3
