

1.1 基于Vue-CLI 3.x 创建项目
Vue CLI 环境要求:需要Node.js 8.9+ (推荐8.11.0+)
1.1.1 Vue CLI 安装
1.全局安装 Vue-CLI
npm install -g @vue/cli@3.10.0 //后面去掉版本号 安装的就是最新版
2.查看版本
vue -V //注意:大写V
1.1.2 Vue CLI 创建项目
1.创建项目命令
vue create demo // vue create 项目名
2.启动项目测试
npm run serve // 退出指令 ctrl + c , 输入 y
1.2 初始化项目
1.2.1 更改标题
找到 public / index.html 页面 ,修改 title 内容 ,改为项目名称
1.2.2 更改ICO图标
1.生成一个icon图标(32x32)
在线图标生成:www.bitbug.net/
2.将icon放到public/
修改红色区域内为新icon名称
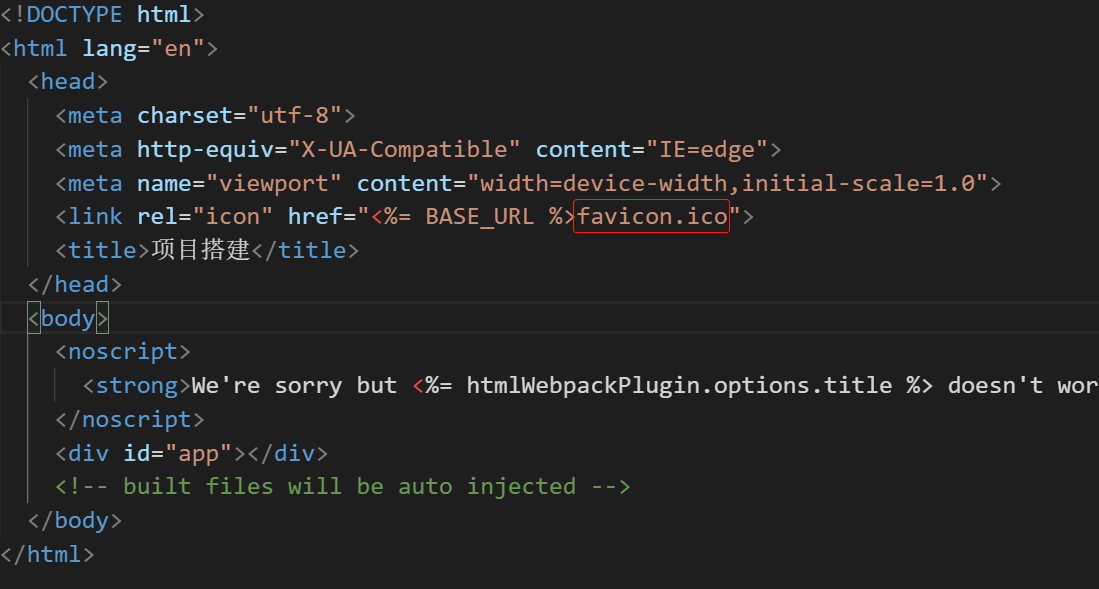
如果没有修改成功,清除一下浏览器缓存
1.2.3 配置vue.config.js
在项目根目录下创建vue.config.js,添加如下配置:
module.exports = {
	devServer : {
		port : 8080,  //端口号,如果端口号被占用,会自动提升1
		host : "localhost",  //主机名,127.0.0.1 ,真机0.0.0.0
		https : false,  //协议
		open : true  //启动服务时自动打开浏览器访问
	},
	lintOnSave : false,  //关闭格式检查
	productionSourceMap : true  //打包时不会生成.map文件,加快打包速度
}
1.2.4 整合第三方库
1.安装axios,处理异步请求
cnpm i axios --save
2.安装pubsub-js,实现非父子组件间通信
cnpm i pubsub-js --save
3.查看package.json中是否有对应依赖
1.3 整合 Element UI
1.3.1 Element UI 简介
Element是饿了么平台推出的一套基于Vue.js开发的后台页面组件库。
1.3.2 Element UI 安装
将element-ui模块通过本地安装为生产依赖。在根目录下的命令行窗口,输入一下命令:
cnpm i element-ui --save
1.3.3 完整引入 Element UI
在src/main.js中导入element-ui 和 element-ui/lib/theme-chalk/index.css
使用Vue.use(ElementUI)
import Vue from "vue";
import ElementUI from 'element-ui'; // 组件库
import 'element-ui/lib/theme-chalk/index.css'; // 样式
import App from "./App.vue";
import router from "./router";

// 使用 ElementUI
Vue.use(ElementUI);

// Vue.config.productionTip  消息提示的环境配置,是否为生产环境:
// false 开发环境:Vue会提供很多警告来方便调试代码。
// true 生产环境:警告却没有用,反而会增加应用的体积
Vue.config.productionTip = process.env.NODE_ENV === 'production';
// process.env.NODE_ENV 检测当前是开发环境还是生产环境
// npm run serve 时处于开发环境
// npm run build 打包之后处于生产环境

new Vue({
    router,
    render: h => h(App)
}).$mount("#app");
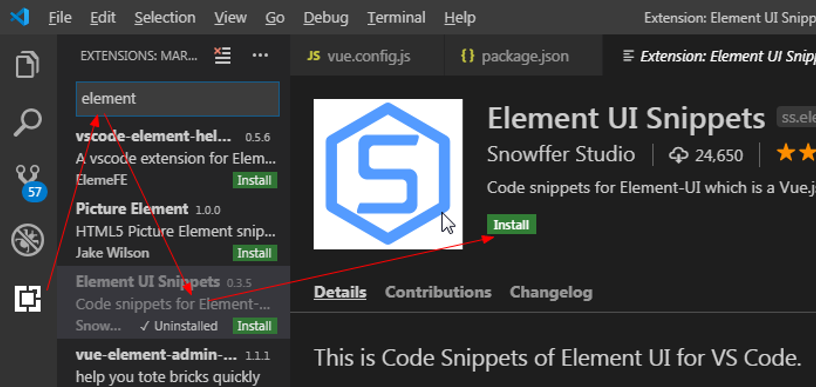
1.3.4 ElementUI 插件安装
在VS code中安装 Element UI Snippets和HTML CSS Support插件,有element语法提示
1.4 打包完成后出现的白屏问题
1. 打开vue.config.js文件
module.exports = {
    publicPath : "./", //解决打包后白屏问题
	devServer : {
		port : 8080,
		host : "localhost",
		https : false,
		open : true
	},
	lintOnSave : false,
	productionSourceMap : true
}
2. 打开src / router / index.js 文件
const router = new VueRouter({
    //将 mode 直接注释掉或者将 history 改为 hash
	mode:"history",
	base : process.env.BASE_URL,
	routes
})
3. 重新启动项目 ---> 重新打包
