

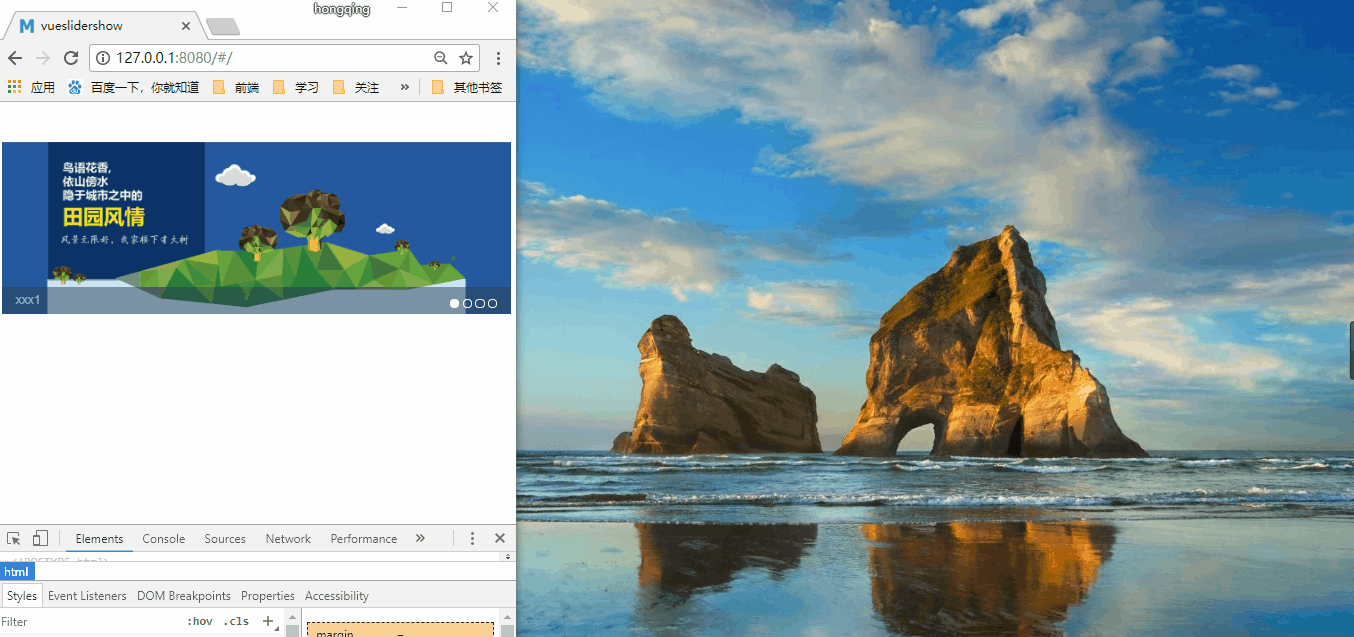
VueSliderShow故名思意,vue的轮播图组件插件,该插件:1、支持浏览器任意放缩,兼容移动端,2、支持自动切换,鼠标经过停止切换,分页/任意页点击切换,左右切换,3、支持文字介绍(超过一行自动省略)
本文讲述的是从开发一款基于Vue2x的响应式自适应轮播组件插件的一个全过程,包含发布到npm,构建自己的npm包,供下载安装使用的技巧,阅读本文需要些Vue的语法糖(自定义标签、计算属性、父子组件通信等),以及ES6、npm等基础知识。先来看下Demo
Install
npm i vueslideshow使用示例
in vue2.x:
<template>
 //轮播组件的位置
   <div>
     <slider-show :slides="slides" :inv="invTime"></slider-show>
   </div>
</template>

<script>
import sliderShow from 'vueslidershow'
export default {
  components: {
      sliderShow
  },
  data () {
    return {
      invTime: 2000,
      slides: [
        {
          src: require('../assets/1.jpg'),
          title: '测试测试测试1',
          href: 'detail/analysis'
       }
    ]
   }
 }
}
参数说明:
1.invTime:控制轮播速度
2.slides:具体的轮播数据数组形式,包含图片,文字,链接三个参数
3.注意:由于是响应式自适应所以推的图片必须高度一致
分割线,下面开始上路
写在前面:vue官网提供了开发插件的介绍,感兴趣的老铁可以先移步官网开发插件,
创建项目
0、想必各位老铁都是有vue和前端经验的了,这些基础项目环境和搭建项目,改造初始化的vue项目都是睁眼闭眼的事情了,所以这里都一笔带过:
1、vue环境配备,(node、vue-cli)
2、初始化项目,Vue init webpack vueslideshow。安装依赖npm install(安装的时候把vue-router默认一起安装上去)
改造初始化项目:
(0)改造前分析一下我们的需求:一个响应式自适应轮播组件,之所以是组件,是我们希望可以公用的代码段,支持可动态配置,轮播组件无非就说图片文字,自动切换,可选择切换。
(1)app.vue里清空到如下就好
<template>
  <div id="app">
    <router-view/>
  </div>
</template>

<script>
export default {
  name: 'App'
}
</script>
(2)在components文件夹里,创建index.vue,sliderShow.vue(因为是示例项目,规范上欠佳)让router文件夹里的index.js启动页指向index.vue
import Vue from 'vue'
import Router from 'vue-router'
import Index from '@/components/index'

Vue.use(Router)

export default new Router({
  routes: [
    {
	path: '/',
	component: Index
    }
  ]
})
开发项目:
(1)index.vue作为父组件,通过es6的方式引用轮播组件,声明使用轮播sliderShow组件,然后给sliderShow组件传递两个 invTime、slides属性参数,分别是轮播切换时间和数据传递,我们这里slides数组,用的是静态模拟数据,正式环境是通过请求接口请求的数据。
<template>
   <div>
     <slider-show :slides="slides" :inv="invTime"></slider-show>
   </div>
</template>

<script>
import sliderShow from './sliderShow'
export default {
components: {
    sliderShow
},
  data () {
    return {
      invTime: 2000,
      slides: [
          {
          src: require('../assets/1.jpg'),
          title: '测试测试测试1',
          href: 'detail/analysis'
        },
        {
          src: require('../assets/2.jpg'),
          title: '测试测试测试2',
          href: 'detail/count'
        }
     ]
   }
 }
}
(2)sliderShow.vue
模板段代码读解(布局这里就略讲了),最外层分别有两个鼠标经过clearInv事件,主要是希望在鼠标经过焦点图的时候不进行切换方便点图片跳转,鼠标移出执行runInv事件继续自动切换,transition分别去控制两张图的出现和消失,左右切换,和点击具体的分页切换这里用通用的一个goto()方法转递不同值,去判断具体要展示的数据页,这个值的计算可以通过vue里的计算属性。
<template>
  <div class="slide-show" @mouseover="clearInv" @mouseout="runInv">
    <div class="slide-img">
      <a :href="slides[nowIndex].href">
        <transition name="slide-fade">
          <img v-if="isShow" :src="slides[nowIndex].src">
        </transition>
        <transition name="slide-fade-old">
          <img v-if="isShows" :src="slides[nowIndex].src">
        </transition>
      </a>
    </div>
    <div class="slide-title"><a>{{ slides[nowIndex].title }}</a></div>
    <ul class="slide-pages">
      <li v-for="(item, index) in slides"
      @click="goto(index)"
      >
        <a :class="{on: index === nowIndex}"></a>
      </li>
   </ul>
   <a @click="goto(prevIndex)" class="callbacks-nav"><</a>
   <a @click="goto(nextIndex)" class="callbacks-nav next">></a>
  </div>
</template>
<script>
export default {
  props: {
    slides: {
      type: Array,
      default: []
    },
    inv: {
      type: Number,
      default: 1000
    }
  },
  data () {
    return {
      nowIndex: 0,
      isShow: true,
      isShows:false
    }
  },
  computed: {
    prevIndex () {
      if (this.nowIndex === 0) {
        return this.slides.length - 1
      }
      else {
        return this.nowIndex - 1
      }
    },
    nextIndex () {
      if (this.nowIndex === this.slides.length - 1) {
        return 0
      }
      else {
        return this.nowIndex + 1
      }
    }
  },
  methods: {
    goto (index) {
      this.isShow = false
      setTimeout(() => {
        this.nowIndex = index
        this.isShows = true
      }, 10)

    },
    runInv () {
      this.invId = setInterval(() => {
        this.goto(this.nextIndex)
      }, this.inv)
    },
    clearInv () {
      clearInterval(this.invId)
    }
  },
  mounted () {
    this.runInv();
  }
}
</script>
ES6逻辑段代码解读,sliderShow.vue通过props方式接受父组件里传递过来的数据
 props: {
    slides: {
      type: Array,
      default: []
    },
    inv: {
      type: Number,
      default: 1000
    }
  },
计算属性,前一页,这里就控制nowIndex,在当前数据索引里减一,当是第一条数据的时候,我们要跳到最后一条,所以当第一条数据的时候我们这里判断它并让他赋值最后一条数据,后一页和前一页相似,判断最后一页数据,跳到第一页。
  computed: {
    prevIndex () {
      if (this.nowIndex === 0) {
        return this.slides.length - 1
      }
      else {
        return this.nowIndex - 1
      }
    },
    nextIndex () {
      if (this.nowIndex === this.slides.length - 1) {
        return 0
      }
      else {
        return this.nowIndex + 1
      }
    }
  },
通过Index值,从而改变具体数据
 goto (index) {
      this.isShow = false
      setTimeout(() => {
        this.nowIndex = index
        this.isShows = true
      }, 10)

    },
当页面加载完后直接执行runInv()方法,然后自动切换,setInterval()/ clearInterval()是js内置的定时器,setInterval()里按照父组件里传的时间来调用函数的方法,clearInterval()是结束定时器的循环调用函数
    runInv () {
      this.invId = setInterval(() => {
        this.goto(this.nextIndex)
      }, this.inv)
    },
    clearInv () {
      clearInterval(this.invId)
    }
  },
  mounted () {
    this.runInv();
  }
轮播组件插件就基本上ok了,下面讲解一下把这个轮播组件插件放到npm里,构建自己的npm包。
分割线 npm
构建npm包:
0、在https://www.npmjs.com创建自己的账号
1、新建一个项目文件夹VueSliderShow,把上面的sliderShow.vue文件复制文件。打开cmd进入到VueSliderShow目录,然后命令行执行:npm init(按流程填写相关信息,都可以按照自己的实际情况写),然后会生成一个package.json,例如下面是我这个组件的基本信息
{
  "name": "vueslideshow",
  "version": "1.0.2",
  "description": "a slider implement by vuejs",
  "main": "index.js",
  "scripts": {
    "test": "echo \"Error: no test specified\" && exit 1"
  },
  "repository": {
    "type": "git",
    "url": "https://github.com/HongqingCao/My-Code/tree/master/VueSliderShow"
  },
  "author": "HongqingCao",
  "license": "ISC"
}
2、创建一个index.js
var sliderShow = require('./sliderShow')
module.exports = sliderShow
3、创建一个README.md,描述一下这个组件,可以参考一下我写的
# vueslidershow
> a slider implement by vuejs
>一个vue的响应式自适应轮播图组件
[Demo](https://github.com/HongqingCao/My-Code/tree/master/VueSliderShow)
###### 
## Install
``` bash
npm i vueslideshow
```
## 应用案例
#### in vue2.x:
```html
<template>
<div>
<slider-show :slides="slides" :inv="invTime"></slider-show>
</div>
</template>
<script>
import sliderShow from './sliderShow'
export default {
components: {
sliderShow
},
data () {
return {
invTime: 2000,
slides: [
{
src: require('../assets/1.jpg'),
title: '测试测试测试1',
href: 'detail/analysis'
}
]
}
}
}
```
<br>
### 参数说明:
1.invTime,控制轮播速度
2.slides,具体的轮播数据数组形式,包含图片,文字,链接三个参数
3.由于是响应式自适应所以推的图片必须高度一致,更友好
## License
[MIT](LICENSE)
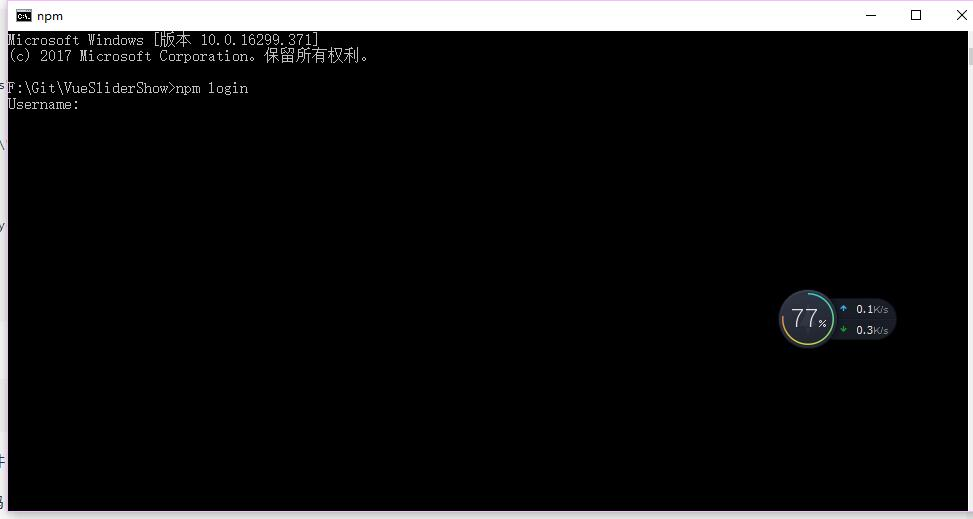
4、命令行npm login,登录自己的账号和密码
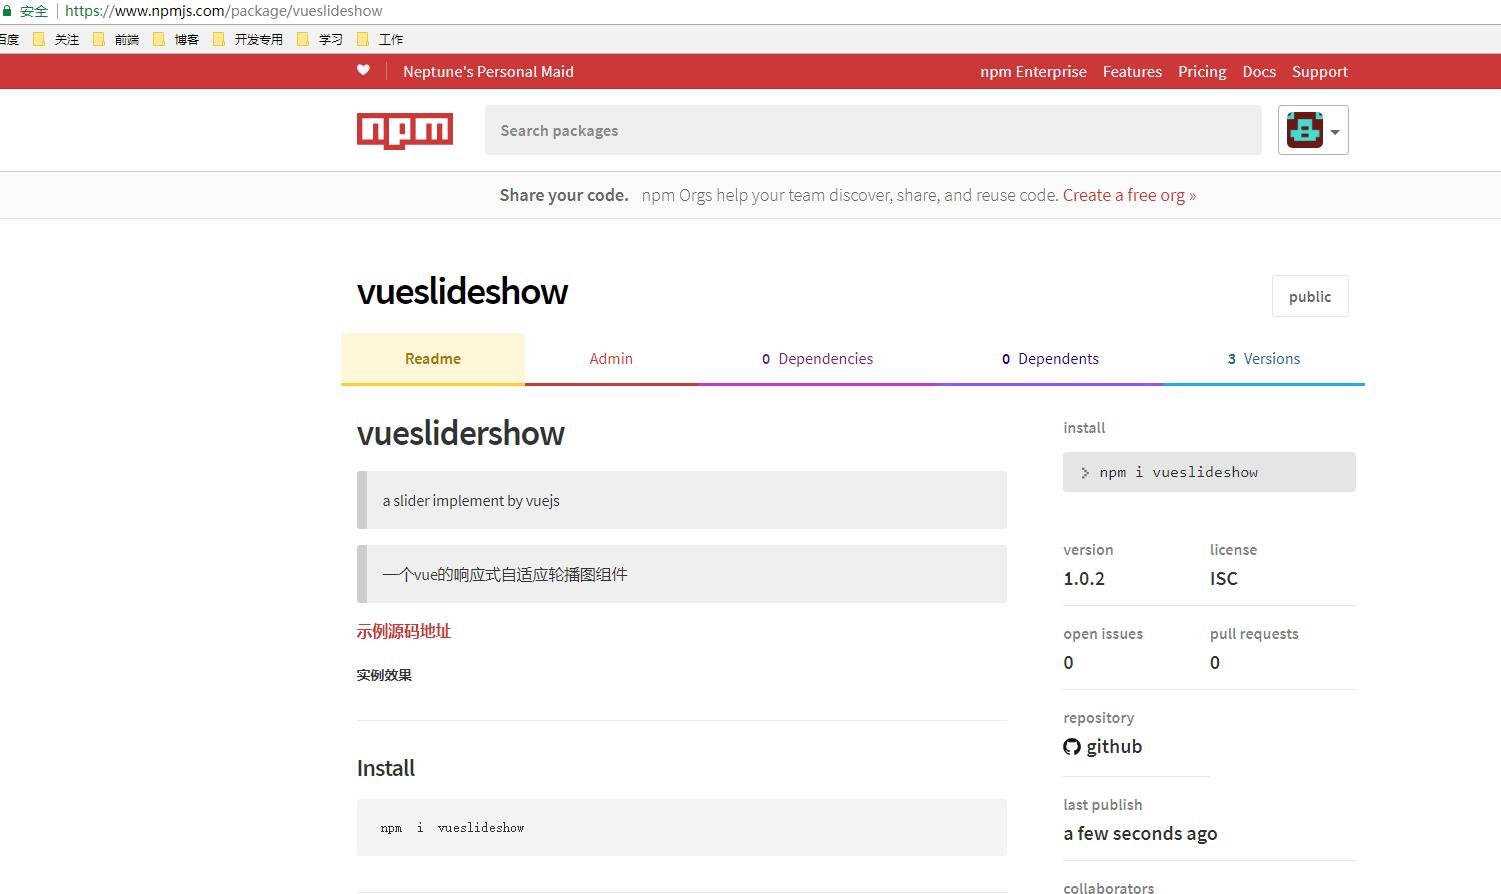
5、发布到npm执行命令行: npm publish,成功后你会发现你的npm里已经有一个包了

你可以点击进入详情看看
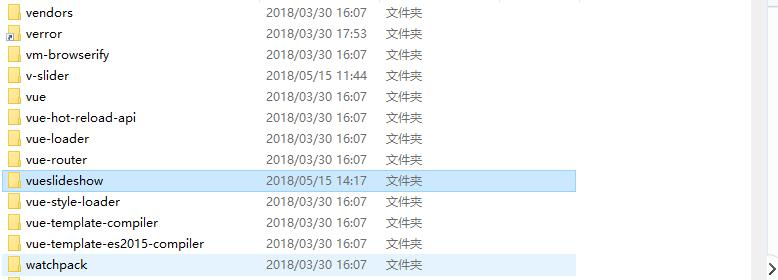
6、尝试下载安装在自己项目里:npm i vueslideshow,安装完后在node_modules就可以看到自己的插件啦
7、应用就如一开始的插件介绍一样,可以往上看
最后总结
从开发到发布一款基于Vue2x的响应式自适应轮播组件插件VueSliderShow,到这里就已经开发完毕,当然里面肯定也有一定的bug在里面,我用了transition去包裹两个img其实目前是没用到这个过渡属性,后期可以各位老铁自己补一些绚丽的切换动画,最后再次附上github示例源码(码字不易,欢迎★star)
