背景
2019年10月1日在祖国70周年大庆之际,微信朋友圈被大家纷纷@微信官方要国旗的景象给刷屏了,在为祖国庆生的同时,玩的不亦乐乎。
在9月25日,我心血来潮决定在国庆前开发一个换头像的微信小程序为祖国70周年献礼!最终在国庆前夕上线发布了制作头像的小程序-【海豚趣图】,帮助10000多名小伙伴成功换上了国旗头像。
小程序虽然已经上线,但在【海豚趣图】这个小程序开发过程中的一些有意思的技术点我希望能总结一下和大家进行分享。
主要步骤
- 获取用户头像
- 图片模板
- 图片合成
获取用户头像
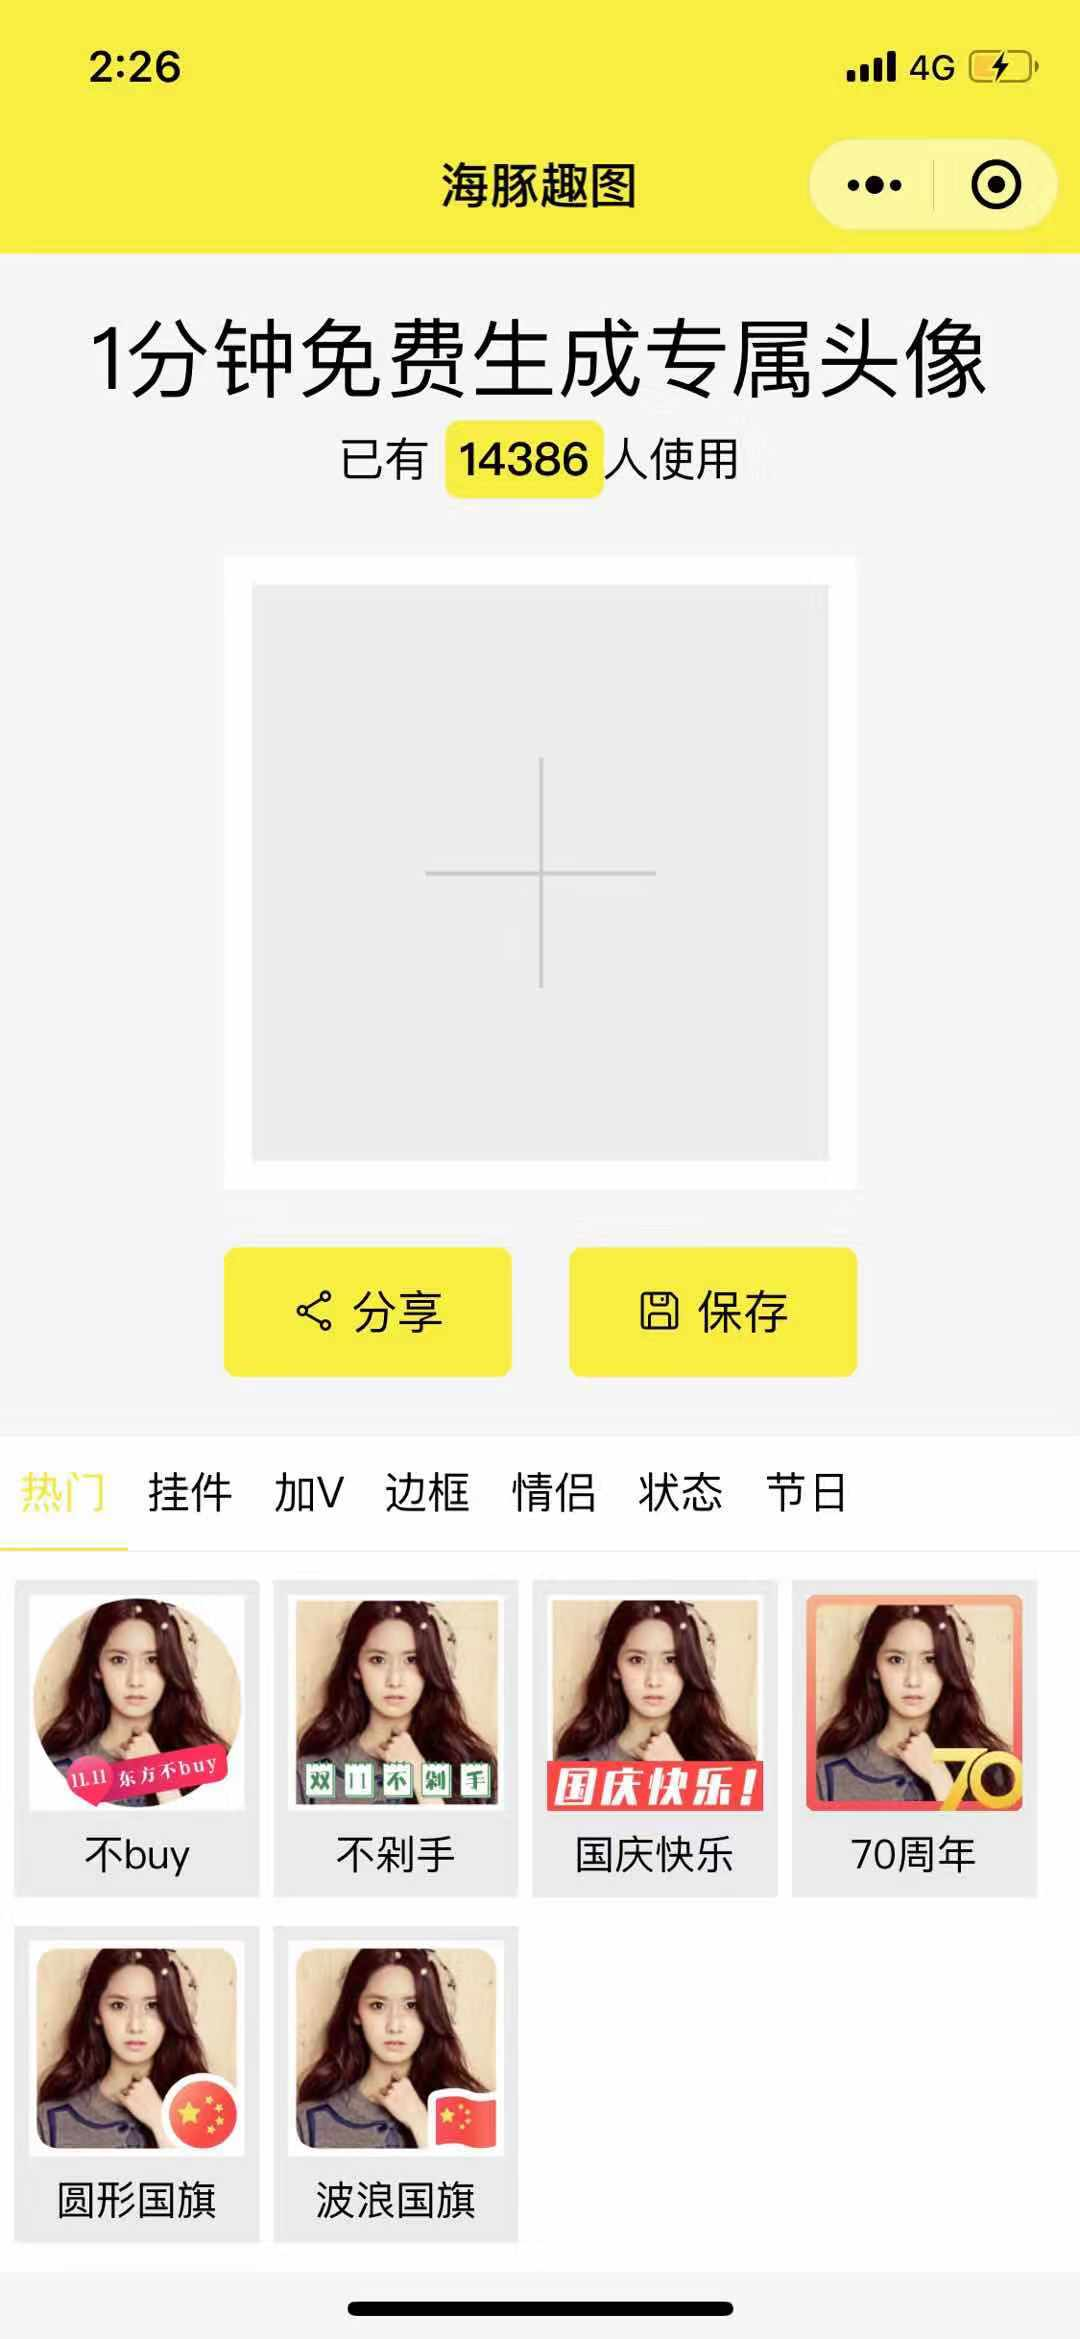
制作自定义头像的第一步就是先选择图片。在【海豚趣图】的交互设计中,用户有三种选择图片的方式:微信头像、本地相册和相机拍摄。获取用户头像的产品设计如下图所示:
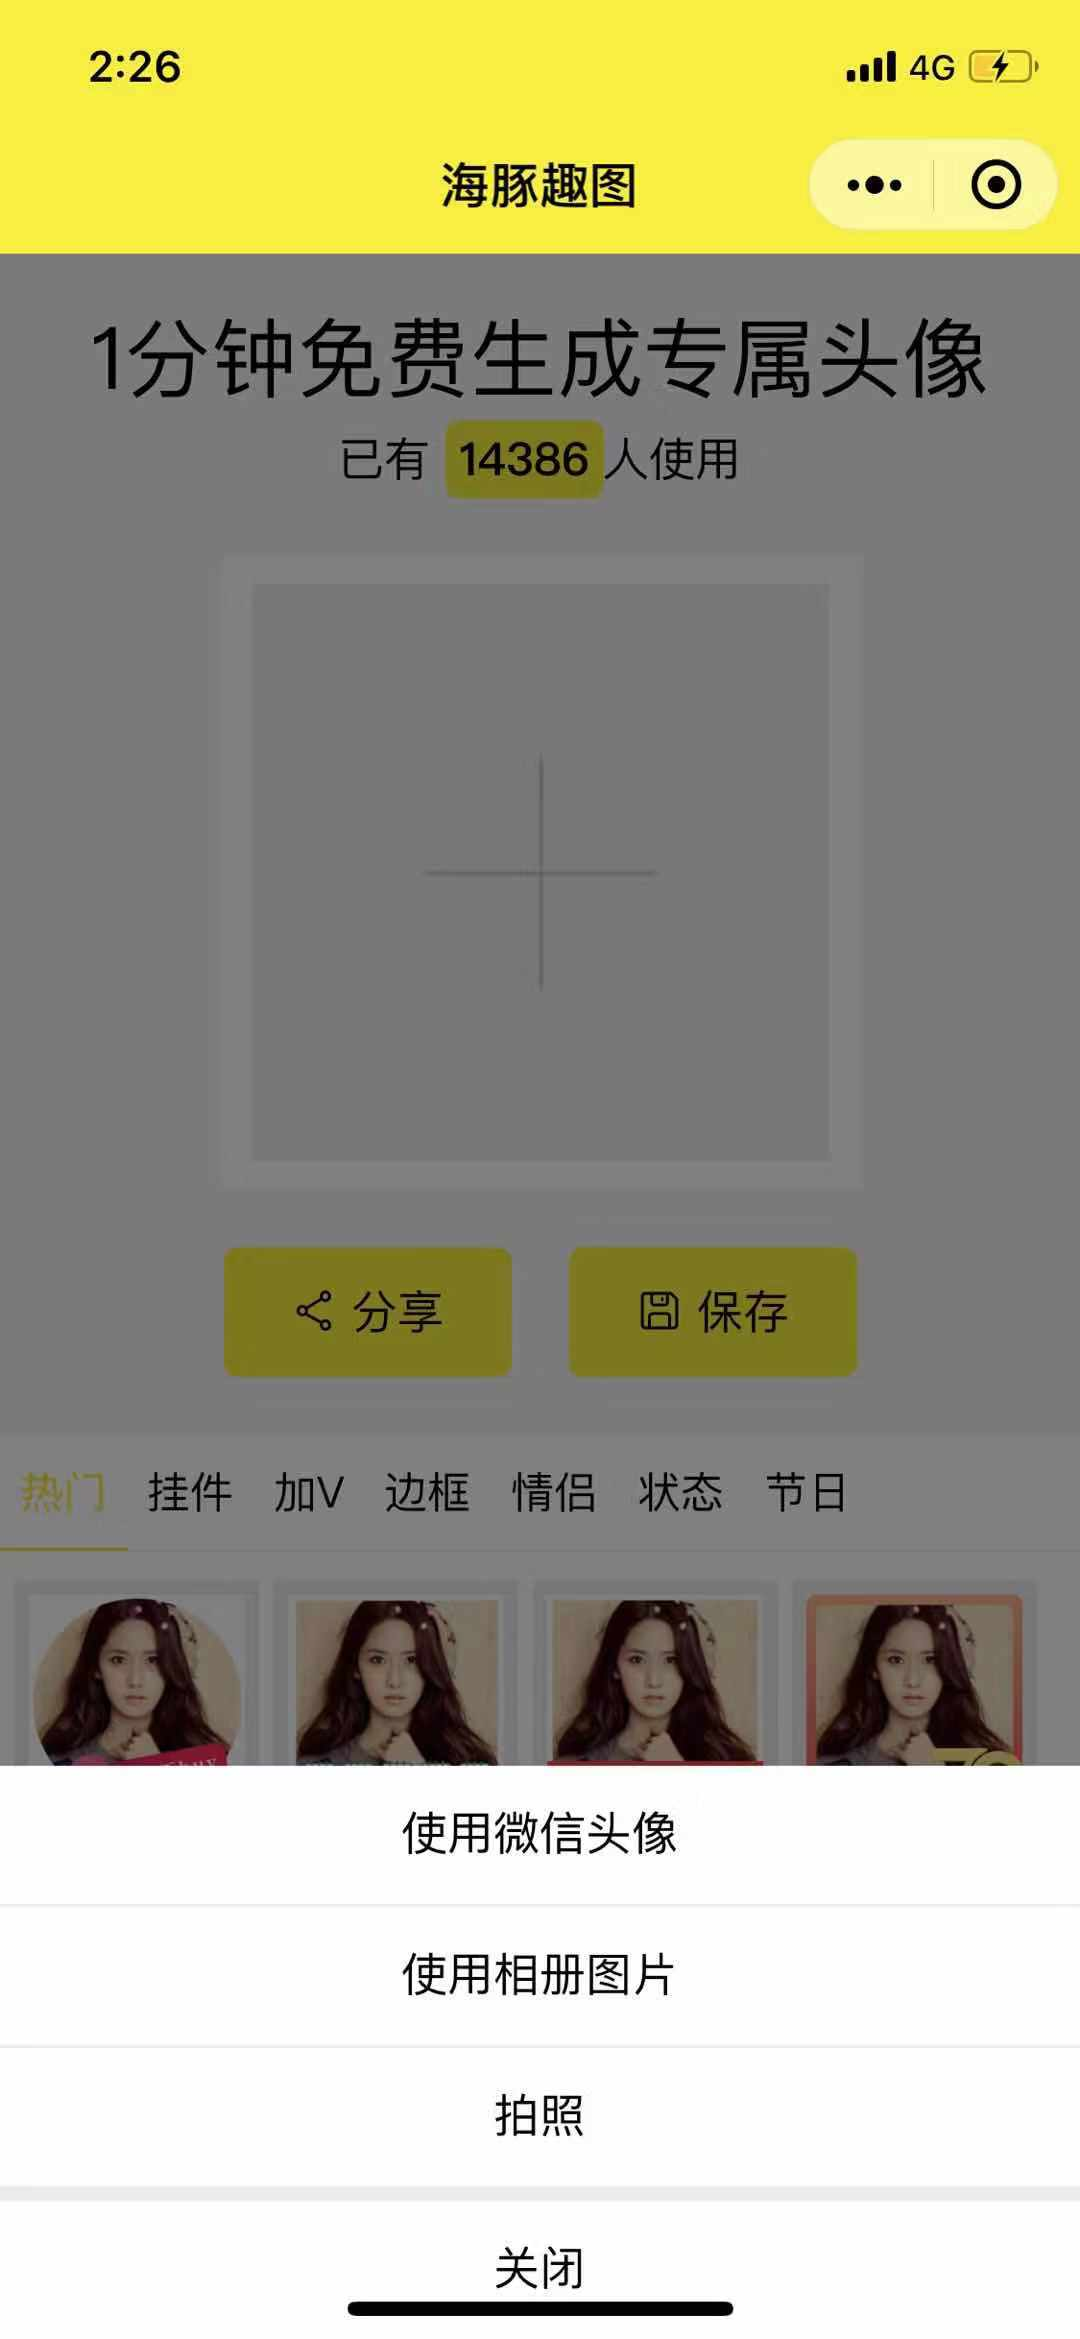
由于微信官方不再支持通过 wx.getUserInfo 接口来获取用户信息,我们必须通过使用 button 组件并将 open-type 指定为 getUserInfo 类型来获取或展示用户信息。
为优化用户体验,使用 wx.getUserInfo 接口直接弹出授权框的开发方式将逐步不再支持。从2018年4月30日开始,小程序与小游戏的体验版、开发版调用 wx.getUserInfo 接口,将无法弹出授权询问框,默认调用失败。正式版暂不受影响。
上图中弹出底部菜单的交互方式无法通过 wx.showActionSheet 来实现(因为该接口只能指定字符串文本,不能使用 button, navigator 等组件)。
因此,只能通过自定义 actionSheet 组件来实现以上功能。
mmp-action-sheet 组件
以下是 mmp-action-sheet 组件的代码。
index.wxml
<view hidden="{{!actionShow}}" class="mask {{mask}}" bindtap="actionHide">
  <view class="actionSheet animated {{animation}}">
    <slot></slot>
    <button class="close" bindtap="actionHide">{{closeText}}</button>
  </view>
</view>
通过 slot 在 action-sheet 中插入自定义的内容,比如 button、navigator 等。
index.wxss
.mask{
  position: fixed;
  top: 0;
  left: 0;
  width:100%;
  height: 100%;
  background: rgba(0, 0, 0, 0.5);
  z-index: 999;
}
.actionSheet{
  width: 100%;
  position: absolute;
  top: 100%;
  z-index: 1000;
  overflow: hidden;
}
.actionSheet button,
.actionSheet navigator{
  color: #000;
  text-align: center;
  background: #fff;
  border-radius: 0;
  line-height: 3.5;
  font-size: 32rpx;
  border-bottom: 1rpx solid rgb(236, 236, 236);
  opacity: 1;
}
.actionSheet button:active,
.actionSheet navigator:active{
  color:#000;
  background: rgb(236, 236, 236);
}
.actionSheet button::after,
.actionSheet navigator::after
{
  border: none;
  border-radius: 0;
}
.actionSheet .close{
  border-bottom: none;
  border-bottom: 50rpx solid #fff;
  border-top: 16rpx solid rgb(236, 236, 236);
}
.animated {
  animation-timing-function: ease-out;
  animation-duration: 0.2s;
  animation-fill-mode: both;
}


@keyframes fadeInBottom {
from{
   transform: translate3d(0, 0, 0);
 }
  to {
    transform: translate3d(0, -100%, 0);
  }
}
.fadeInBottom {
  animation-name: fadeInBottom;
}

@keyframes fadeOutBottom {
from{
   transform: translate3d(0, -100%, 0);
 }
  to {
    transform: translate3d(0, 0, 0);
  }
}
.fadeOutBottom {
  animation-name: fadeOutBottom;
}

@keyframes fadeIn {
from{
   opacity: 0;
 }
  to {
     opacity: 1;
  }
}
.fadeIn {
  animation-name: fadeIn;
}

@keyframes fadeOut {
from{
   opacity: 1;
 }
  to {
     opacity: 0;
  }
}
.fadeOut {
  animation-name: fadeOut;
}
index.js
Component({
  properties: {
    actionSheetStatus: {
      type: Boolean,
      value: false,
      observer(newVal) {
        if (newVal) {
          this.setData({
            actionSheetStatus: true,
            animationMask: 'fadeIn',
            animationSheet: 'fadeInBottom'
          })
        } else {
          this.setData({
            actionSheetStatus: false,
            animationMask: 'fadeOut',
            animationSheet: 'fadeOutBottom'
          })
        }
      }
    },
    closeText: {
      type: String,
      value: '取消'
    }
  },

  data: {
    animationMask: 'fadeIn',
    animationSheet: 'fadeInBottom'
  },

  methods: {
    closeActionSheet() {
      this.setData({
        animationMask: 'fadeOut',
        animationSheet: 'fadeOutBottom'
      })
      setTimeout(() => {
        this.setData({actionSheetStatus: false})
      }, 300)
    }
  }
})
组件只有两个参数:
actionSheetStatus指定组件的初始展示状态,默认为false,表示不显示组件。closeText指定关闭按钮的名字,默认为取消。
index.json
{
  "component": true,
  "usingComponents": {}
}
接下来在页面中调用组件,在组件中插入了3个 button 组件来实现来获取用户头像:
<action-sheet actionSheetStatus="{{actionSheetStatus}}">
    <button open-type="getUserInfo" bindgetuserinfo="bindGetUserInfo">使用微信头像</button>
    <button bindtap="pickPic" data-source-type="album">使用本地相册</button>
    <button bindtap="pickPic" data-source-type="camera">拍照</button>
  </action-sheet>
以上我们通过自定义组件 mmp-action-sheet 就解决了原生的 actionsheet 无法指定 button,从而无法获取用户微信头像的问题。
该组件我已经发布到 npm 包,需要用到的同学可以通过 npm 安装,也可以在 github 上查看源码和使用文档。
图片模板
有了原图,接下来我们需要选择图片模板。如果模板数量不多或者模板变化不频繁,我们可以直接把模板放在本地。鉴于我提供的模板比较多,放在本地会增大小程序源码的大小,我把模板上传到了小程序的云存储中,通过云函数来动态获取图片模板,方便以后模板扩展。
云函数 tpl 的代码如下:
// 云函数入口文件
const cloud = require('wx-server-sdk')

cloud.init()

// 云函数入口函数
exports.main = async (event, context) => {
  const wxContext = cloud.getWXContext()
  // 1. 获取数据库引用
  const db = cloud.database()
  const MAX_LIMIT = 100
  // 2. 构造查询语句
  const countResult = await db.collection('template').count()
  const total = countResult.total
  // 计算需分几次取
  const batchTimes = Math.ceil(total / 100)
  const tasks = []
  for (let i = 0; i < batchTimes; i++) {
    const promise = db.collection('template').skip(i * MAX_LIMIT).limit(MAX_LIMIT).get()
    tasks.push(promise)
  }

  return (await Promise.all(tasks)).reduce((acc, cur) => {
    return {
      data: acc.data.concat(cur.data),
      errMsg: acc.errMsg,
    }
  })
}
页面中调用云函数拉取模板:
getTpl() {
    const self = this
    // 调用云函数获取图片模板
    wx.cloud.callFunction({
      name: 'tpl'
    }).then(res => {
      self.setData({
        templates: res.result.data
      })
    })
}
问题
到这里模板的获取逻辑已经没有问题了,但在开发过程中遇到了一个问题。模板图片的链接我使用的是云文件ID,当有大量图片并行加载的时候,只有部分图片能够显示,我看了一下dom节点其实都已经存在了,image的src的地址也都是正确的。
微信官方自2.3.0开始已经支持在image中使用云文件ID。云文件ID的格式为:
cloud://xxx.xxx/templates/01.png。
我猜测可能是对微信云存储并发请求过多导致的(有知道的同学可以告知),因为我试了一下将云文件ID换成正常的HTTPS的链接是没问题的。
由此可知,可以想到有三种可行的解决方案:
- 将图片模板存储到外部OSS,使用https协议的链接。
- 使用
wx.getTempFileURL用云文件 ID 换取真实链接,也就是https形式的链接。 - 控制图的并行加载数量。我的实践是将并行加载数量控制在20,当用户滚动的时候再发起下一次请求。
总结
以上主要分享了用户头像获取以及图片模板功能的实现及所遇到的一些问题。关于图片的合成是整个小程序的核心功能,下一篇单独拉出来说一下实现思路和潜在的问题。敬请期待!
扫码体验
读者可以扫码体验我们所讲述的两个功能点:
- 自定义actionsheet组件
- 图片模板加载

关于我们
快狗打车前端团队专注前端技术分享,定期推送高质量文章,欢迎关注点赞。 文章同步发布在公众号哟,想要第一时间得到最新的资讯,just scan it !