

写在前面
react-native 大家都比较熟悉了,如果是一个全新的项目,直接使用 RN 的脚手架功能初始化项目就可以,直到上架之前,前端的小伙伴可能都不怎么需要关心 native 的代码。
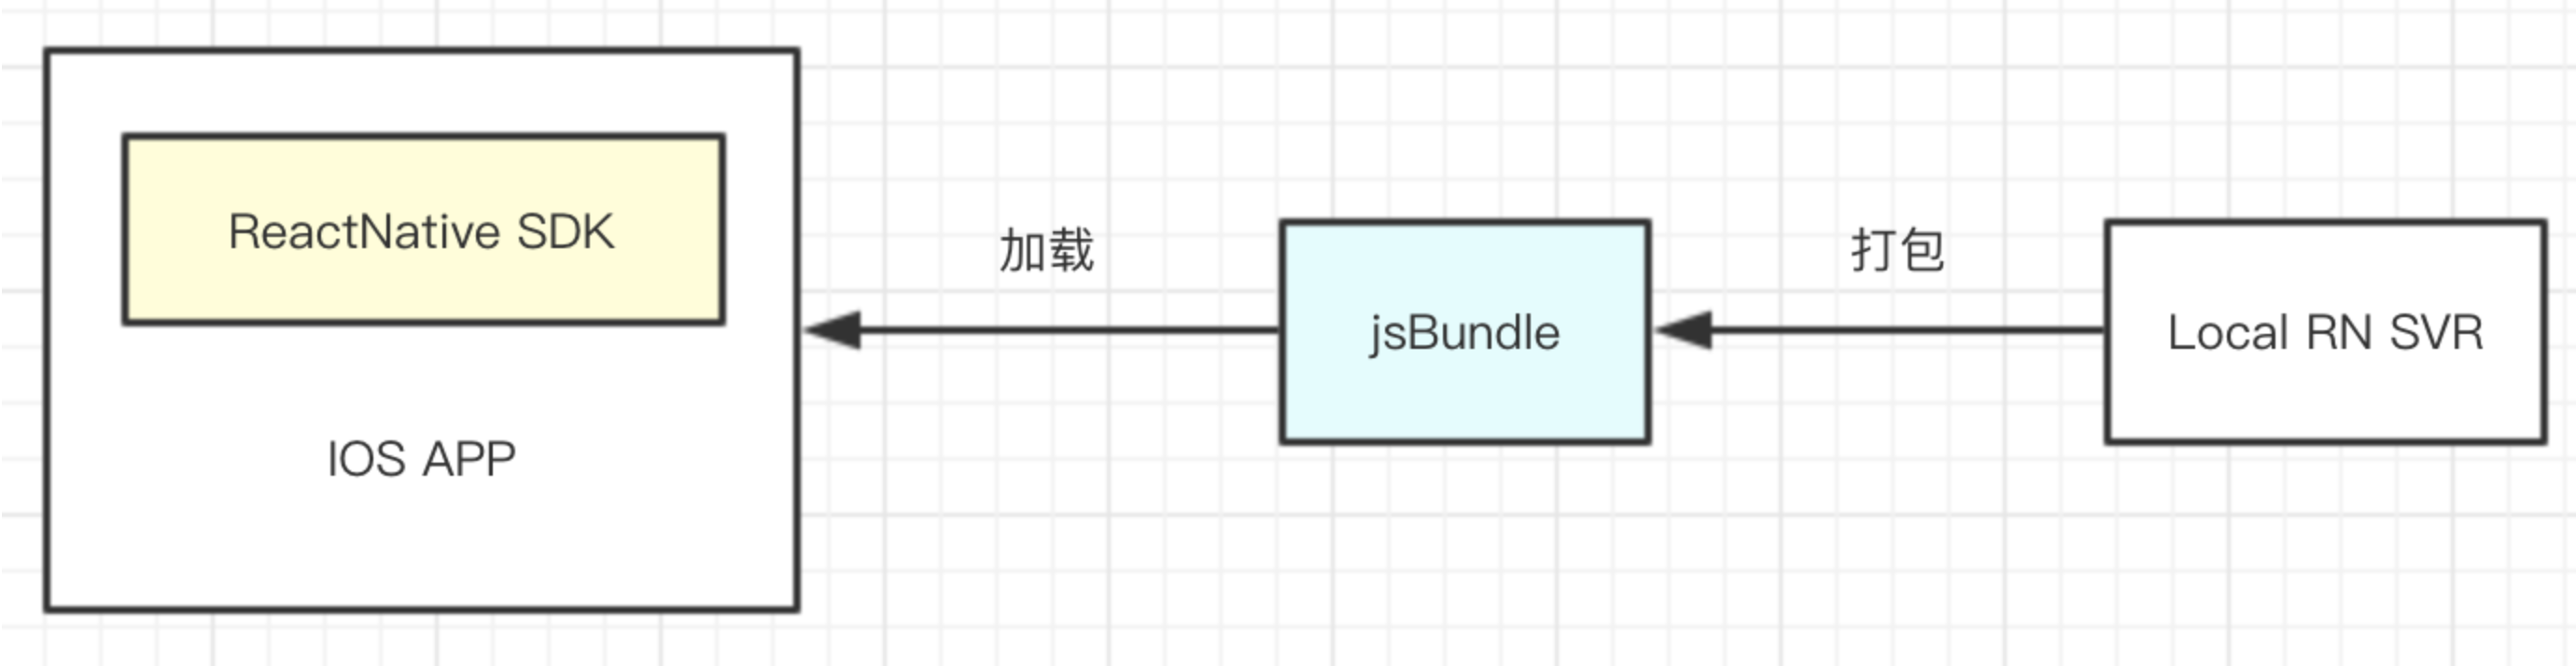
如果是在现有的IOS项目里集成RN的支持,情况会有所不同。我们先看下一个集成了RN的IOS项目的大体架构,IOS应用集成RN的SDK,运行时加载预先打包好的jsBundle。
于是,将RN集成到现有的IOS应用里,主要做几个事情:
- IOS APP 引入RN SDK
- 添加前端业务代码(最终打包成jsBundle)
- 创建RN视图,加载jsBundle
- 将APP、RN视图关联起来
文中示例可在 笔者的gayhub 上找到,文中如有不清晰之处,可参考 RN 官方文档。
环境描述
- watchman:4.9.0
- xcode:10.0 (10A255)
- pod:1.7.5
- react:16.8.0
- react-native:0.60.5
创建IOS项目
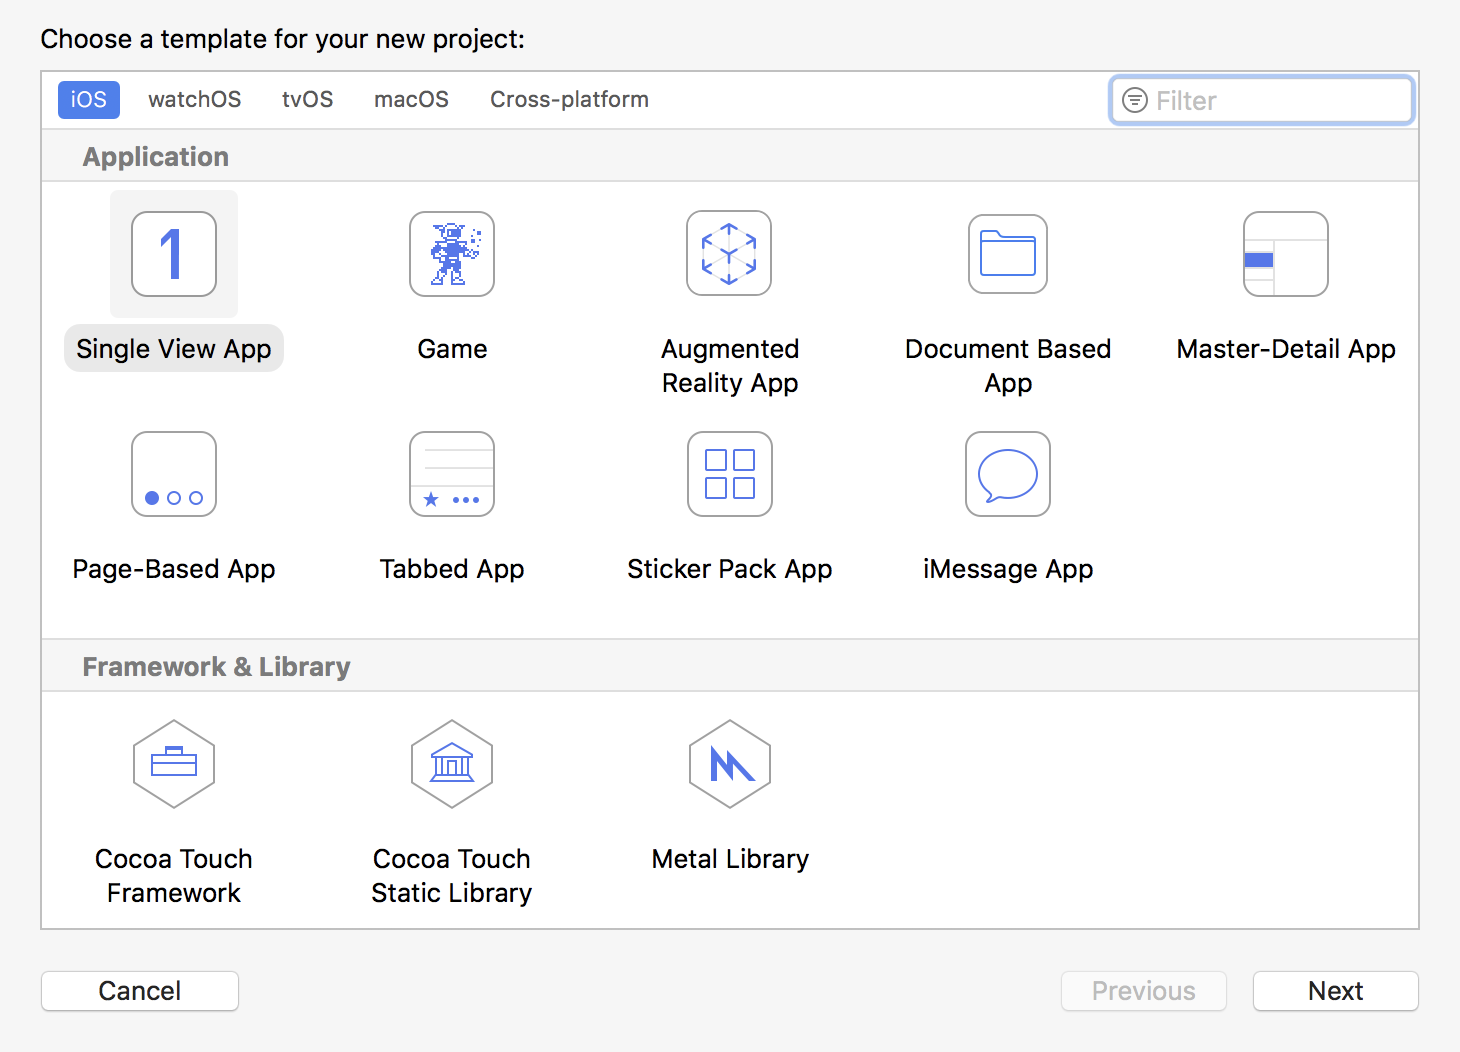
首先,『创建新项目』,选择『单视图应用』(如果已经有IOS项目,可跳过这一步)
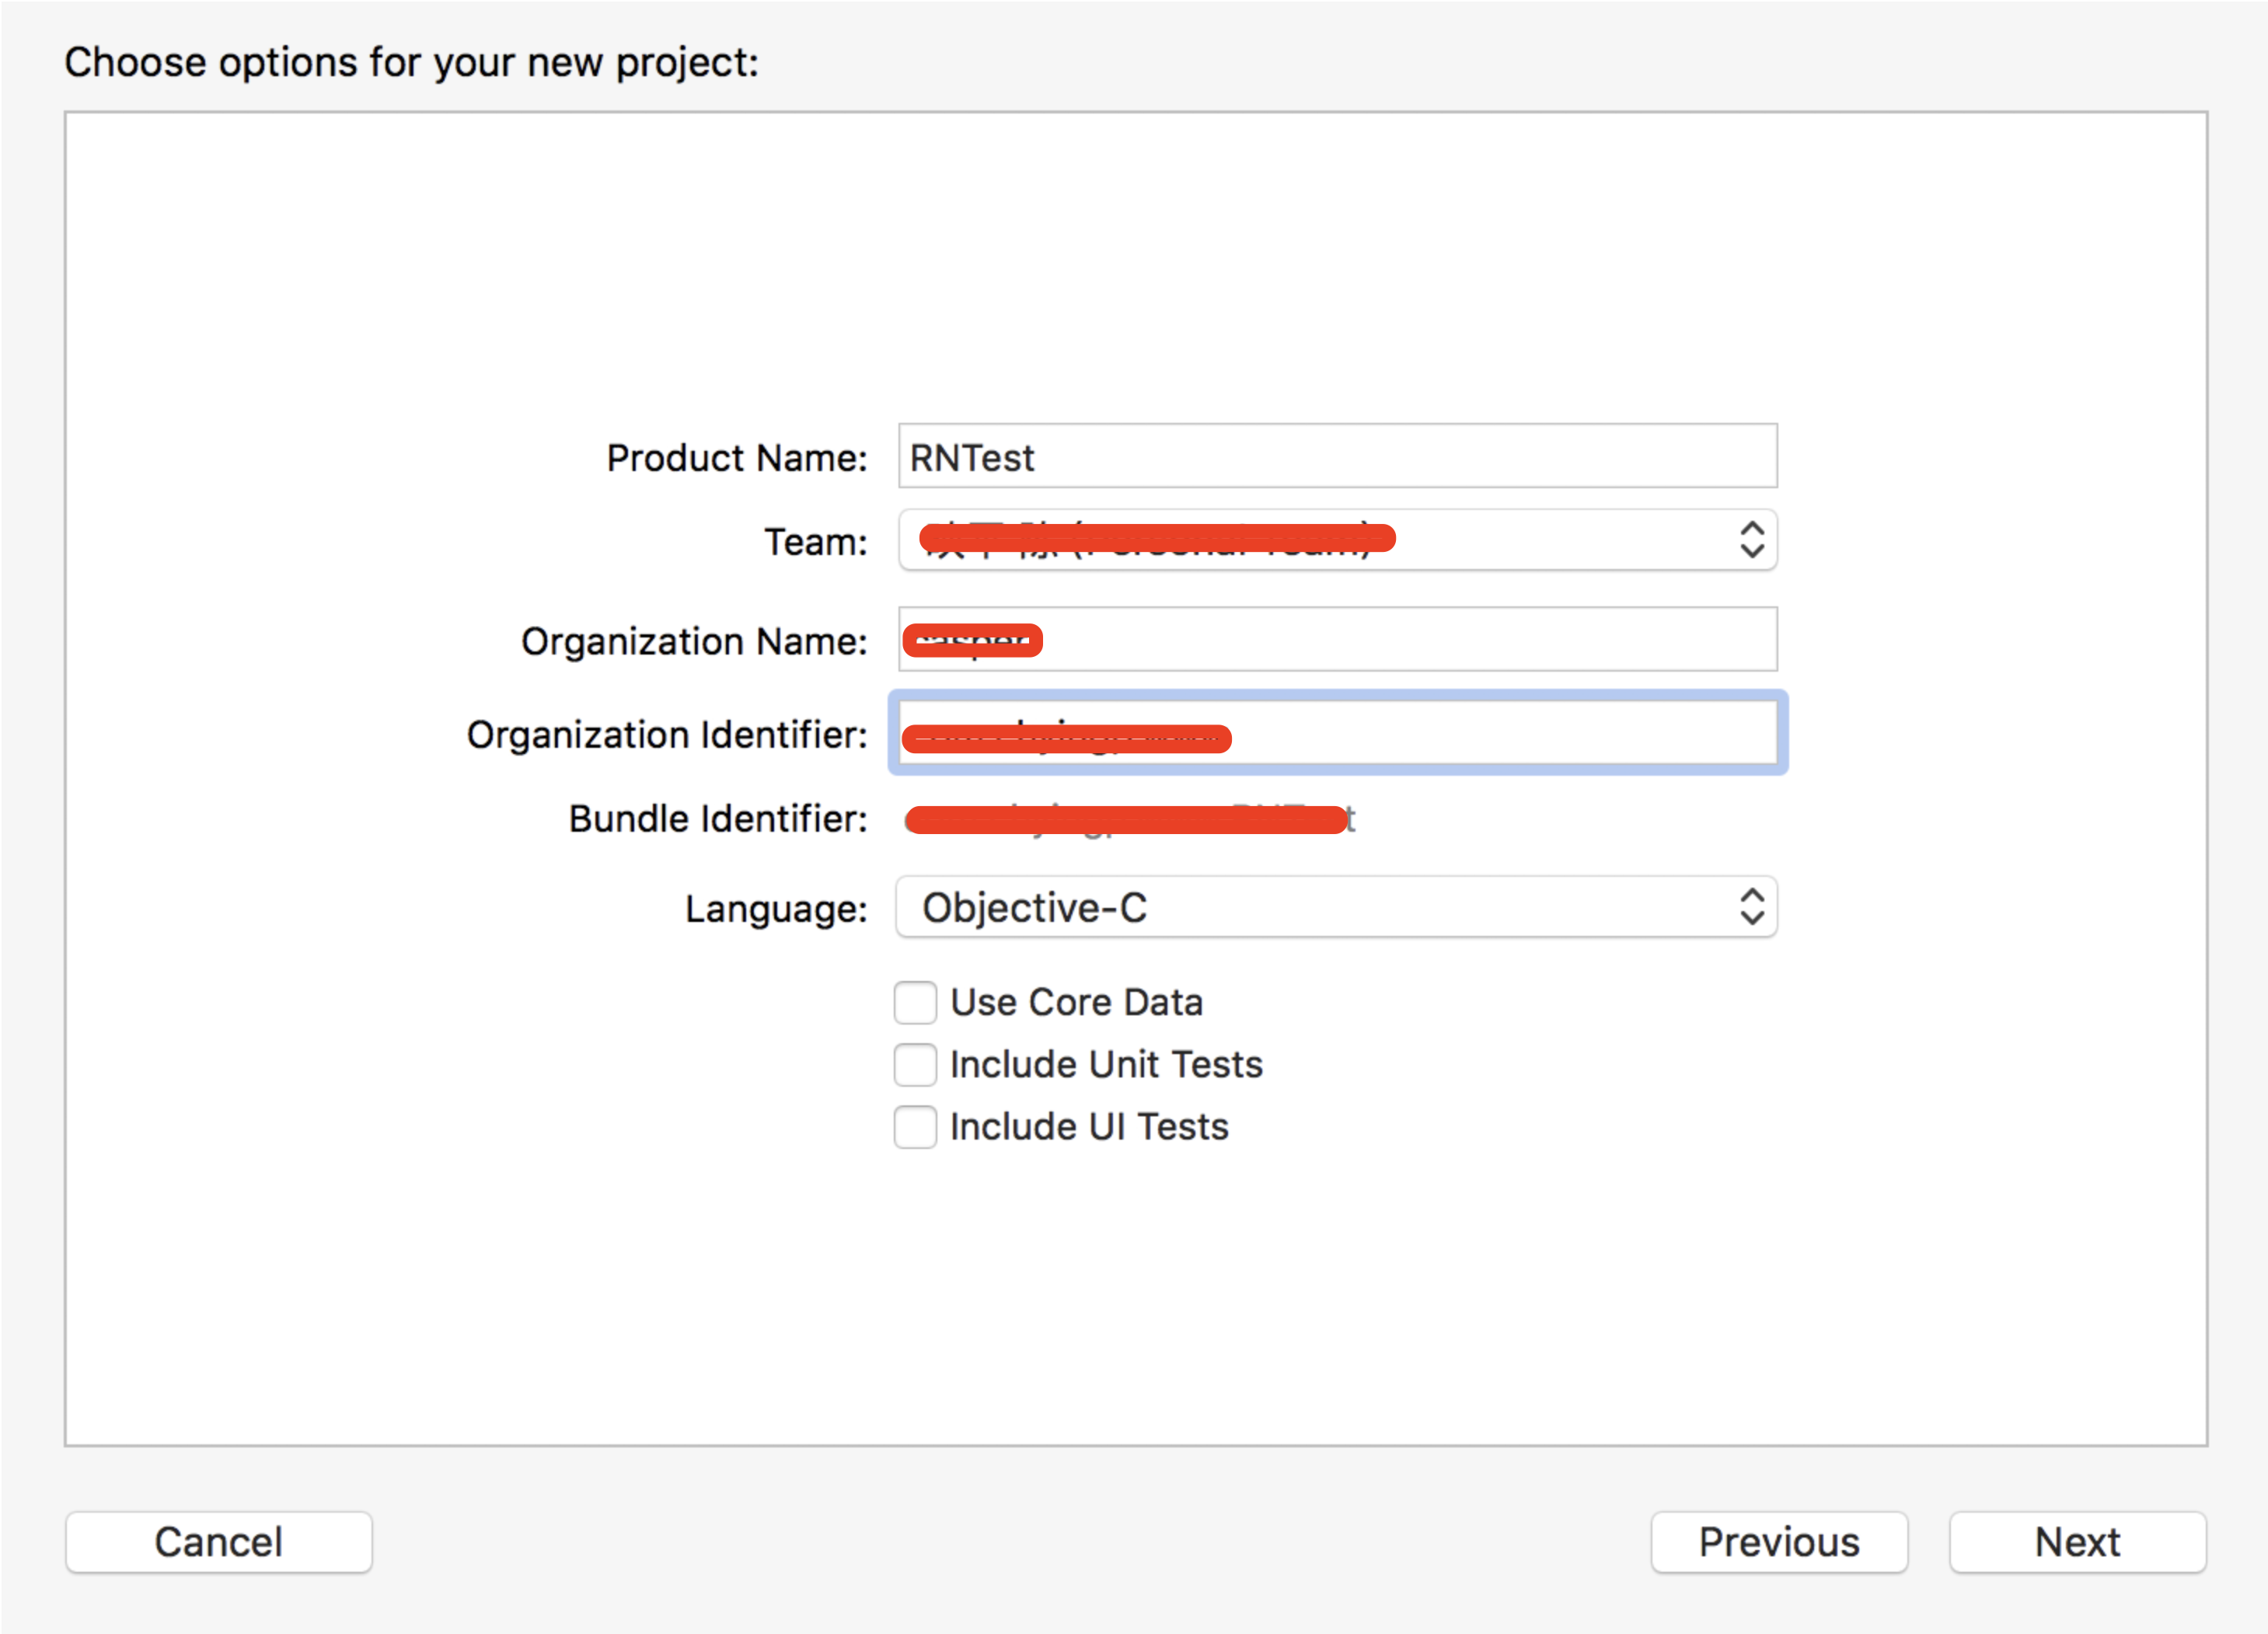
填写应用基础信息,应用名称为 RNTest
RN集成:IOS项目引入 react-native SDK
安装 react、react-native 依赖(核心依赖)
npm install react react-native
安装cocopod、xcode工具,过程略,如下图(可参考官方文档,或google之)
创建目录ios,并将 RNTest 下的所有文件拷贝到 ios 里
mkdir ios
cp -rf RNTest项目的路径/* ios
初始化 Podfile
cd ios && pod init
初始化后的 Podfile 如下
# Uncomment the next line to define a global platform for your project
# platform :ios, '9.0'

target 'RNTest' do
  # Comment the next line if you don't want to use dynamic frameworks
  use_frameworks!

  # Pods for RNTest

end
添加依赖的组件。
需要注意的是,对于react-native SDK不同版本,依赖的组件有所不同,包括依赖哪些组件、组件名(存在重命名的组件)、组件的描述文件路径等。官方文档的更新不是很及时,所以安装出问题时,建议上google、github issue查一下。
# Uncomment the next line to define a global platform for your project
# platform :ios, '9.0'

target 'RNTest' do
  # Comment the next line if you don't want to use dynamic frameworks
  # use_frameworks!

  # Pods for RNTest
  pod 'React', :path => '../node_modules/react-native/'

  # React-Core 依赖有问题,修改路径
  # pod 'React-Core', :path => '../node_modules/react-native/'
  pod 'React-Core', :path => '../node_modules/react-native/React'

  pod 'React-DevSupport', :path => '../node_modules/react-native/React'

  # React-fishhook 不需要,先删掉
  # pod 'React-fishhook', :path => '../node_modules/react-native/Libraries/fishhook'

  pod 'React-RCTActionSheet', :path => '../node_modules/react-native/Libraries/ActionSheetIOS'
  pod 'React-RCTAnimation', :path => '../node_modules/react-native/Libraries/NativeAnimation'
  pod 'React-RCTBlob', :path => '../node_modules/react-native/Libraries/Blob'
  pod 'React-RCTImage', :path => '../node_modules/react-native/Libraries/Image'
  pod 'React-RCTLinking', :path => '../node_modules/react-native/Libraries/LinkingIOS'
  pod 'React-RCTNetwork', :path => '../node_modules/react-native/Libraries/Network'
  pod 'React-RCTSettings', :path => '../node_modules/react-native/Libraries/Settings'
  pod 'React-RCTText', :path => '../node_modules/react-native/Libraries/Text'
  pod 'React-RCTVibration', :path => '../node_modules/react-native/Libraries/Vibration'

  # RCTWebSocket 依赖有问题,修改路径
  # pod 'React-Core/RCTWebSocket', :path => '../node_modules/react-native/'
  pod 'React-RCTWebSocket', :path => '../node_modules/react-native/Libraries/WebSocket'


  pod 'React-cxxreact', :path => '../node_modules/react-native/ReactCommon/cxxreact'
  pod 'React-jsi', :path => '../node_modules/react-native/ReactCommon/jsi'
  pod 'React-jsiexecutor', :path => '../node_modules/react-native/ReactCommon/jsiexecutor'
  pod 'React-jsinspector', :path => '../node_modules/react-native/ReactCommon/jsinspector'

  # 在新版本里,yoga 被重命名为Yoga,需要注意
  pod 'yoga', :path => '../node_modules/react-native/ReactCommon/yoga'

  pod 'DoubleConversion', :podspec => '../node_modules/react-native/third-party-podspecs/DoubleConversion.podspec'
  pod 'glog', :podspec => '../node_modules/react-native/third-party-podspecs/glog.podspec'
  pod 'Folly', :podspec => '../node_modules/react-native/third-party-podspecs/Folly.podspec'
end
安装依赖:(过程起始没有这么顺利,安装过程遇到的问题在『问题解决』小节里单独说到)
Analyzing dependencies
Fetching podspec for `React` from `../node_modules/react-native/`
Fetching podspec for `React-Core` from `../node_modules/react-native/React`
Fetching podspec for `React-DevSupport` from `../node_modules/react-native/React`
Fetching podspec for `React-RCTActionSheet` from `../node_modules/react-native/Libraries/ActionSheetIOS`
Fetching podspec for `React-RCTAnimation` from `../node_modules/react-native/Libraries/NativeAnimation`
Fetching podspec for `React-RCTBlob` from `../node_modules/react-native/Libraries/Blob`
Fetching podspec for `React-RCTImage` from `../node_modules/react-native/Libraries/Image`
Fetching podspec for `React-RCTLinking` from `../node_modules/react-native/Libraries/LinkingIOS`
Fetching podspec for `React-RCTNetwork` from `../node_modules/react-native/Libraries/Network`
Fetching podspec for `React-RCTSettings` from `../node_modules/react-native/Libraries/Settings`
Fetching podspec for `React-RCTText` from `../node_modules/react-native/Libraries/Text`
Fetching podspec for `React-RCTVibration` from `../node_modules/react-native/Libraries/Vibration`
Fetching podspec for `React-RCTWebSocket` from `../node_modules/react-native/Libraries/WebSocket`
Fetching podspec for `React-cxxreact` from `../node_modules/react-native/ReactCommon/cxxreact`
Fetching podspec for `React-jsi` from `../node_modules/react-native/ReactCommon/jsi`
Fetching podspec for `React-jsiexecutor` from `../node_modules/react-native/ReactCommon/jsiexecutor`
Fetching podspec for `React-jsinspector` from `../node_modules/react-native/ReactCommon/jsinspector`
Fetching podspec for `yoga` from `../node_modules/react-native/ReactCommon/yoga`
Downloading dependencies
Using DoubleConversion (1.1.6)
Using Folly (2018.10.22.00)
Using React (0.60.5)
Using React-Core (0.60.5)
Using React-DevSupport (0.60.5)
Using React-RCTActionSheet (0.60.5)
Using React-RCTAnimation (0.60.5)
Using React-RCTBlob (0.60.5)
Using React-RCTImage (0.60.5)
Using React-RCTLinking (0.60.5)
Using React-RCTNetwork (0.60.5)
Using React-RCTSettings (0.60.5)
Using React-RCTText (0.60.5)
Using React-RCTVibration (0.60.5)
Using React-RCTWebSocket (0.60.5)
Using React-cxxreact (0.60.5)
Using React-jsi (0.60.5)
Using React-jsiexecutor (0.60.5)
Using React-jsinspector (0.60.5)
Using boost-for-react-native (1.63.0)
Using glog (0.3.5)
Using yoga (0.60.5.React)
Generating Pods project
Integrating client project
Sending stats
Pod installation complete! There are 21 dependencies from the Podfile and 22 total pods installed.

[!] Automatically assigning platform `ios` with version `12.0` on target `RNTest` because no platform was specified. Please specify a platform for this target in your Podfile. See `https://guides.cocoapods.org/syntax/podfile.html#platform`.
RN集成:添加RN前端入口代码
添加入口文件 index.js
import React from 'react';
import {AppRegistry, StyleSheet, Text, View, Image} from 'react-native';

class RNTest extends React.Component {
  render() {
    return (
      <View style={styles.container}>
        <Text style={styles.title}>Hello 我是程序猿小卡.</Text>
        <Image
          style={styles.avatar}
          source={{uri: 'https://avatars3.githubusercontent.com/u/2383346?s=460&v=4'}}
        />
      </View>
    );
  }
}

const styles = StyleSheet.create({
  container: {
    display: 'flex',
    alignItems: 'center',
    marginTop: 60
  },
  title: {
    fontSize: 20,
    textAlign: 'center',
    color: '#333'
  },
  avatar: {
    width: 300,
    height: 300,
    marginTop: 20
  }
});

// Module name
AppRegistry.registerComponent('RNTest', () => RNTest);
RN集成:创建、加载 RN 视图
最后的环节,就是让IOS应用加载RN View,这里实现为 『点击按钮后加载RN视图』。
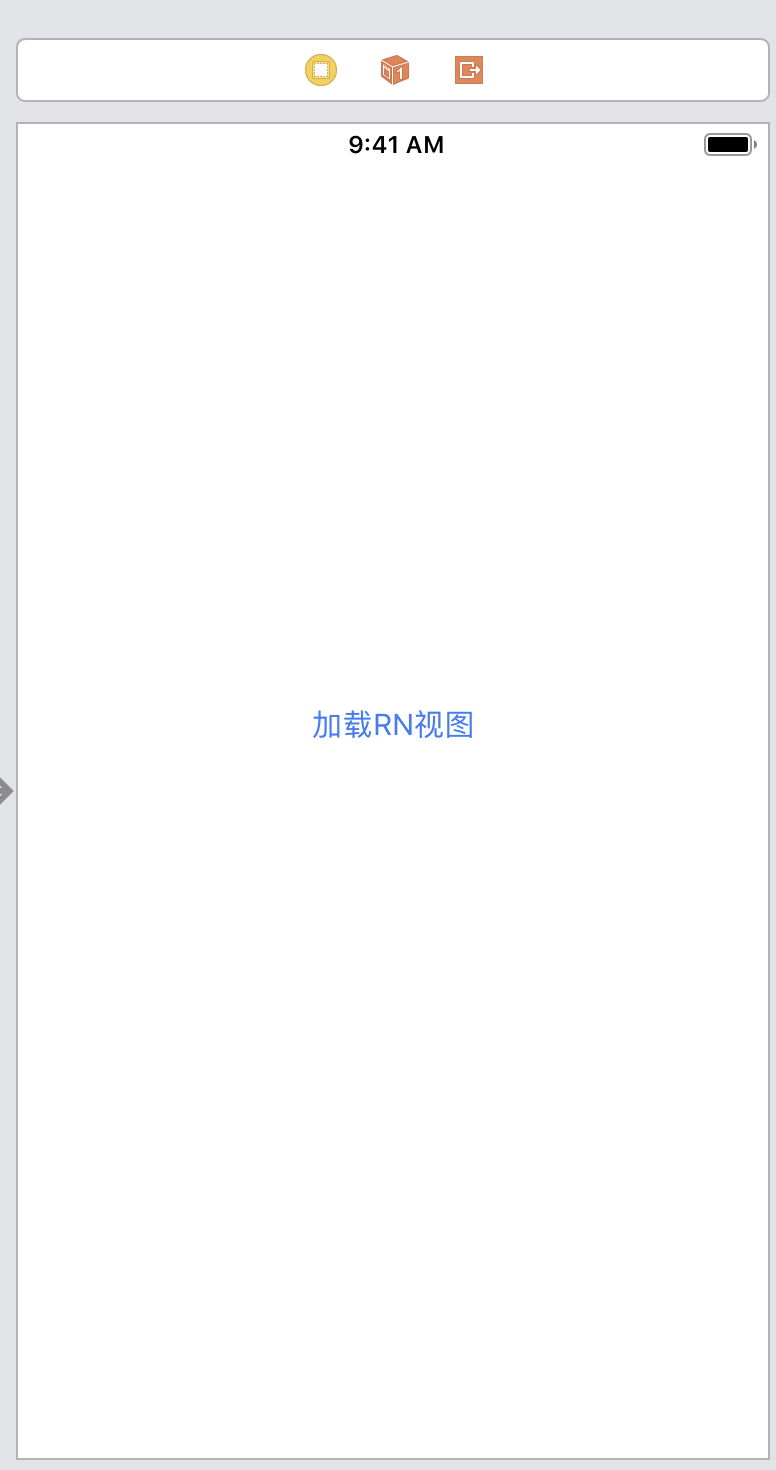
首先,点击 Main.storyboard,在预览视图上,添加一个按钮『加载RN视图』,
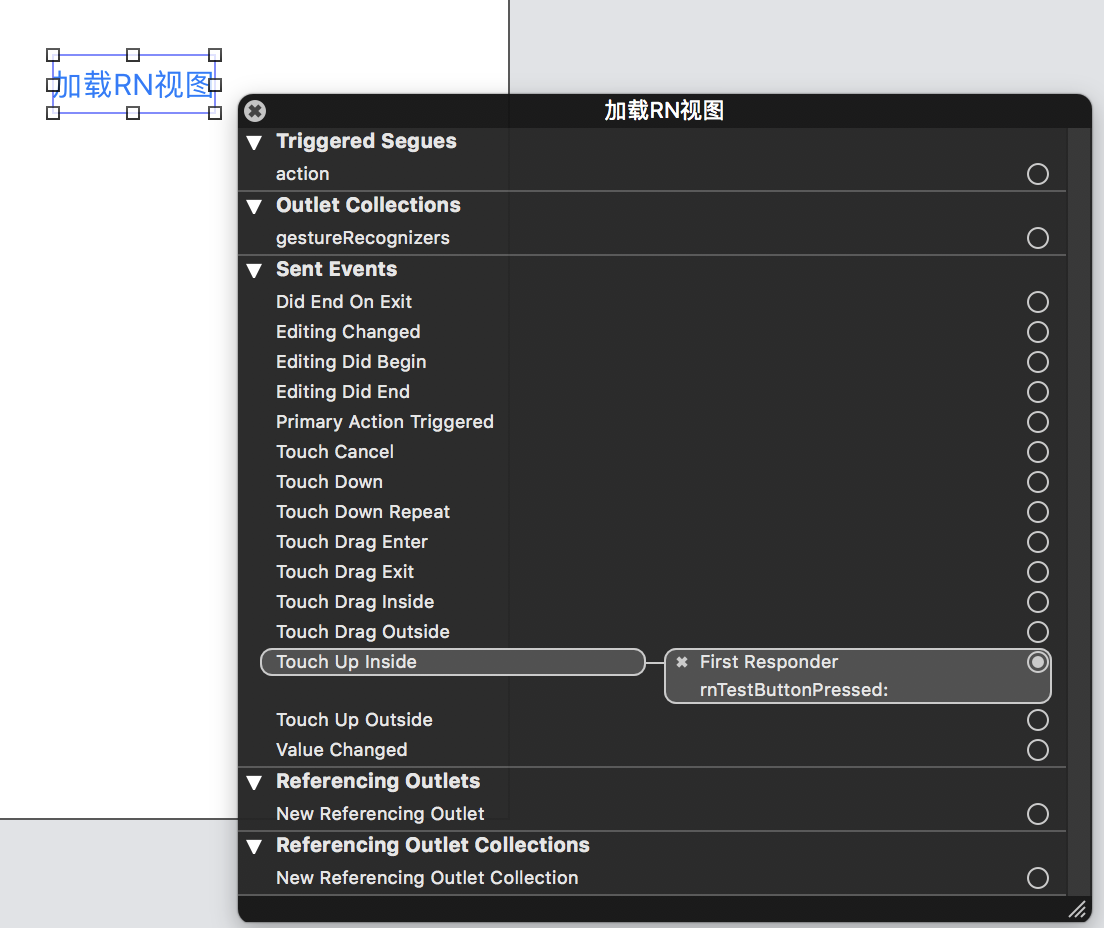
接着,在 ViewController 中,添加事件响应代码。首先,打开 ViewController.h,添加如下代码
#import <UIKit/UIKit.h>

@interface ViewController : UIViewController

- (IBAction) rnTestButtonPressed:(id)sender; // 新增的代码

@end
接着,打开 ViewController.m,添加如下代码,注意,moduleName 跟 index.js 中的模块名保持一致。
#import "ViewController.h"
#import <React/RCTRootView.h> // 新增的依赖

@interface ViewController ()

@end

@implementation ViewController

// 新增的事件响应方法
- (IBAction)rnTestButtonPressed:(id)sender {
    NSLog(@"RNTest Button Pressed");
    NSURL *jsCodeLocation = [NSURL URLWithString:@"http://localhost:8081/index.bundle?platform=ios"];

    RCTRootView *rootView =
    [[RCTRootView alloc] initWithBundleURL: jsCodeLocation
                                moduleName: @"RNTest"
                         initialProperties:
     @{}
                             launchOptions: nil];
    UIViewController *vc = [[UIViewController alloc] init];
    vc.view = rootView;
    [self presentViewController:vc animated:YES completion:nil];
}


- (void)viewDidLoad {
    [super viewDidLoad];
    // Do any additional setup after loading the view, typically from a nib.
    NSLog(@"viewDidLoad");
}


@end
将按钮跟事件响应关联起来。
RN集成:运行应用
首先,将RN应用打包成一个jsbundle。下面命令会在本地起个server,实时进行打包,jsbundle 的地址为上面oc代码里的 http://localhost:8081/index.bundle?platform=ios。
npm start
接着,在xcode里运行IOS应用。
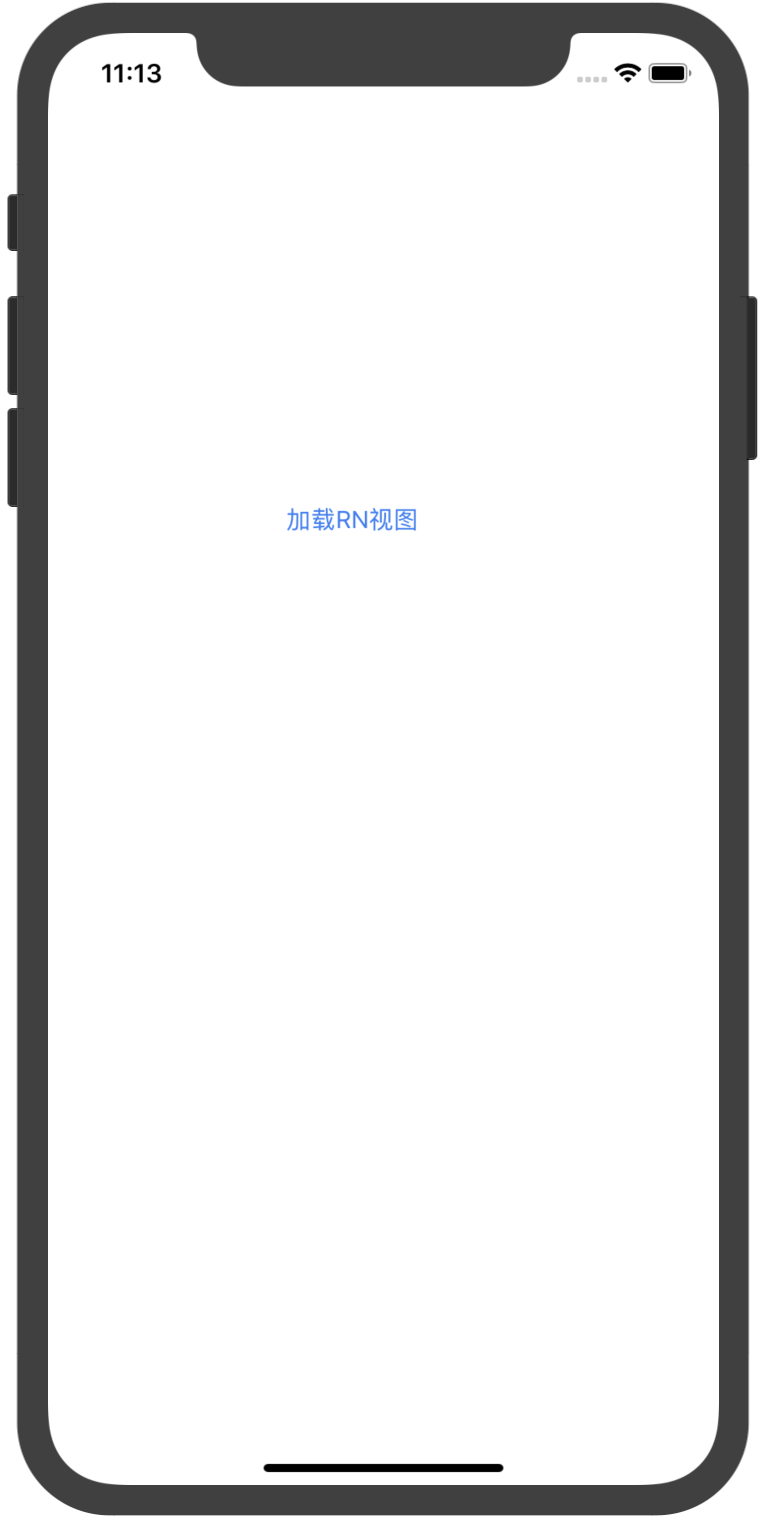
点击『加载RN视图』,会看到有个加载jsbundle的过程,最后呈现RN的视图。

写在后面
如前面提到,RN不同版本SDK,pod依赖有所不同,官网可能跟新不及时,只能google一下找解决方案,这个过程还是有点麻烦的。比如 React-Core 的路径就有问题:
#React-Core 依赖有问题,修改路径
# pod 'React-Core', :path => '../node_modules/react-native/'
pod 'React-Core', :path => '../node_modules/react-native/React'
笔者最初安装的版本是 0.61.14,依赖报错比较多,改得多了,于是先回退到 0.60.5,新版本有空再研究下。
如有错漏,敬请指出 :-)
相关链接
Integration with Existing Apps facebook.github.io/react-nativ…
