Google在今年5月的Google大会上发布了Flutter1.5.4版本,同时也推出了Flutter for Web的预览版,并开启了Flutter的全栈框架之路。同时,今年9月举行的谷歌开发者大会上,Google宣布flutter1.9正式发布,并且flutter_web已经被合到master分支,说明flutter_web越来越受到Google的重视。
首先切换到master并升级flutter到最新版本,或者下载最新的Stable channel版本,使用命令方式升级的命令如下:
flutter channel master
flutter upgrade
默认情况下,flutter_web是没有启动的,需要开发者手动启动它,启动的命令如下:
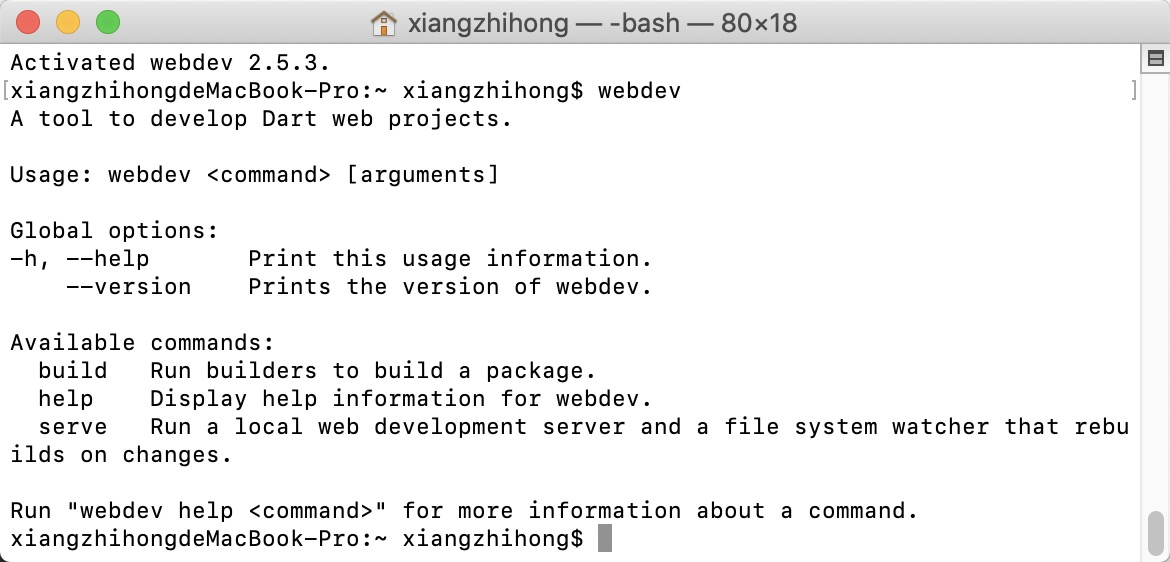
flutter pub global activate webdev
运行上面的命令可能会提示需要添加环境变量,如下所示:
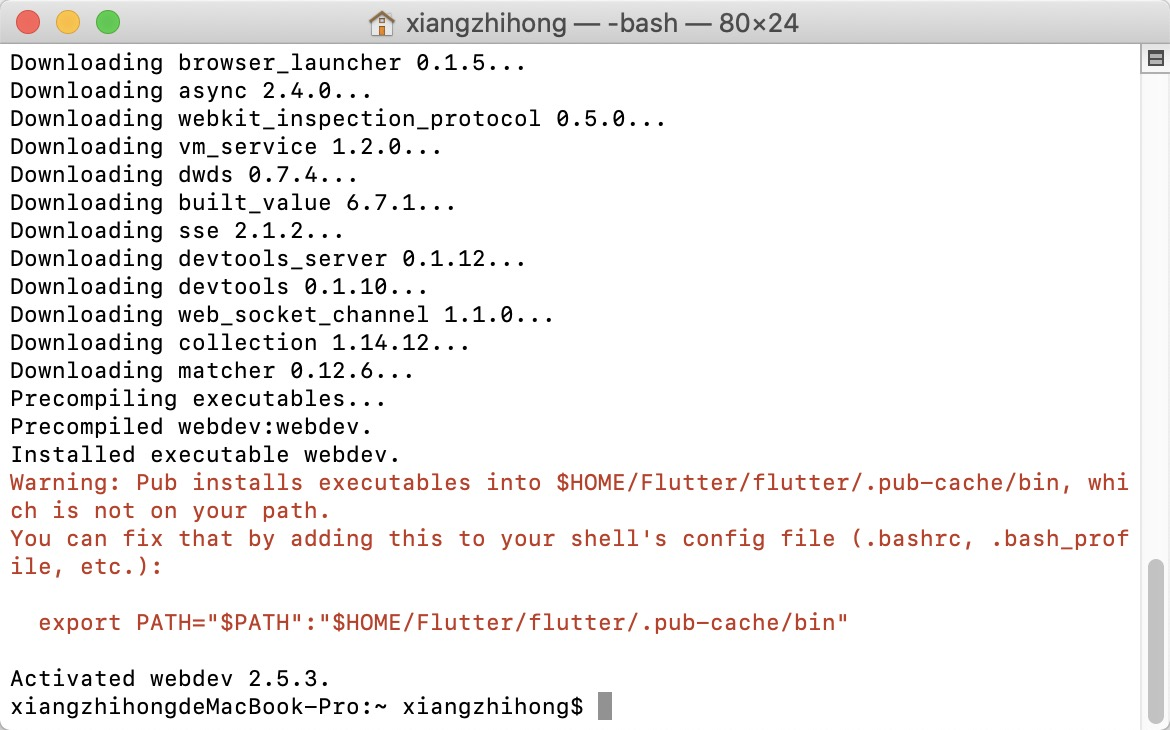
export PATH="$PATH":"$HOME/Flutter/flutter/.pub-cache/bin"
添加进去,然后使用source ~/.bash_profile命令更新环境变量。到这webdev就完事了,命令行敲webdev测试一下,如果没有任何错误,会看到如下帮助信息。
Can't load Kernel binary: Invalid kernel binary format version.
No active package webdev.
出现这种情况需要先把dart卸载,然后如前边所述将flutter内置的dart-sdk添加到环境变量就可以了,卸载的命令如下:
brew uninstall dart
然后,使用如下的命令启动flutter_web。
flutter config --enable-web
出现如下提示,说明我们还没有创建项目。
Setting "enable-web" value to "true".
如果是最新的1.9.0及其以上版本,只需要将分支切换到master即可,切换的命令如下:
flutter channel master //切换到master分支
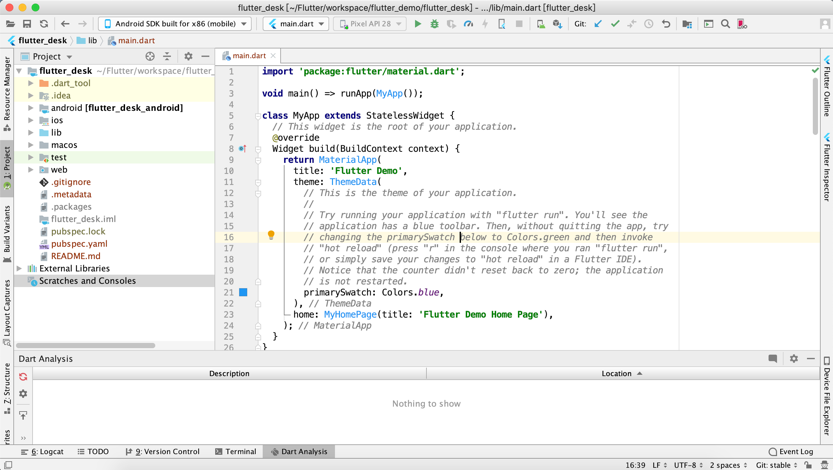
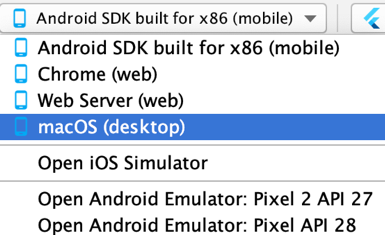
接下来,就可以使用命令行或者Android Studio、VSCode等可视化工具来创建Flutter Web应用了,如下图所示。
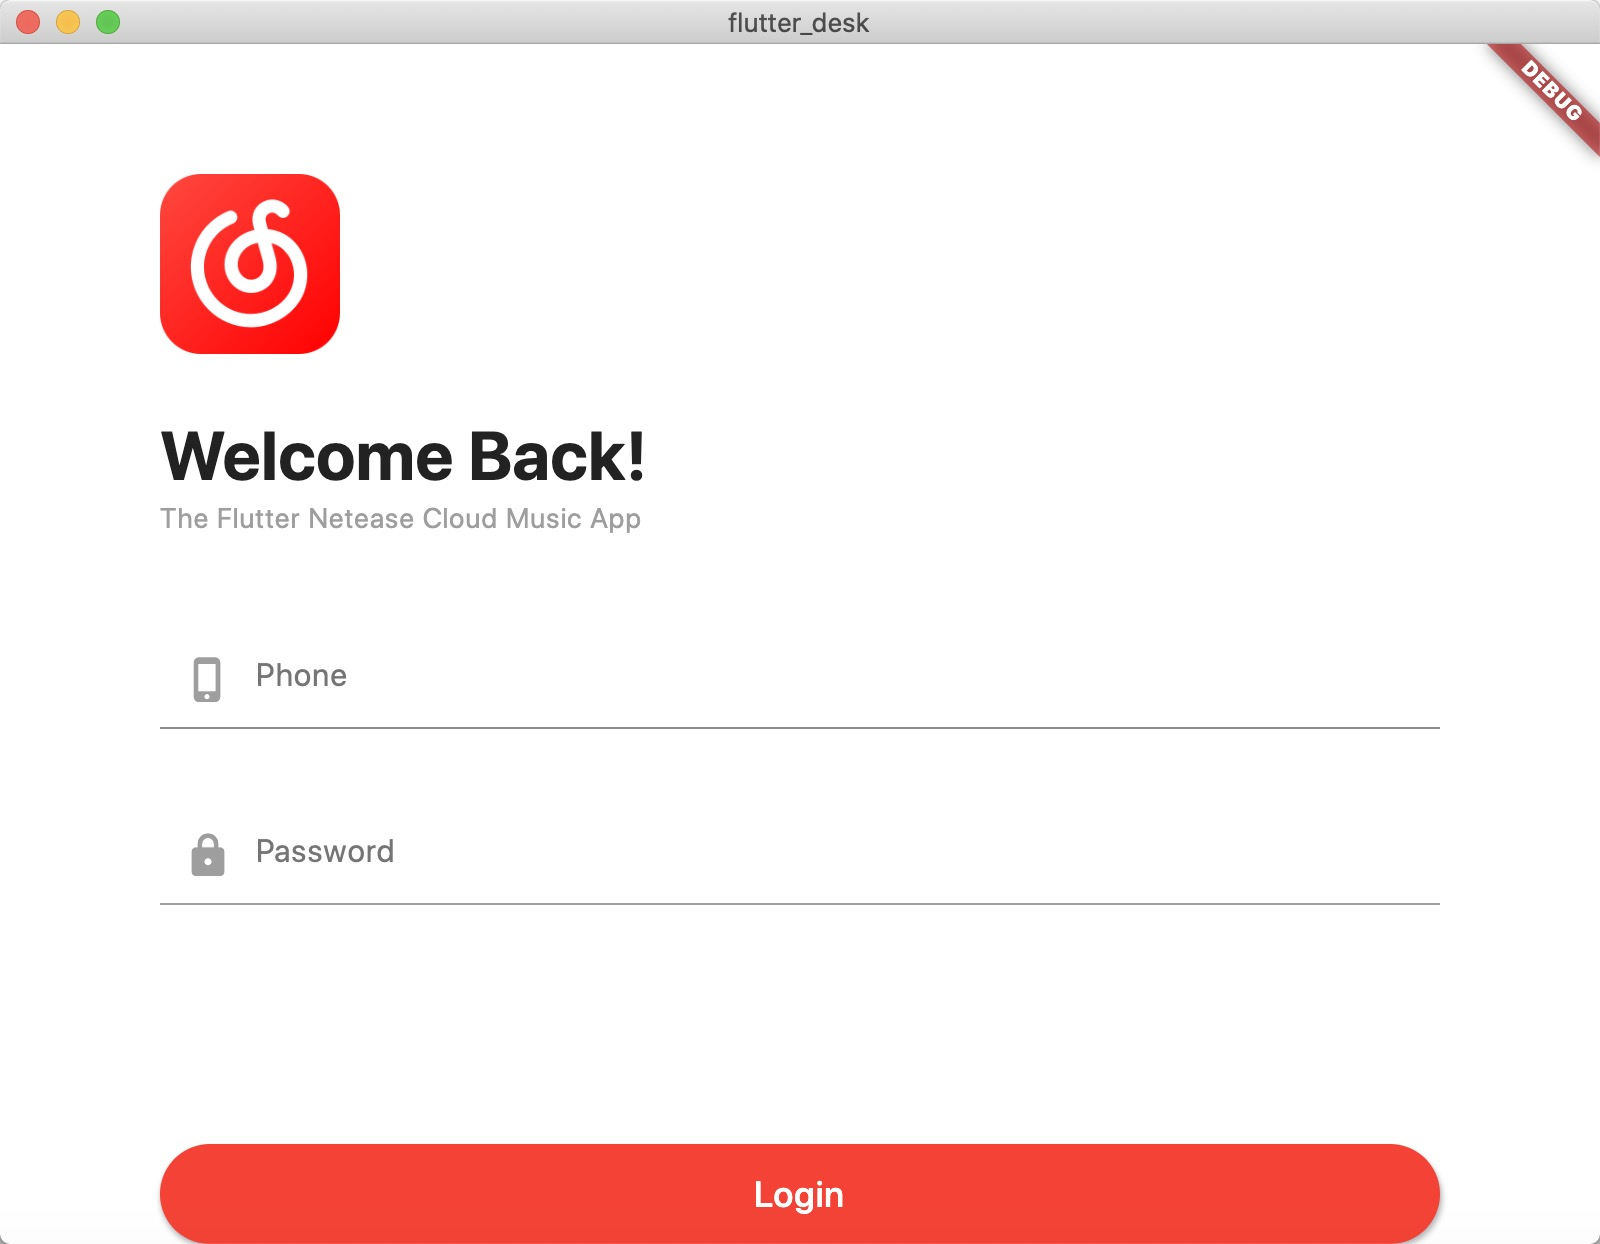
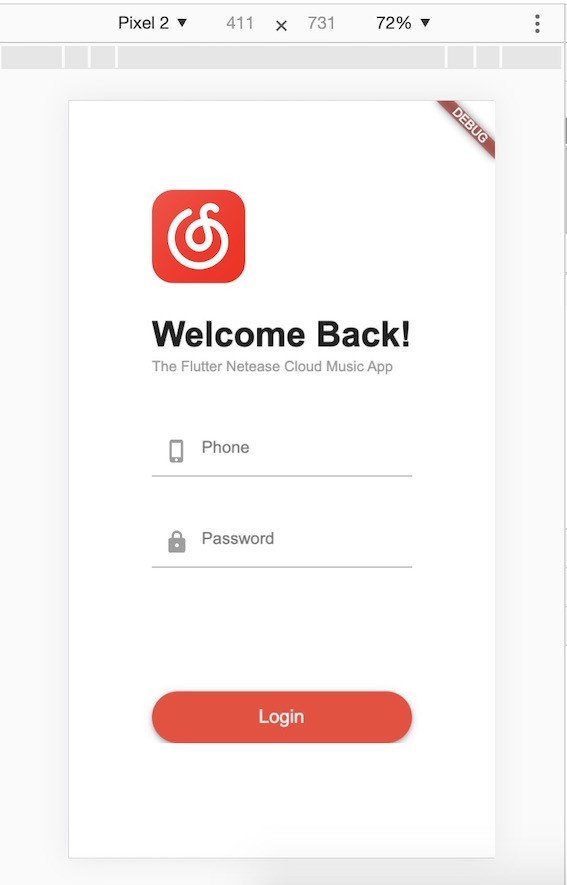
接下来,我们修改下默认的示例项目来看下Flutter在桌面和Web的情况。例如下面是仿网易云音乐的登录界面,示例代码如下: login_page.dart代码
import 'package:flutter/material.dart';
import 'package:flutter_desk/widgets/common_button.dart';
import 'package:flutter_desk/widgets/v_empty_view.dart';

class LoginPage extends StatefulWidget {
  @override
  State<StatefulWidget> createState() {
    return _LoginPageState();
  }
}

class _LoginPageState extends State<LoginPage> with TickerProviderStateMixin {

  Animation<double> _animation;
  AnimationController _controller;

  @override
  void initState() {
    super.initState();
    _controller =
        AnimationController(vsync: this, duration: Duration(milliseconds: 300));
    _animation = CurvedAnimation(parent: _controller, curve: Curves.linear);
    Future.delayed(Duration(milliseconds: 500), () {
      _controller.forward();
    });
  }

  @override
  Widget build(BuildContext context) {
    return Scaffold(
      backgroundColor: Colors.white,
      appBar: AppBar(
        backgroundColor: Colors.white,
        elevation: 0,
        brightness: Brightness.light,
      ),
      body: SingleChildScrollView(
        child: Container(
          padding: EdgeInsets.only(
            left: 80,
            right:80,
            top:30,
          ),
          child: Column(
            crossAxisAlignment: CrossAxisAlignment.start,
            children: <Widget>[
              Hero(
                tag: 'logo',
                child: Image.asset(
                  'images/icon_logo.png',
                  width: 90,
                  height: 90,
                ),
              ),
              _LoginAnimatedWidget(
                animation: _animation,
              ),
            ],
          ),
        ),
      ),
    );
  }
}

class _LoginWidget extends StatefulWidget {
  @override
  _LoginWidgetState createState() => _LoginWidgetState();
}

class _LoginWidgetState extends State<_LoginWidget> {
  final TextEditingController _phoneController = TextEditingController();
  final TextEditingController _pwdController = TextEditingController();

  @override
  Widget build(BuildContext context) {
    return Theme(
      data: ThemeData(primaryColor: Colors.red),
      child: Column(
        crossAxisAlignment: CrossAxisAlignment.start,
        mainAxisSize: MainAxisSize.min,
        children: <Widget>[
          Container(
            margin: EdgeInsets.only(top: 30),
            child: Text(
              'Welcome Back!',
              style: TextStyle(
                fontWeight: FontWeight.bold,
                color: Colors.black87,
                fontSize: 34,
              ),
            ),
          ),
          Container(
            margin: EdgeInsets.only(top:3),
            child: Text(
              'The Flutter Netease Cloud Music App',
              style: TextStyle(
                color: Colors.grey,
                fontSize: 14,
              ),
            ),
          ),
          VEmptyView(50),
          TextField(
            controller: _phoneController,
            decoration: InputDecoration(
                hintText: 'Phone',
                prefixIcon: Icon(
                  Icons.phone_iphone,
                  color: Colors.grey,
                )),
          ),
          VEmptyView(40),
          TextField(
            obscureText: true,
            controller: _pwdController,
            decoration: InputDecoration(
                hintText: 'Password',
                prefixIcon: Icon(
                  Icons.lock,
                  color: Colors.grey,
                )),
          ),
          VEmptyView(120),
          CommonButton(
            callback: () {
              String phone = _phoneController.text;
              String pwd = _pwdController.text;
              if (phone.isEmpty || pwd.isEmpty) {
                return;
              }
            },
            content: 'Login',
            width: double.infinity,
          )
        ],
      ),
    );
  }
}

class _LoginAnimatedWidget extends AnimatedWidget {
  final Tween<double> _opacityTween = Tween(begin: 0, end: 1);
  final Tween<double> _offsetTween = Tween(begin: 40, end: 0);
  final Animation animation;

  _LoginAnimatedWidget({
    @required this.animation,
  }) : super(listenable: animation);

  @override
  Widget build(BuildContext context) {
    return Opacity(
      opacity: _opacityTween.evaluate(animation),
      child: Container(
        margin: EdgeInsets.only(top: _offsetTween.evaluate(animation)),
        child: _LoginWidget(),
      ),
    );
  }
}
common_button.dart代码
import 'package:flutter/material.dart';

class CommonButton extends StatelessWidget {

  final VoidCallback callback;
  final String content;
  final double width;
  final double height;
  final double fontSize;

  CommonButton({
    @required this.callback,
    @required this.content,
    this.width = 250,
    this.height = 50,
    this.fontSize = 18,
  });

  @override
  Widget build(BuildContext context) {
    return Container(
      width: width,
      height: height,
      child: RaisedButton(
        onPressed: callback,
        color: Colors.red,
        shape: RoundedRectangleBorder(borderRadius: BorderRadius.all(Radius.circular(height / 2))),
        child: Text(
          content,
          style: TextStyle(color: Colors.white, fontSize: fontSize),
        ),
      ),
    );
  }
}
empty_view.dart代码
import 'package:flutter/material.dart';

class VEmptyView extends StatelessWidget {

  final double height;

  VEmptyView(this.height);

  @override
  Widget build(BuildContext context) {
    return SizedBox(
      height: height,
    );
  }
}
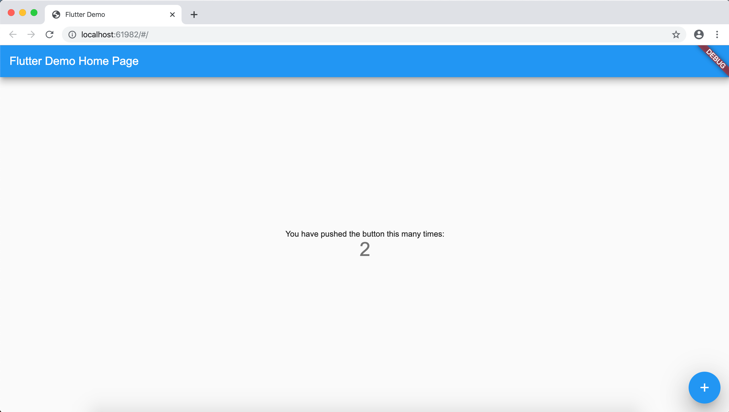
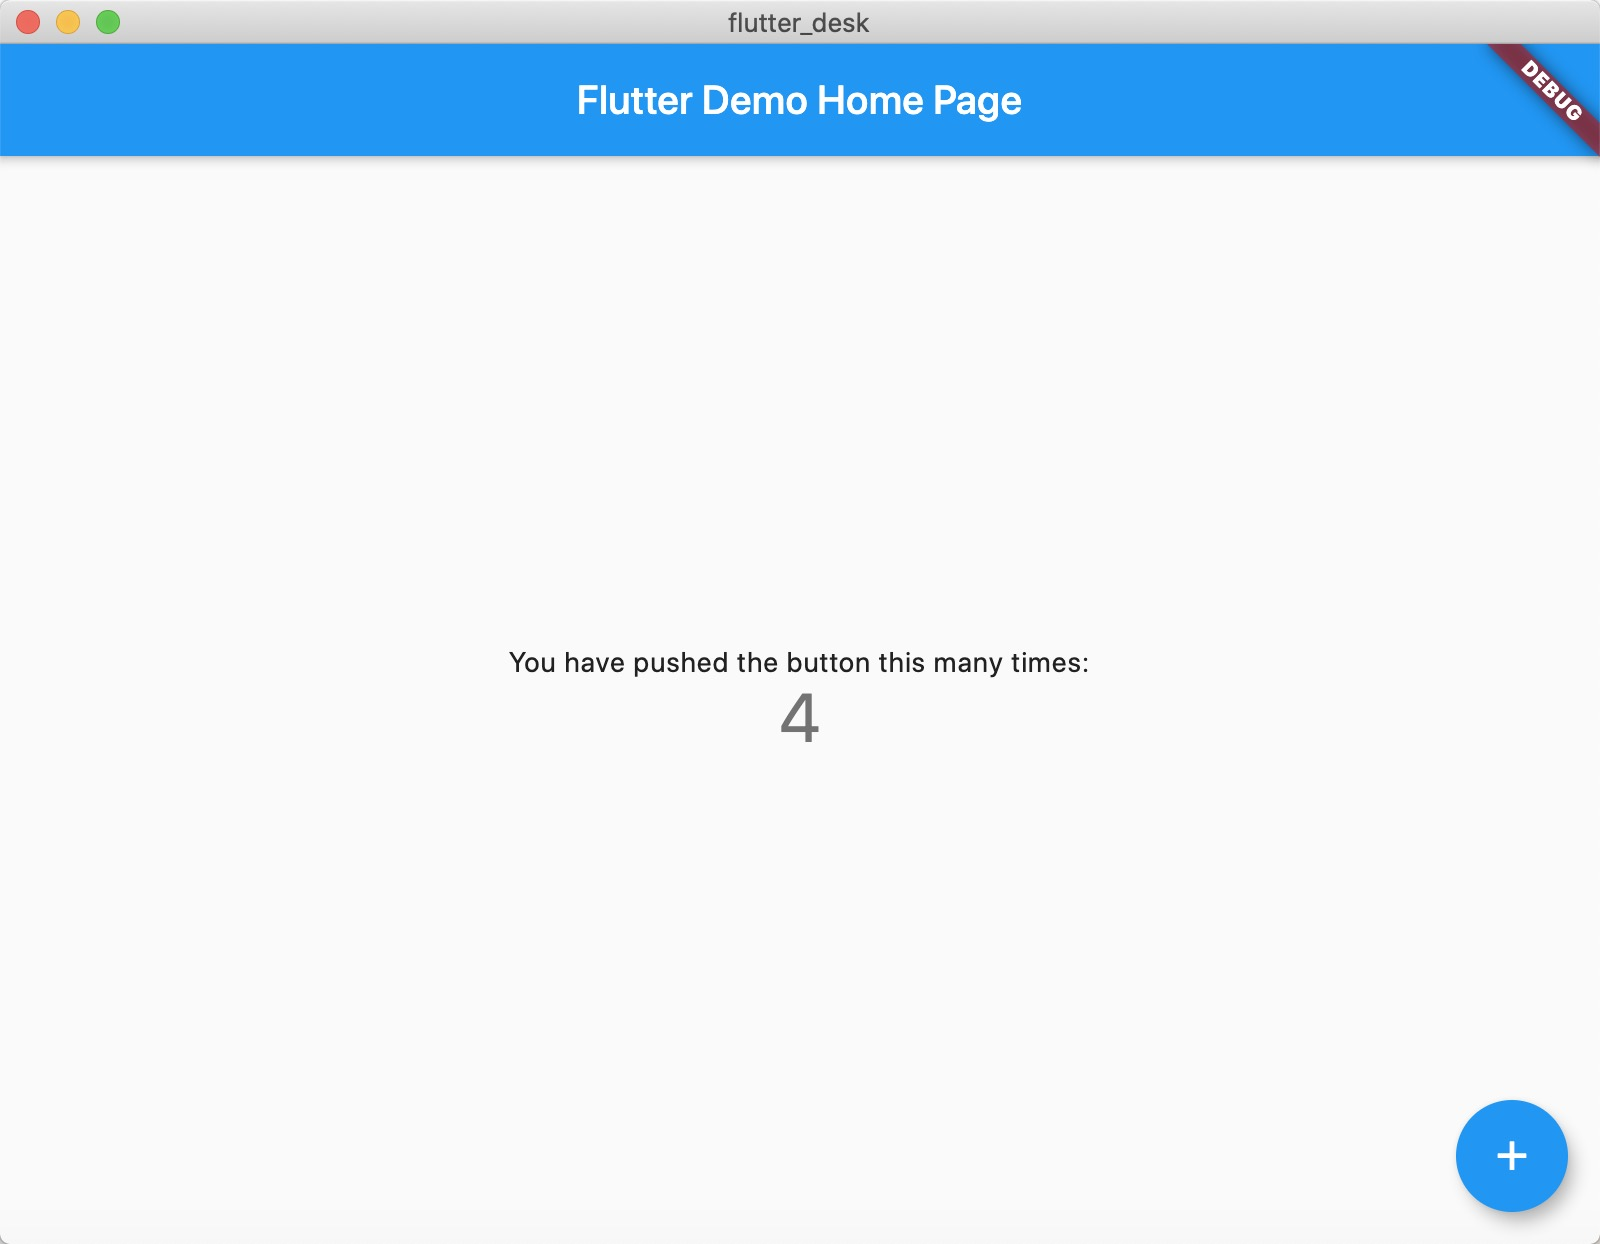
然后,分别将运行环境改为Chorme和MacOS桌面,即可看到对应的效果,如下图所示。